Capturing the aurora borealis is part science, part patience, and part magic. Use this guide to give yourself the best chance of returning home with truly stunning images.

🎒 1. Preparation Before You Go
Check the Forecasts
- Aurora activity (Kp Index): Look for Kp 3+ for mid-latitudes; Kp 2+ is often sufficient in the Arctic.
- Cloud cover: Clear or mostly clear skies are essential.
- Moon phase: New moon or low moonlight reduces sky brightness.
Pack These Essentials
- Sturdy tripod (non-negotiable)
- Wide-angle lens (14–24mm ideal)
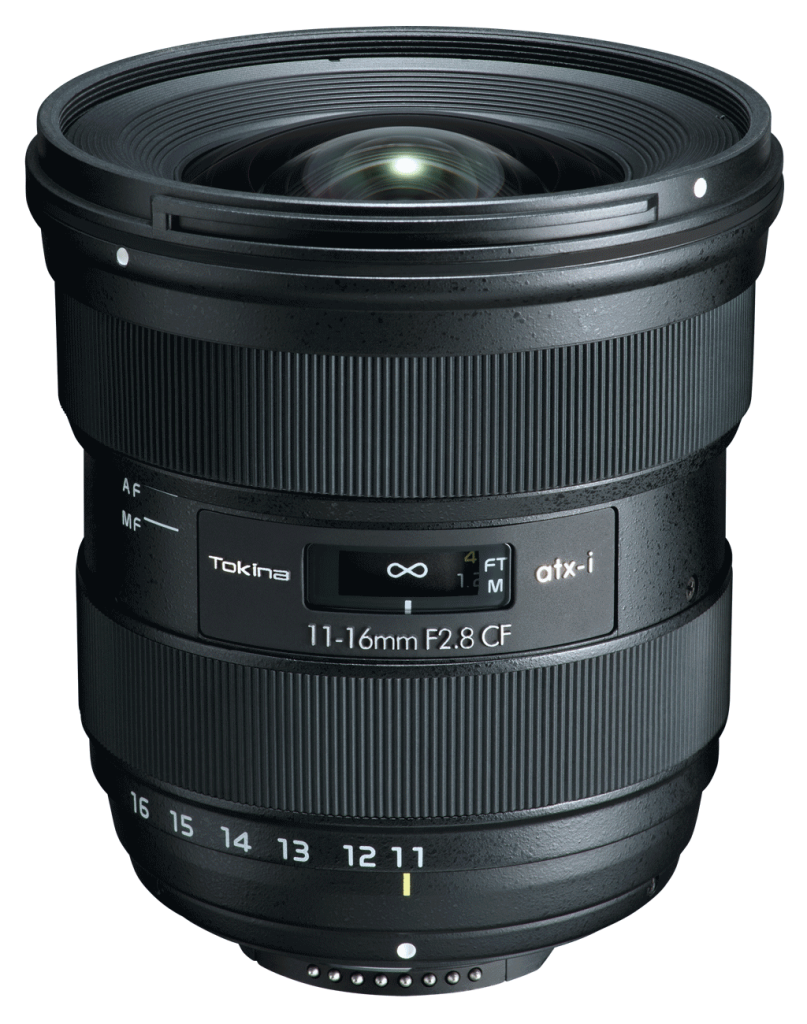
Tokina 11-16mm f/2.8
Pentax 16-45mm f/4
Nikon 14-24mm f/2.8 - Extra batteries (cold drains them fast)
- Remote shutter release (or use in-camera timer)
- Lens cloth (condensation happens often)

📷 2. Best Camera Settings
Mode
- Use Manual Mode (M) — the aurora changes rapidly, and full control is essential.
Focus
- Switch to manual focus
- Set focus to infinity, then
slightly back off › Fine-tune using live view zoom on a distant star.
Aperture
- Use the widest your lens allows:
f/1.4 – f/2.8 preferred
f/3.5–4.0 also workable with higher ISO.
Shutter Speed
Northern lights vary from slow moving (dim) to fast dancing (bright). Use:
| Aurora Type | Shutter Speed |
|---|---|
| Slow, faint | 10–20 seconds |
| Moderate | 5–10 seconds |
| Fast, bright | 1–4 seconds |
Longer exposures smooth out the aurora—beautiful, but less detailed. Shorter exposures capture texture and movement.
ISO
- Start at ISO 800–3200
- Bright auroras allow ISO 800–1600
- Dim auroras may need ISO 3200–6400
White Balance
- Set manually to 3500K–4000K for natural greens.
- Auto WB works surprisingly well, but manual yields consistent results.
RAW Format
- Always shoot RAW for maximum editing flexibility.
3. Practical Field Tips
Stabilize Everything
- Hang your bag from your tripod center column if it’s windy.
- Avoid extending the thinnest tripod legs.
Avoid Condensation
- Keep your gear cold; put it in a sealed bag before returning indoors.
Composition Tips
- Include foreground: mountains, cabins, trees, lakes, or even people.
- Use leading lines (roads, rivers, fjords).
- Don’t forget to turn around—auroras often appear behind you!

📱 HOW TO PHOTOGRAPH THE NORTHERN LIGHTS WITH A PHONE
Modern smartphones can capture auroras surprisingly well—if used correctly.
1. Phone Prep
- Enable Night Mode.
- If available, enable Pro / Manual Mode.
- Bring a phone tripod or brace the phone on a rock or backpack.
- Turn off flash.
2. Recommended Phone Settings (if manual modes exist)
| Setting | Value |
|---|---|
| Shutter | 3–10 seconds |
| ISO | 800–1600 |
| Focus | Manual → Infinity |
| Format | RAW (if supported) |
3. Additional Phone Tips
- Don’t hold the phone – movement will ruin the shot.
- Wipe the lens (phone lenses fog easily).
- Avoid digital zoom; move closer instead.
- Test different shutter lengths until stars remain sharp.
🌍 TOP TEN LOCATIONS TO PHOTOGRAPH THE NORTHERN LIGHTS
These locations offer reliable aurora activity, dark skies, and dramatic landscapes.
1. Tromsø, Norway
High aurora frequency, accessible city, incredible fjords.
2. Abisko, Sweden
Famous “blue hole” microclimate keeps skies clearer than surrounding regions.
3. Fairbanks, Alaska, USA
Strong aurora zone, easy access, long season.
4. Yellowknife, Canada
Flat horizons create uncluttered sky views—excellent for wide-angle shots.
5. Reykjavik Region & Þingvellir, Iceland
Volcanic landscapes and easy access to dark skies.
6. Finnish Lapland (Rovaniemi, Saariselkä)
Snow-covered forests make perfect foregrounds.
7. Svalbard, Norway
Auroras even in daylight during polar night.
8. Kangerlussuaq, Greenland
Minimal light pollution and frequent clear skies.
9. Murmansk & Kola Peninsula, Russia
High latitude with unique Arctic landscapes.
10. Scottish Highlands & Isle of Skye, UK
Best low-latitude aurora spot in Europe during strong solar storms.