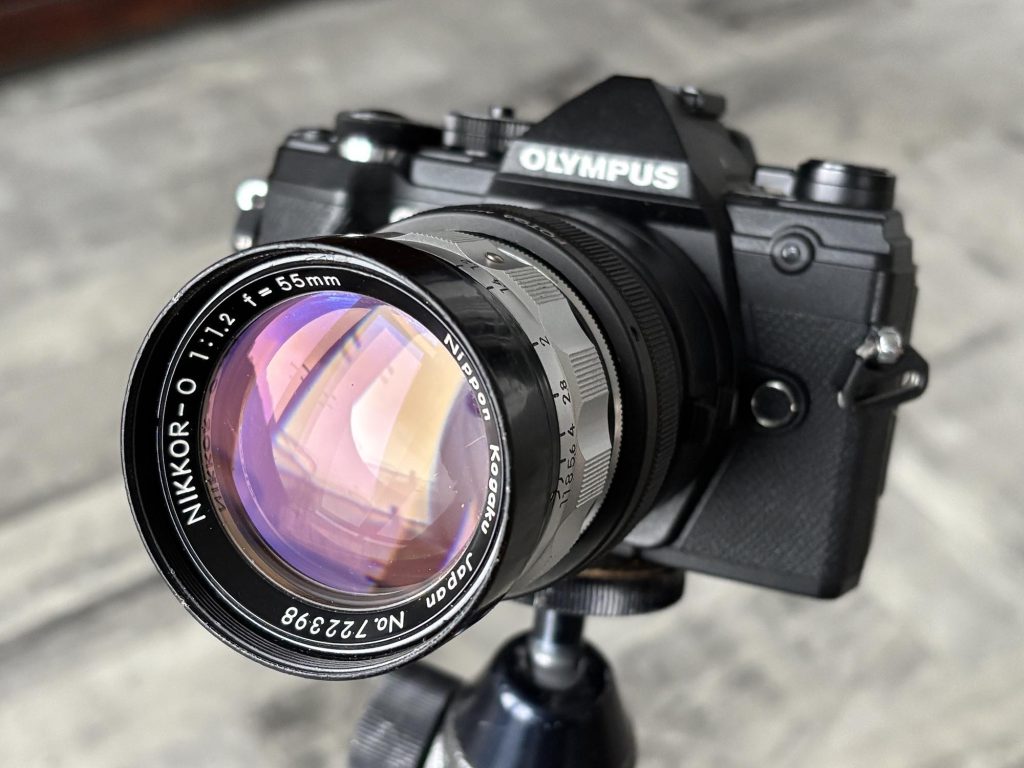
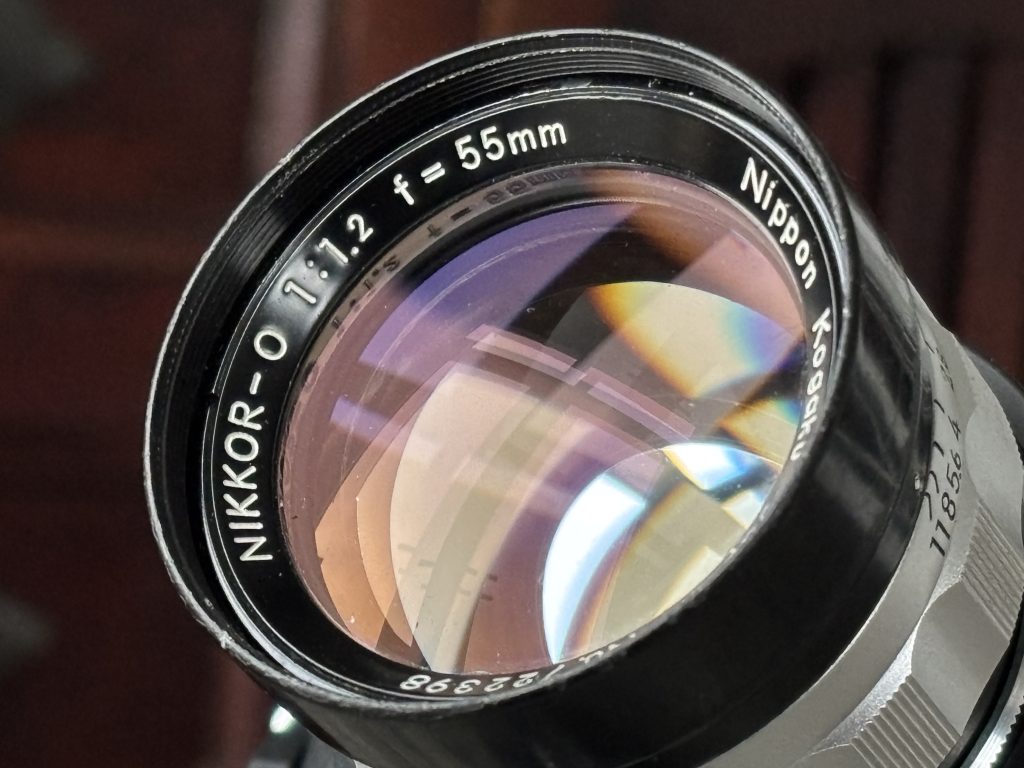
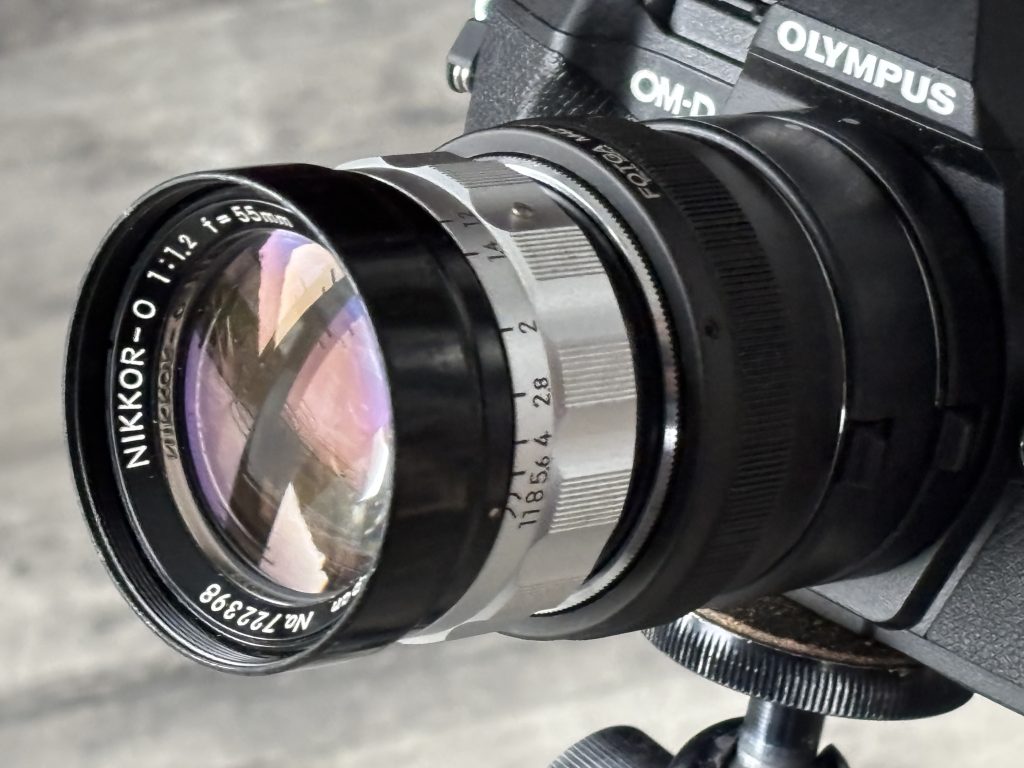
The Nikkor-O 55mm f/1.2 is one of Nikon’s most character-rich standard lenses. Produced in the late 1960s by Nippon Kagaku, it represents a transitional period when ultra-fast lenses were engineering statements as much as photographic tools. Today, it’s rare, collectible, and beloved for its distinctive rendering rather than clinical perfection.
This guide covers its history, optical character, handling, buying considerations, and how to get the best from it in modern use.
Historical Context
In the 1960s, pushing aperture boundaries was a prestige race among camera manufacturers. Nikon introduced the 55mm f/1.2 before the more common 50mm f/1.2 designs became standard. The “O” designation refers to its 7-element optical formula (“O” indicating seven elements in Nikon’s naming convention of the era).
The lens is not designed to be mounted on a standard Nikon AI Mount SLR, and has a Leica M39 thread mount. You can buy an M39-to-Nikon F-mount adapter to mount the lens on a Nikon SLR.
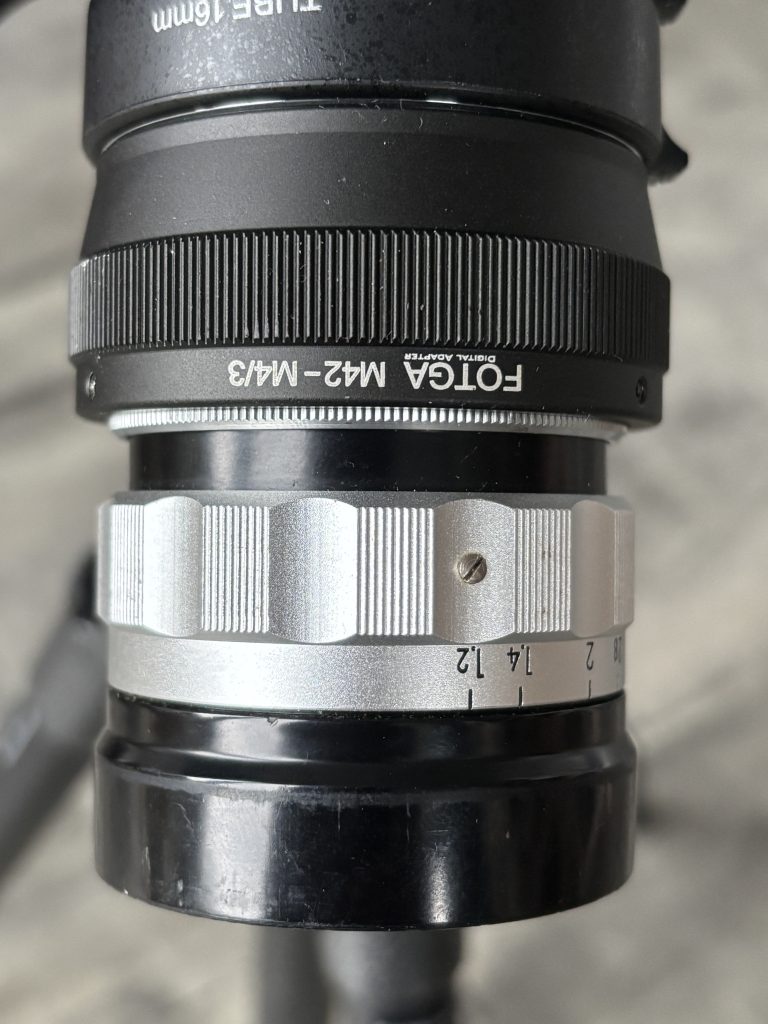
The one I have for sale doesn’t have a thread so I’ve converted it to Micro 4/3rds for use on my Olympus E-M5III, using an adaptor previously used to convert M42 to M 4/3.
Production numbers were relatively low compared to later 50mm f/1.2 lenses, contributing to its rarity.
This is where the magic—and quirks—live: • Dreamy glow from spherical aberration • Lower contrast • Gentle highlight bloom • Swirly or nervous bokeh depending on distance
It is not clinically sharp at f/1.2. Instead, it produces an almost cinematic softness that flatters portraits and night scenes.
Stopped Down (f/2 – f/2.8) • Contrast increases dramatically • Sharpness improves significantly • Glow reduces but character remains
At f/2.8 and beyond, it behaves like a strong vintage standard lens with rich tonal rendering.
What Makes It Special
1. Transitional Rendering
Unlike modern ultra-fast lenses that aim for perfection wide open, this lens embraces imperfection. It’s expressive rather than analytical.
2. 55mm Focal Length
The slightly longer-than-50mm perspective: • Adds subtle compression • Feels natural for portraits • Gives a distinct look compared to standard 50mm lenses
3. Build Quality
Heavy, solid brass construction Long, smooth focus throw Deep mechanical feel typical of late-60s Nikon craftsmanship
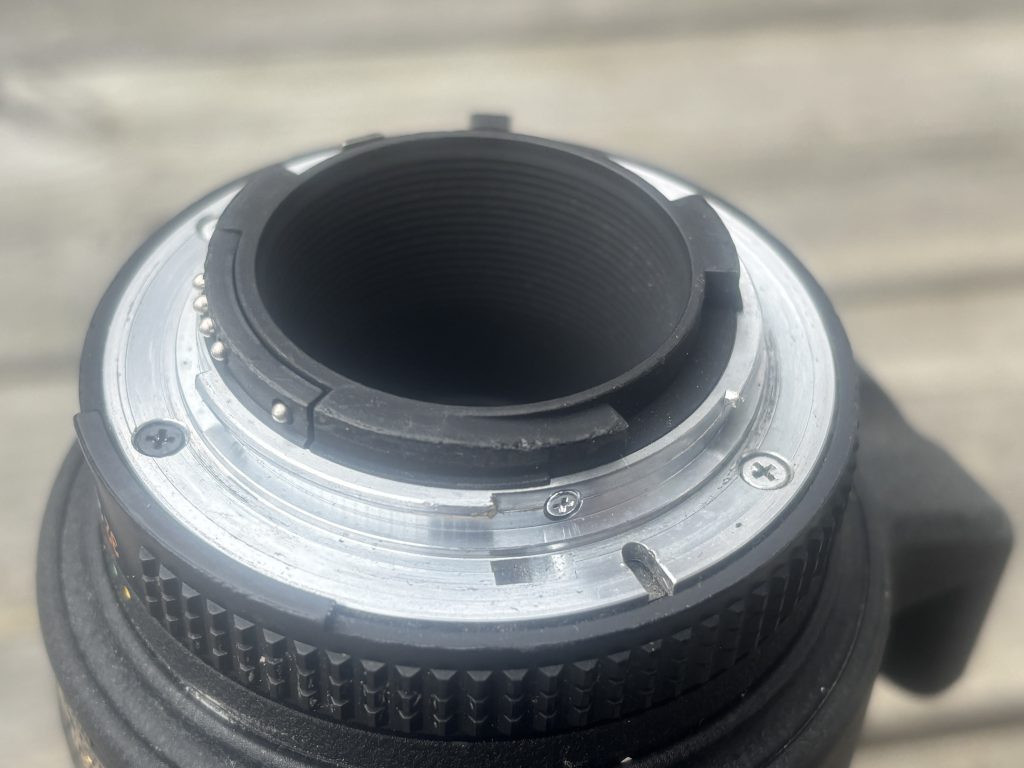
Compatibility Guide
Because most copies are Pre-AI, mounting them on modern Nikon DSLRs without modification can damage the camera’s aperture indexing tab.
Because this lens is rare, condition matters greatly.
What to Check:
1. Fungus & Haze Fast vintage lenses are prone to internal haze due to aging coatings.
2. Oil on Aperture Blades Check for smooth, snappy aperture action.
3. Serial Numbers Early and late batches show minor cosmetic differences, but optical formula remains consistent.
Price Range
Prices vary depending on: • Condition • AI conversion • Cosmetic wear • Market demand
Expect it to command a premium over standard vintage 50mm f/1.2 lenses due to rarity.
Shooting Tips
1. Embrace the Glow
Don’t fight the softness wide open. Use it intentionally.
2. Control Flare
It can flare dramatically. Use: • A deep lens hood • Careful light positioning
3. Focus Carefully
At f/1.2, depth of field is razor thin. Use: • Focus magnification (mirrorless) • Split-prism screens (film bodies)
4. Black & White Magic
The tonal transitions at f/1.2 are particularly beautiful in monochrome conversions.
How It Compares to Later Nikon f/1.2 Lenses
Compared to later 50mm f/1.2 designs: • More glow • Less correction • More vintage signature • Slightly more unique focal perspective
It feels less engineered for precision and more for character.
Collector Value
The Nikkor-O 55mm f/1.2 is desirable because: • It represents Nikon’s early ultra-fast design philosophy • It has limited production numbers • It offers rendering not easily replicated by modern lenses
Clean, original-condition copies are increasingly hard to find.
Who Should Buy It?
Buy this lens if you:
✔ Love vintage rendering ✔ Shoot portraits or atmospheric scenes ✔ Use mirrorless cameras ✔ Appreciate mechanical craftsmanship ✔ Want something rarer than a standard 50mm f/1.2
Avoid it if you:
✘ Need edge-to-edge sharpness at f/1.2 ✘ Prefer modern contrast and coatings ✘ Don’t want to deal with manual focus
Final Thoughts
The Nikkor-O 55mm f/1.2 is not about technical perfection. It’s about atmosphere, mood, and character. It’s a lens from an era when speed was ambitious and flaws were part of the signature.
In a world of optically flawless modern glass, this lens stands out precisely because it isn’t flawless — and that’s why it remains one of Nikon’s most intriguing rare classics.
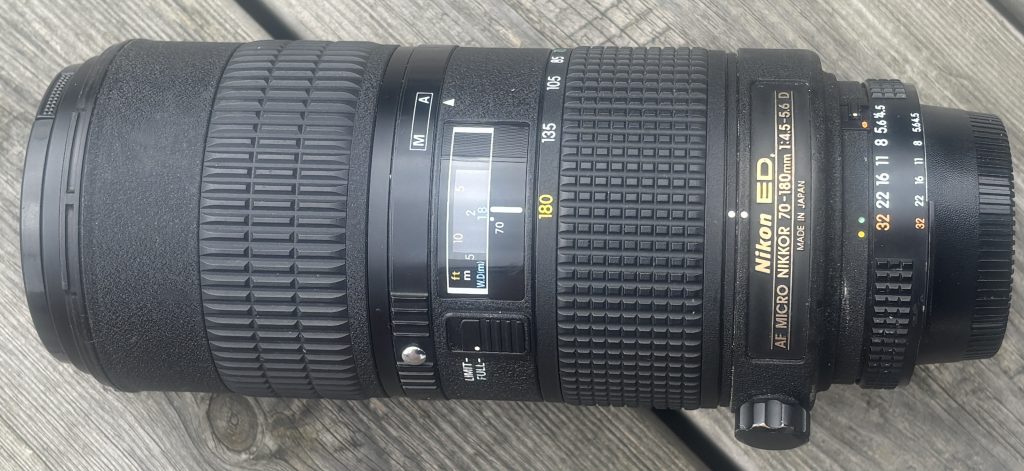
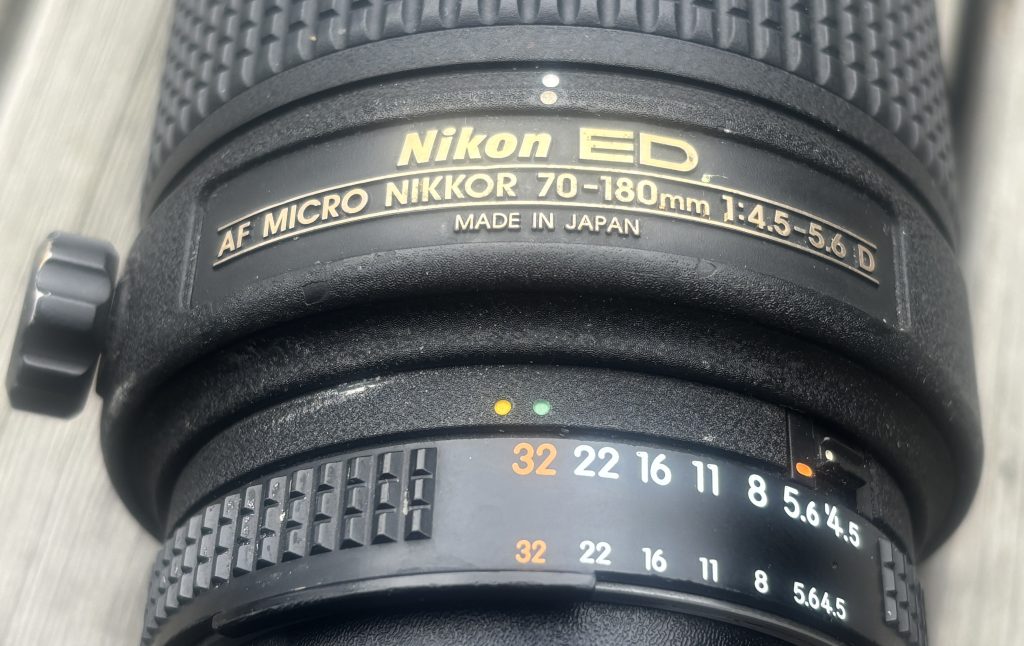
The Nikon 70–180mm Micro is one of the most unusual lenses Nikon ever produced. Released in the late 1990s, it remains the only zoom lens Nikon designed specifically for macro work. Its combination of flexible framing, close-focus capability, and classic F-mount ergonomics makes it a cult favourite among macro specialists and collectors.
Below is a practical, and technical guide to help you decide whether this lens is right for you — and what to look for when buying one today.
1. What Makes This Lens Unique
Unlike conventional telephoto zooms, the 70–180mm Micro was engineered to maintain high optical performance at close-focus distances.
The standout features are:
True macro-centric optical design
Most zooms “can focus close,” but this lens was built to deliver macro-level magnification and edge-to-edge correction. It reaches approximately 1:1.3 reproduction, which is unusually high for any zoom.
Zoom flexibility at macro distances
At close range, small adjustments in camera position drastically change your composition. Being able to zoom instead of physically moving makes macro shooting faster, steadier, and more precise.
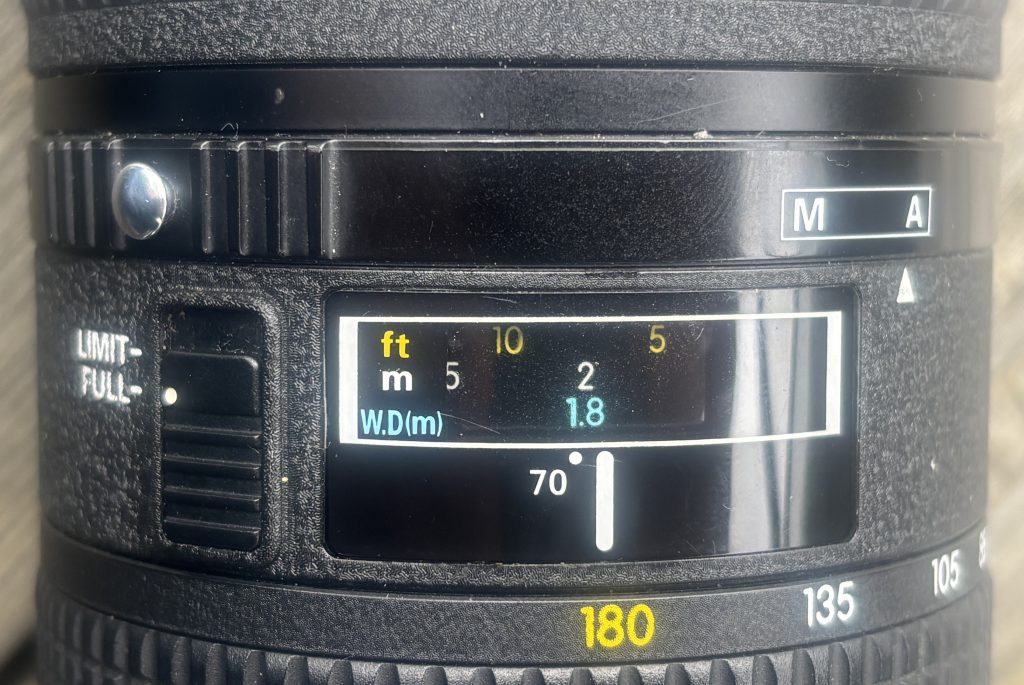
Very stable working distance
The lens doesn’t require you to get extremely close to your subject to get strong magnification, which is useful for shy insects, controlled studio setups, or maintaining clean lighting.
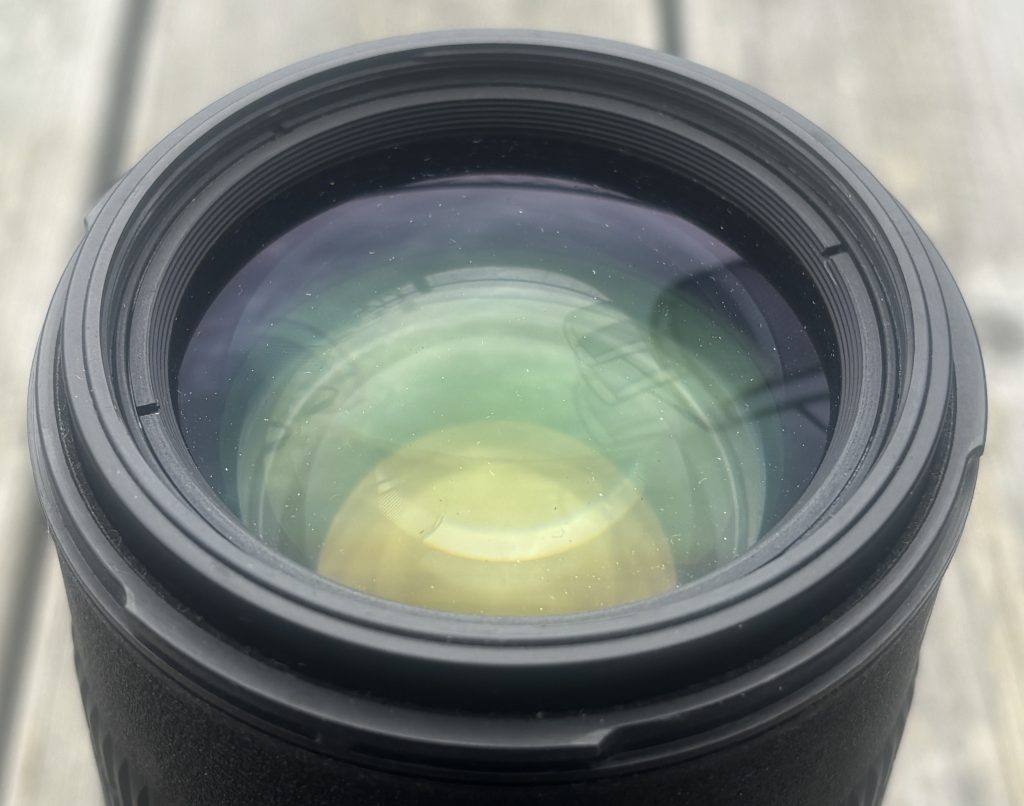
2. Optical Performance
Macro / close-up behaviour
This is where the lens shines. Sharpness in the center is excellent when stopped down slightly, contrast holds well, and chromatic aberrations are well-controlled for a zoom of this age. Performance is strongest in the mid-range (around 100–150mm).
Long-distance behaviour
At normal shooting distances, sharpness is more modest. Corners soften noticeably at the 180mm end unless stopped down. If your primary use is wildlife or sports, this isn’t the ideal lens — its optical strengths are clearly tailored to close-range imaging.
Bokeh and rendering
The lens produces smooth, clean foreground/background blur due to its long focal length and relatively simple optical formula. The aperture is not especially wide, so background separation relies more on focal length and distance than on shallow depth-of-field.
3. Autofocus & Handling
Autofocus
Being an older AF-D lens, it relies on the camera’s screw-drive motor.
Expect:
Audible, mechanical AF noise
Slower autofocus compared to modern AF-S or Z lenses
Decreased AF reliability at macro distances (normal for most macro lenses)
Many users treat it as a manual-focus-first lens, especially for macro photography where precision beats speed.
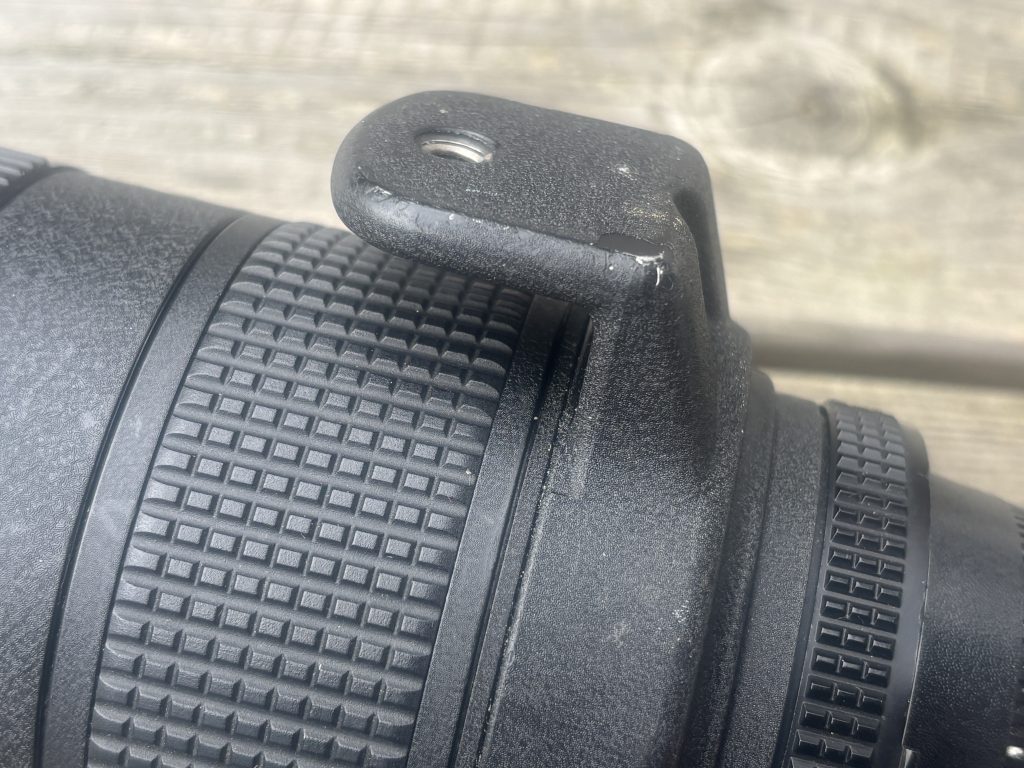
Build quality & ergonomics
Sturdy construction with classic late-film-era Nikon materials
Large, well-damped zoom ring
A dedicated tripod collar for stable macro work
No weather sealing
No internal focusing — the lens grows longer as it focuses
Despite being a zoom macro, it balances well on mid-sized DSLR bodies and adapts smoothly to Z-mount via FTZ.
4. Compatibility
On Nikon DSLRs (F-mount)
Full autofocus available only if the camera has a built-in screw-drive motor.
(D7500 downwards users will not get AF.)
Metering and exposure modes work on all modern DSLRs.
On Nikon Z mirrorless
Requires FTZ or FTZ II adapter
Autofocus operates using the mechanical coupling but is noticeably slower
IBIS (in-body stabilization) helps compensate for the lack of VR in the lens
If you’re a Z-mount macro shooter comfortable with manual focus, this lens adapts surprisingly well.
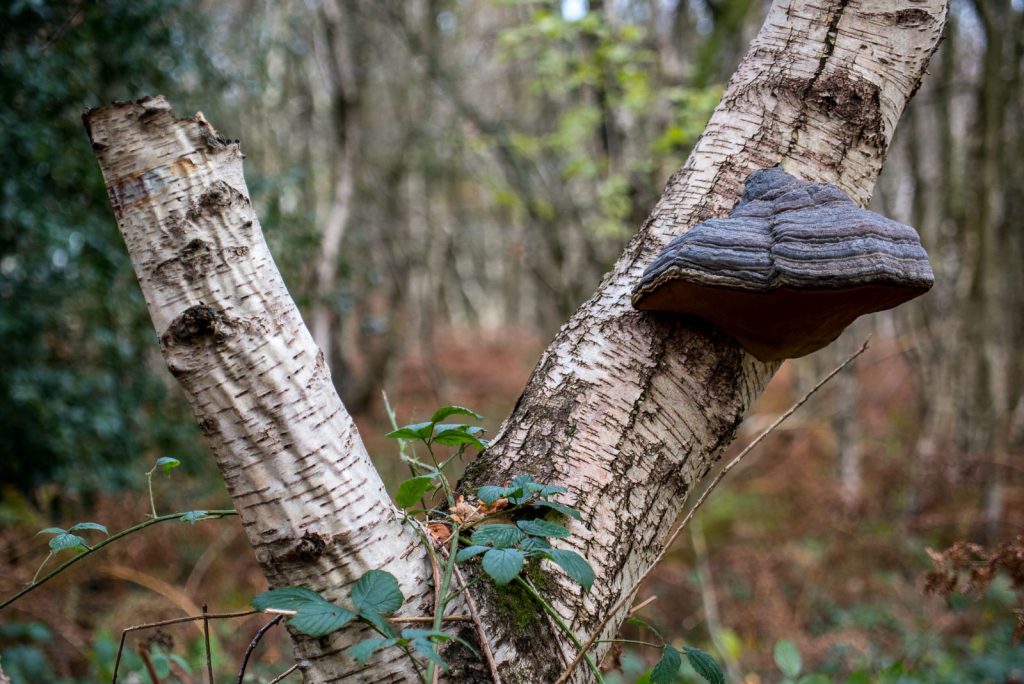
5. Ideal Use Cases
This lens suits photographers who need macro versatility, including:
Botanical photography
Product & tabletop work
Jewelry, collectibles, and small objects
Controlled studio macro
Insect or reptile photography where extra working distance is helpful
Film-era collectors who appreciate rare Nikon optics
It is not ideal for:
Fast action
Portrait work requiring fast AF
Low-light handheld telephoto shooting
Travel situations where weather sealing is needed
6. What to check on a used /second-hand version
Because all examples are now decades old, condition matters more than usual.
Check these critically:
1. Optical condition
Look for internal haze, fungus, or separation
Inspect for dust clusters (small dust is normal; large clumps affect contrast)
Shine a light through the lens to check for fogging or residue
2. Aperture mechanism
Aperture blades should be dry, snappy, and evenly responsive
Any visible oil is a red flag
3. Focus & zoom rings
Both should turn smoothly with no grinding
Excess stiffness or looseness indicates mechanical wear
Check for zoom creep when pointing downwards
4. Tripod collar
Should rotate smoothly and lock firmly
Missing collars reduce the lens’ usability and resale value
5. Autofocus coupling
Test AF on a camera body with screw-drive capability
Listen for grinding or misalignment
6. Exterior condition
Look for dents near the filter thread or evidence of drops
Confirm the front and rear caps are included
Check if the lens hood fits securely
7. Price Expectations (Typical Used Market)
(General ranges—not pulled from any specific listing)
Excellent condition: high end of used pricing
Good condition: mid-range pricing
Collector-grade: sometimes significantly above normal market value
Poor / fungus / stiff rings: strongly discounted and generally not worth buying unless you plan to repair
This is a sought-after lens, so prices vary more widely than typical 20-year-old zooms.
8. Should You Buy It?
If you want a macro lens that gives you the flexibility of a zoom, this is essentially the only Nikon-made option — and still an extremely capable one. Its image quality at close distances rivals many primes, and the ability to fine-tune framing without moving the camera is a powerful advantage.
If you need fast AF, VR, modern coatings, or uncompromising telephoto sharpness, you should look elsewhere. But for macro shooters, product photographers, or Nikon collectors, the 70–180mm Micro remains a uniquely valuable tool.
The Noct 58mm f/1.2 is a purpose-built, character lens: extraordinary center rendering and one of the best historical solutions to sagittal-coma flare, paired with very smooth, flattering bokeh — but it demands respect. On modern digital sensors it rewards careful technique (precise MF, stopping down when you need uniform sharpness) and modern tools (live-view magnification, focus peaking) make it far more usable. If you want a unique “wide-open” look for portraits and low-light moods, the Noct is still hard to beat; if you need corner-to-corner clinical sharpness at f/1.2 for landscapes or architecture, this isn’t the lens for that job.
What Nikon designed this lens to solve
The Noct was created to solve a specific optical problem: sagittal coma flare in wide-aperture “normal” lenses (how point lights smear and turn into comets off-axis). Nikon’s design priorities were to perform exceptionally at maximum aperture for night and low-light shooting — not to chase modern corner-to-corner micro-resolution at every aperture. That heritage explains the lens’s soul: beautiful wide-open rendering and point-light control rather than “evenness” across the frame at f/1.2.
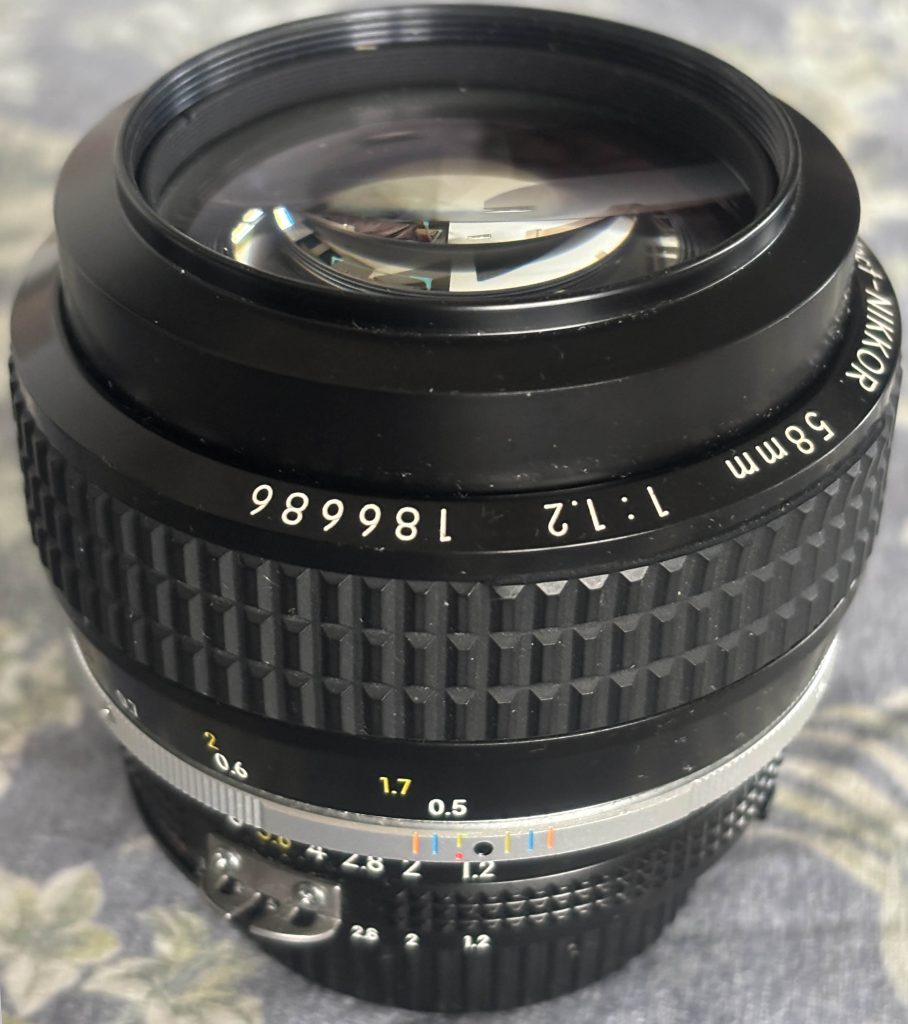
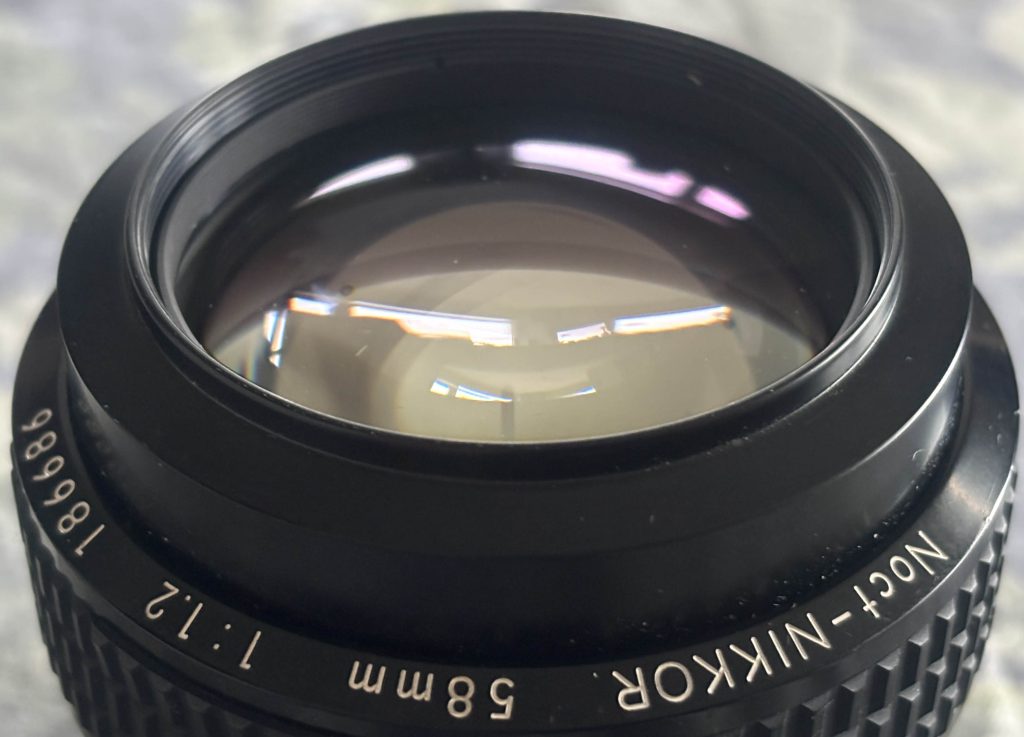
Build, ergonomics, and focusing
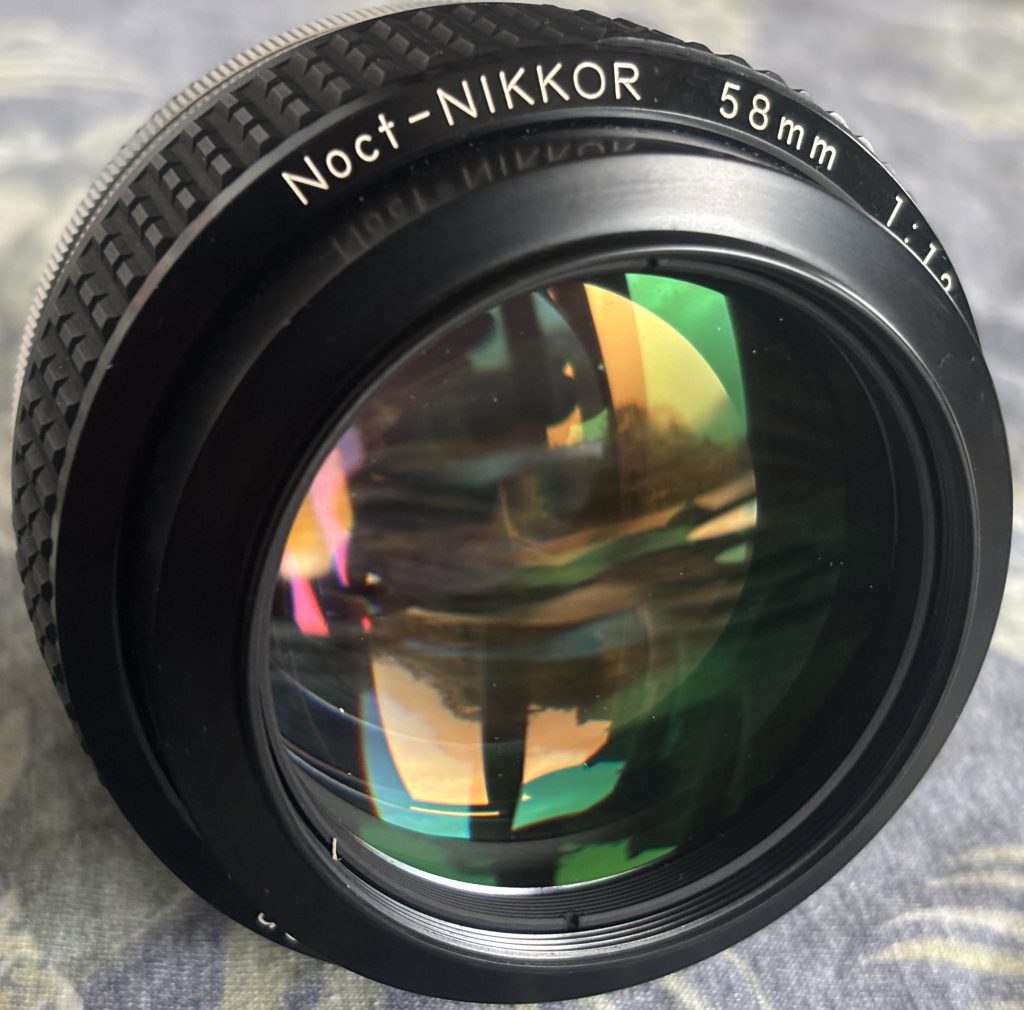
Build: Classic all-metal Nikon Ai/AI-S construction — solid, compact, with engraved markings and a tactile aperture ring. Feels like a precision tool.
Focus: Manual focus only. At f/1.2 the depth of field is wafer-thin; tiny focus errors are punished. On mirrorless bodies use focus-peaking and magnified live view — these modern tools make the Noct usable for critical wide-open work. If you plan to zone-focus or shoot moving subjects, the lens is a poor fit unless you’re very practiced.
Optical performance
Center: Very strong. The Noct’s centre performance wide open is unusually good for a vintage f/1.2; it produces high perceived sharpness and contrast when perfectly focused. This is consistent across modern tests.
Midframe & corners: The outer field lags at f/1.2. Expect softness and lower micro-contrast towards the edges at infinity focus; stopping down improves it dramatically, with most reviewers finding the lens “most comfortable” between f/2 and f/5.6 for balanced frame performance. If you need edge-to-edge sharpness on a high-resolution mirrorless sensor, anticipate stopping down.
Practical takeaway: center shots wide open = magical; wide scenes at f/1.2 = mixed results unless you stop down.
Bokeh and rendering
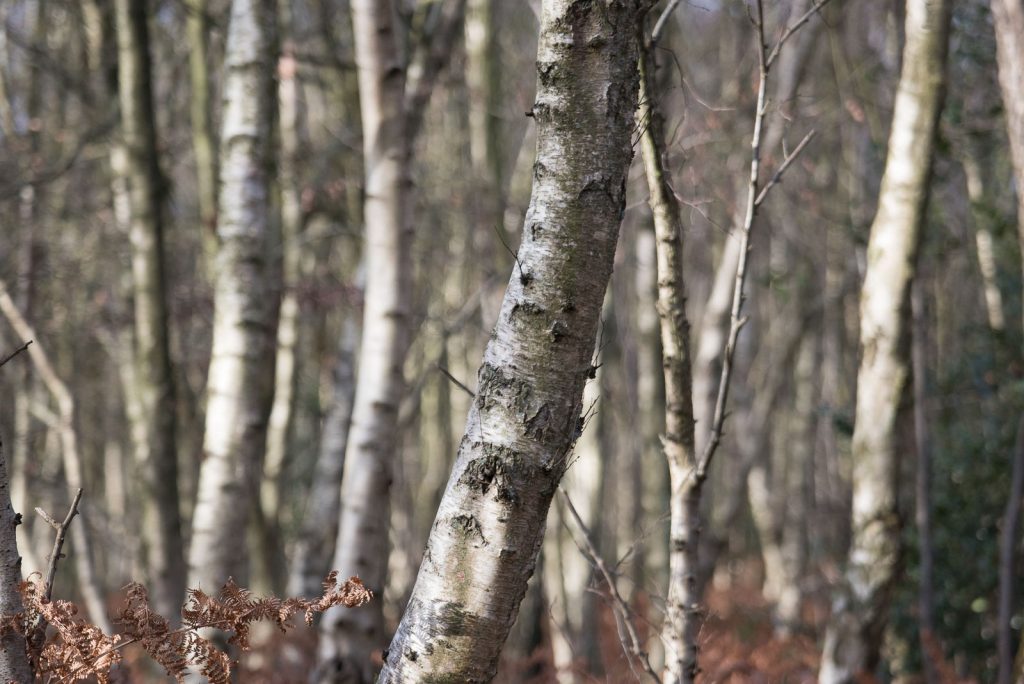
This is where the Noct shines emotionally: buttery, smooth out-of-focus transitions and pleasing highlight shapes from its blade geometry. Reviewers consistently praise its “non-busy” bokeh and subject separation that flatters skin and portraits. Expect rounded, painterly highlights without aggressive onion-ringing in most situations. If your aim is subject isolation and a classic portrait look, the Noct delivers.
Coma, point-light handling, and night use
The Noct was explicitly tuned to minimize sagittal coma flare, so point lights in the corners (street lights, stars) behave far better than most “normal” lenses wide open — fewer comet tails, more consistent discs. For night street photography and low-light environmental portraits, that unique coma control is a major reason to reach for the Noct.
Chromatic aberration & vignetting
Axial/Lateral CA: Longitudinal chromatic aberration (color fringing in front/behind focus) is noticeable at very wide apertures; lateral CA in the outer frame is more pronounced on high-pixel sensors. Most reviews show CA becoming much more manageable by f/2.8–f/4.
Vignetting: Expect noticeable fall-off at f/1.2 — often a stop or two in the corners at infinity focus. Closer focusing distances reduce apparent vignetting, and stopping down tames it.
Practical tip: shoot RAW and use targeted CA removal + profile vignette correction (or use it creatively — the vignetting can be flattering on portraits).
How it behaves on modern mirrorless / high-MP bodies
Adapted to AF bodies (via FTZ or other adapters) or used with adapters on Sony/Canon mirrorless, the Noct shows both its strengths and weaknesses more clearly:
Strength: centre micro-rendering and bokeh are preserved; coma control remains a standout advantage for night work.
Weakness: higher-resolution sensors reveal the midframe and corner weaknesses and CA more readily; some reviewers recommend stopping down more quickly than you might have with an older film era body.
Practical workflow: use magnified live view, focus peaking, and consider slight back-button magnify + shutter-half-press preview to ensure micro-focus accuracy.
Recommended uses
Environmental and studio portraits where you can control focus and want creamy backgrounds.
Street / night work with point lights — the Noct’s coma control makes it exceptional here.
Creative wide-open photography where center pop and subject separation are priorities.
Avoid: landscapes or architectural work where corner resolution at wide apertures is critical.
How to get the best images from the Noct
Use focus-magnification and focus peaking on mirrorless bodies.
If subject distance > ~10–15 m (infinity/landscape), stop down to f/4–f/8 for better edge performance.
For portraits where you want strong subject separation, f/1.2–f/1.8 is spectacular — just nail focus.
Shoot RAW and apply modest CA correction and vignette control in post; preserve the bokeh and micro-contrast.
When shooting night points, frame to use the Noct’s coma strength — corner lights will behave nicely compared to other “normal” lenses.
Quirks
The lens rewards technique: minor focus errors are visible at f/1.2.
It has a personality — micro-contrast and “pop” vs modern clinical contrast can vary depending on sensor and processing.
Some testers report a focus shift or slightly different micro-behavior depending on camera (film vs high-MP digital), so check your pairing.
Who should buy this?
Buy it if you are looking for a unique portrait/night lens with classic rendering and you enjoy manual focus craftsmanship. Don’t buy it if you need modern AF convenience or clinical, pixel-peeping corner sharpness wide open for technical landscape or studio product work. It’s a specialty tool that rewards respect and technique.
Comparing to modern alternatives
Compared with newer 50–60mm fast lenses (and Nikon’s own modern Noct Z variants), the vintage Noct is less “even” across the frame but has a distinctive personality that many modern ultra-fast lenses try to mimic. If you want perfectly neutral, ultra-sharp wide-open modern optics, look to contemporary designs; if you want classic character, silky bokeh, and the legendary night performance, the vintage Noct is a soul-fulfiling choice.
Further reading
Highly recommended if you want to dive deeper: Photography Life (detailed optical measurements and field tests), Phillip Reeve (recent mirrorless/42–61MP body tests), Moment (coma and night testing), Ming Thein (practical imaging notes), The Cine Lens and Steve Huff (character and sample galleries).
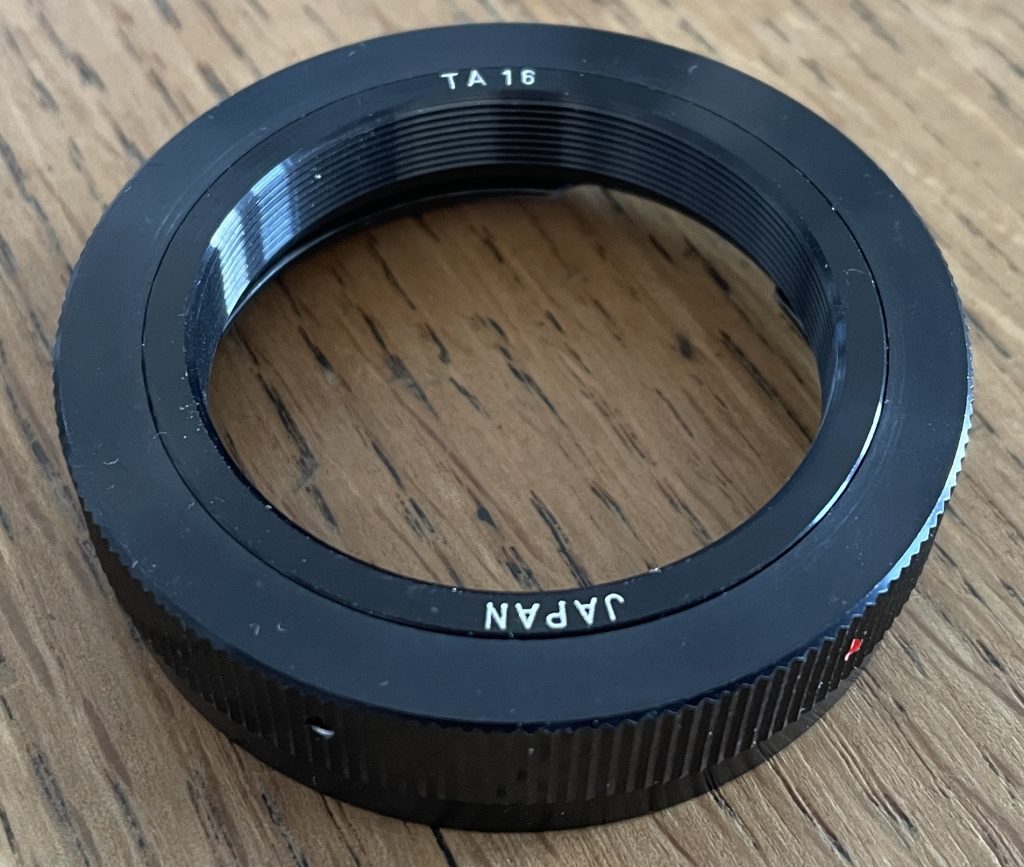
Many T2 mounts and Vivitar lens converters have a numbering system to identify the camera lens mount fitting. This originated from Taisei Kōgaku the originator of the Tamron lens system. Vivitar also used the numbering system for their converters, so if you see one with 2x-4 you know it’s a 2x converter with a Canon FD lens mount.
Below is a comprehensive list of the numbering system for the T2 mount and the 2x and 3x converters of Vivitar. Other lens manufacturers may have adopted the same system. The ones in bold are confirmed as existing, others are discovered from researching various web sites, but I’ve never seen an actual example for sale.
TA-1 / 2x-1 / 3x-1: For M42 screw mount camera bodies such as Chinon, Cosina, Praktica, Zenit, early Asahi Pentax, Yashica and Fujica
TA-2 / 2x-2 / 3x-2: For Exakta camera bodies, and some Topcon and Praktica models with same mount.
TA-3 / 2x-3 / 3x-3: For Nikon F/AI cameras bodies.
TA-4 / 2x-4 / 3x-4: For Canon FL/FD camera bodies.
TA-5 / 2x-5 / 3x-5: For Minolta SR /MC/MD camera bodies.
TA-6 / 2x-6 / 3x-6: For Miranda (M42 screw-mount) camera bodies.
TA-7 / 2x-7 / 3x-7: For Konica AR camera bodies.
TA-8 / 2x-8 / 3x-8: For Konica F camera bodies.
TA-9 / 2x-9 / 3x-9: For Miranda Sensorex Series cameras
TA-10 / 2x-10 / 3x-10: For Leicaflex
TA-11 / 2x-11 / 3x-11: For M39 (LTM/Leica) screwmount camera bodies such as Leica, FED, Zenit, etc
TA-12 / 2x-12 / 3x-12: For Olympus Pen F / FT
TA-13 / 2x-13 / 3x-13: For Alpa Reflex camera bodies.
TA-14 / 2x-14 / 3x-14: For 16mm C mount
TA-15 / 2x-15 / 3x-15: For Topcon / Exacta camera bodies
TA-16 / 2x-16 / 3x-16: For Zeiss Contarex camera bodies.
TA-17 / 2x-17 / 3x-17: For Topcon Auto 100camera bodies.
TA-18 / 2x-18 / 3x-18: For Zeiss Icarex camera bodies.
TA-19 / 2x-19 / 3x-19: For Kodak Retina Reflex
TA-20 / 2x-20 / 3x-20: For Olympus FTL
TA-21 / 2x-21 / 3x-21: For Olympus OMcamera bodies.
TA-22 / 2x-22 / 3x-22: For Pentax K bodies and Chinon, Ricoh etc with same mount etc
TA-23 / 2x-23 / 3x-23: For Fujica AXcamera bodies.
TA-24 / 2x-24 / 3x-24: For Contax and Yashica camera bodies with C/Y bayonet mount.
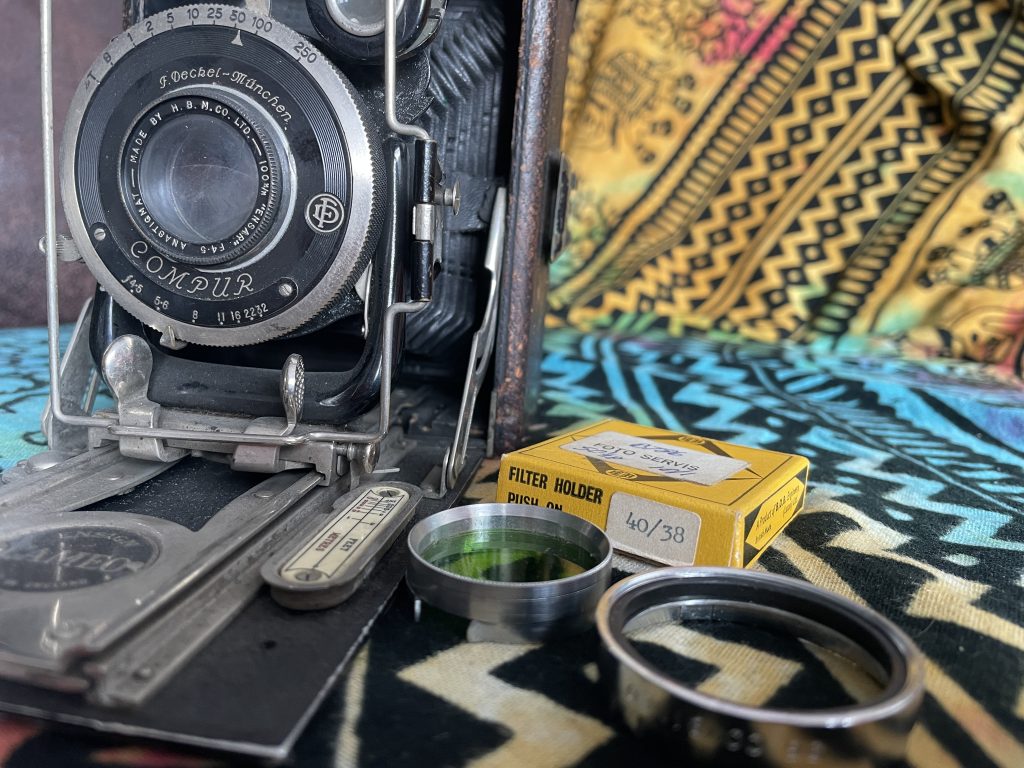
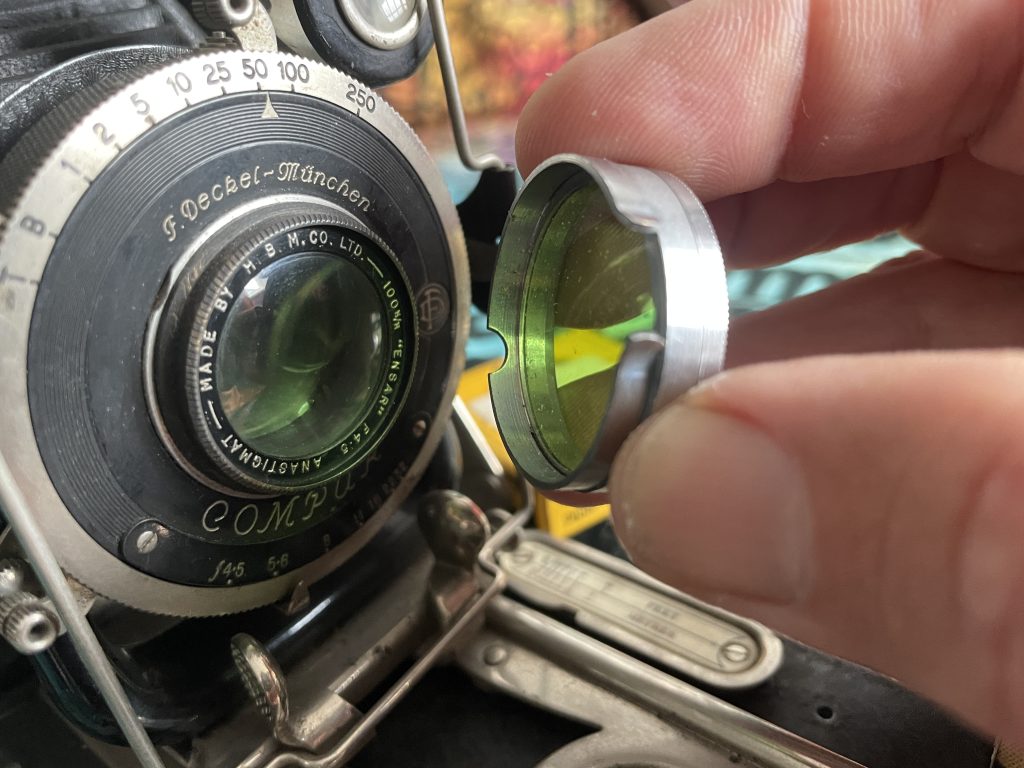
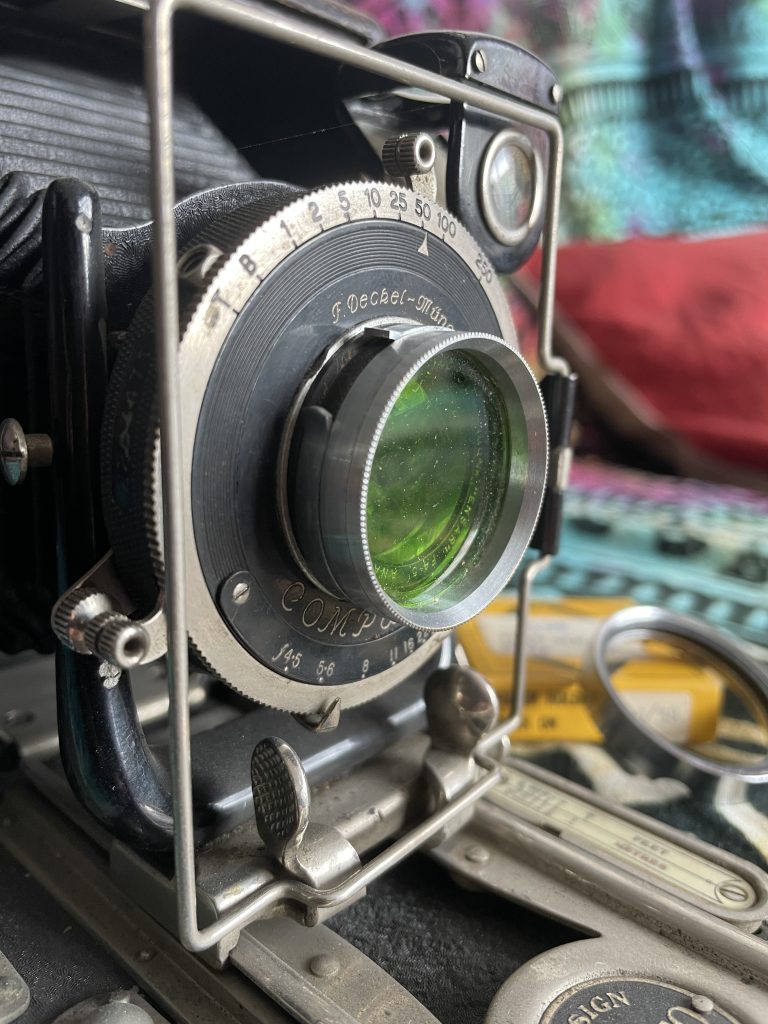
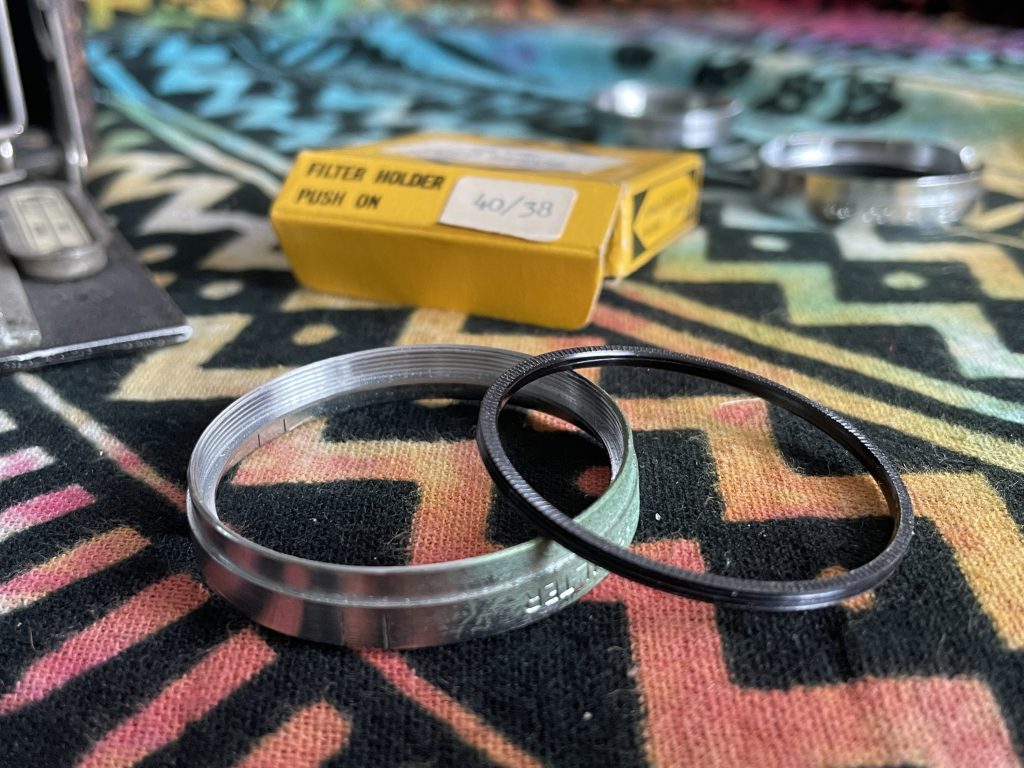
Many vintage cameras had a lens without a filter thread. Manufacturers such as BDB, Leech and Actina created push-on filters for users of that type of camera.
These filters, typical with an aluminium mount, push over the lens and hold in place with a small spring clip.
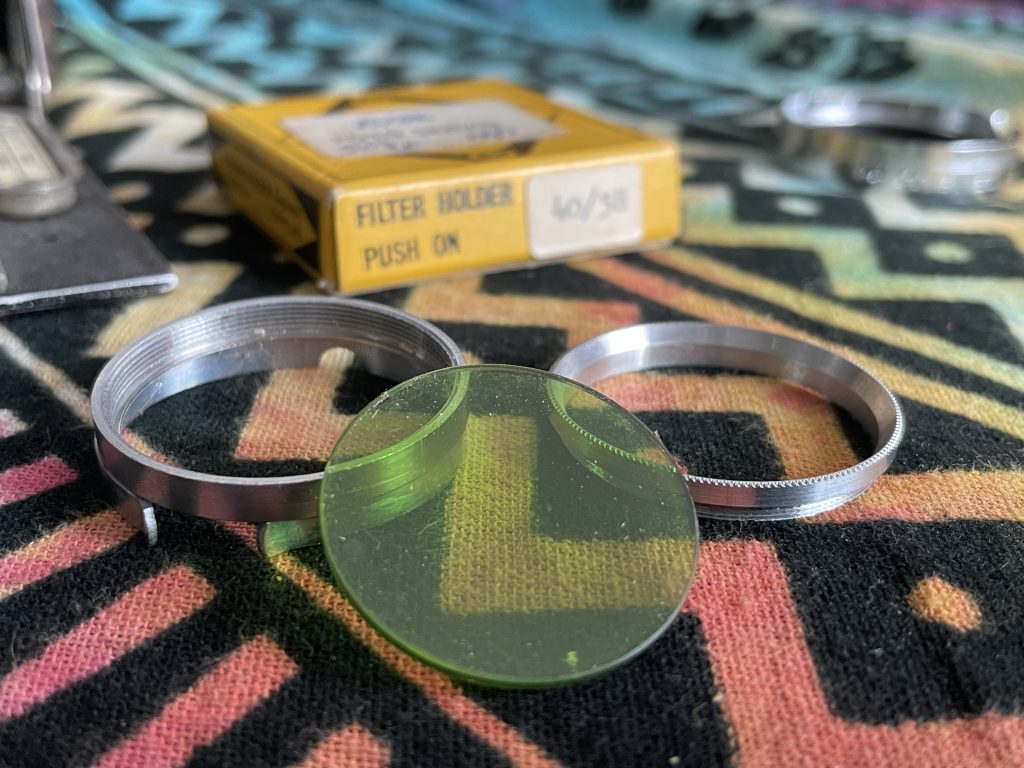
They came without a glass filter and had either a plastic or an aluminium retaining ring to hold the glass or resin circular filter in place.
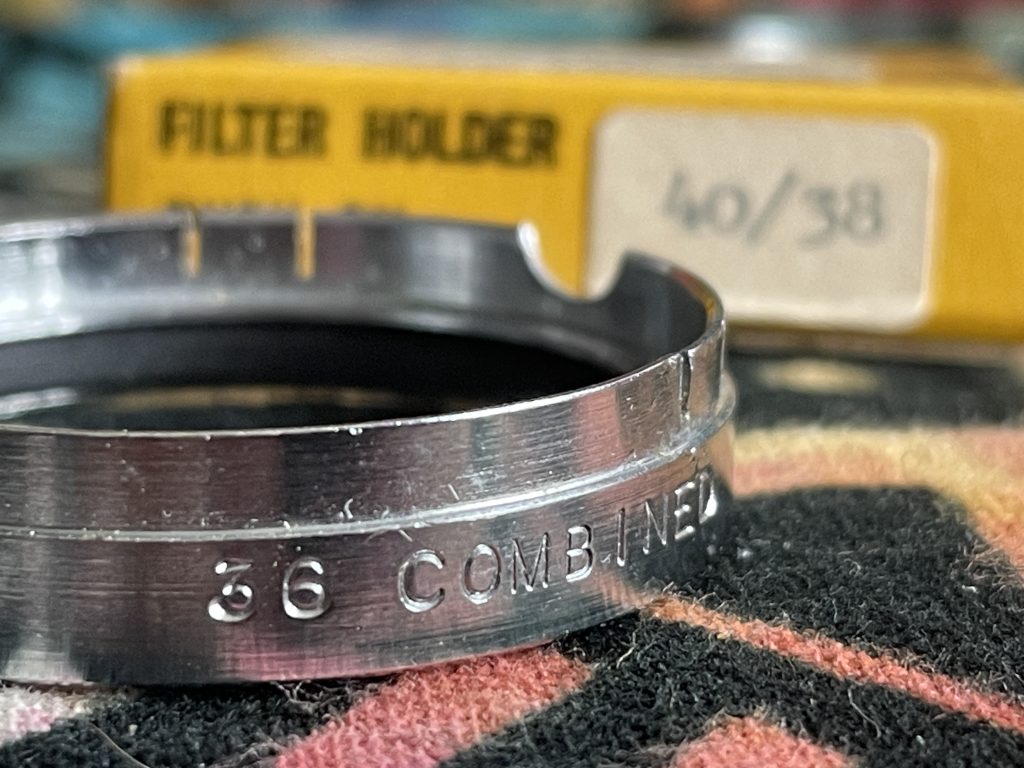
They’re sold with two measurements in millimetres. The first number is the lens diameter, and the second is the added filter diameter. Usually just the push on size was engraved on the rim of the holder while both numbers appear on the box – eg 40/38.
There used to be a wide variety of glass filters that can still be found in second hand camera shops or auction sites and resin or gel ones can be easily cut to size from cokin or Kodak Wratten style filters so there’s many options to hand.
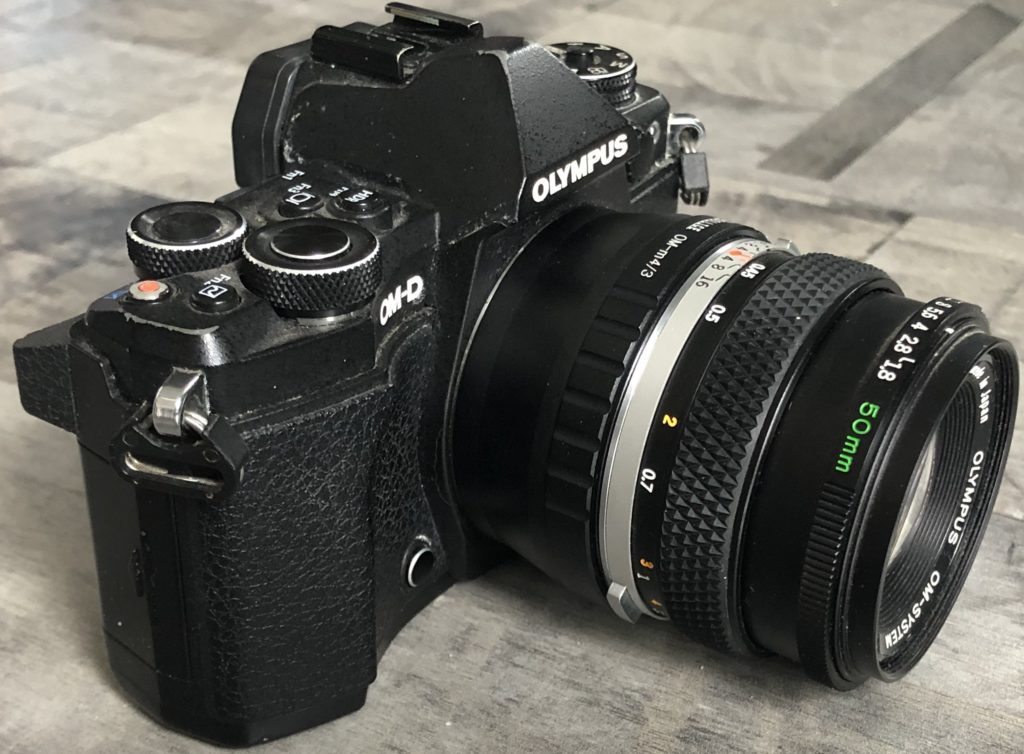
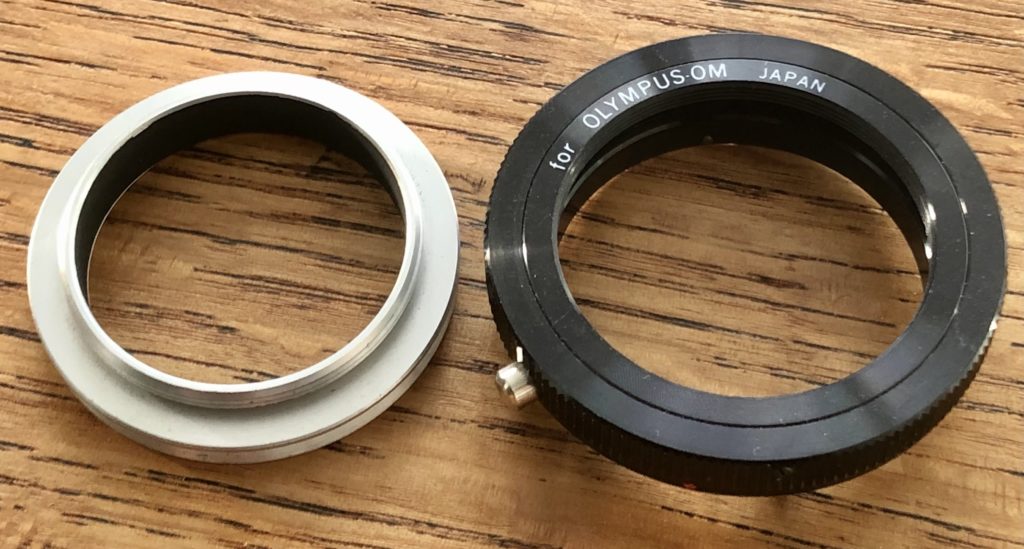
A reversing ring reverses an interchangeable lens on the camera body. One side has a camera body mount, the other side has a diameter the same size as the lens’ filter thread you intend to reverse. A “Nikon AI to 55mm reversing ring” for example would allow a Nikon lens with a 55mm thread to be reversed on a Nikon body with an AI mount.
Reversing a lens makes it perform like a macro lens at a fraction of the cost.
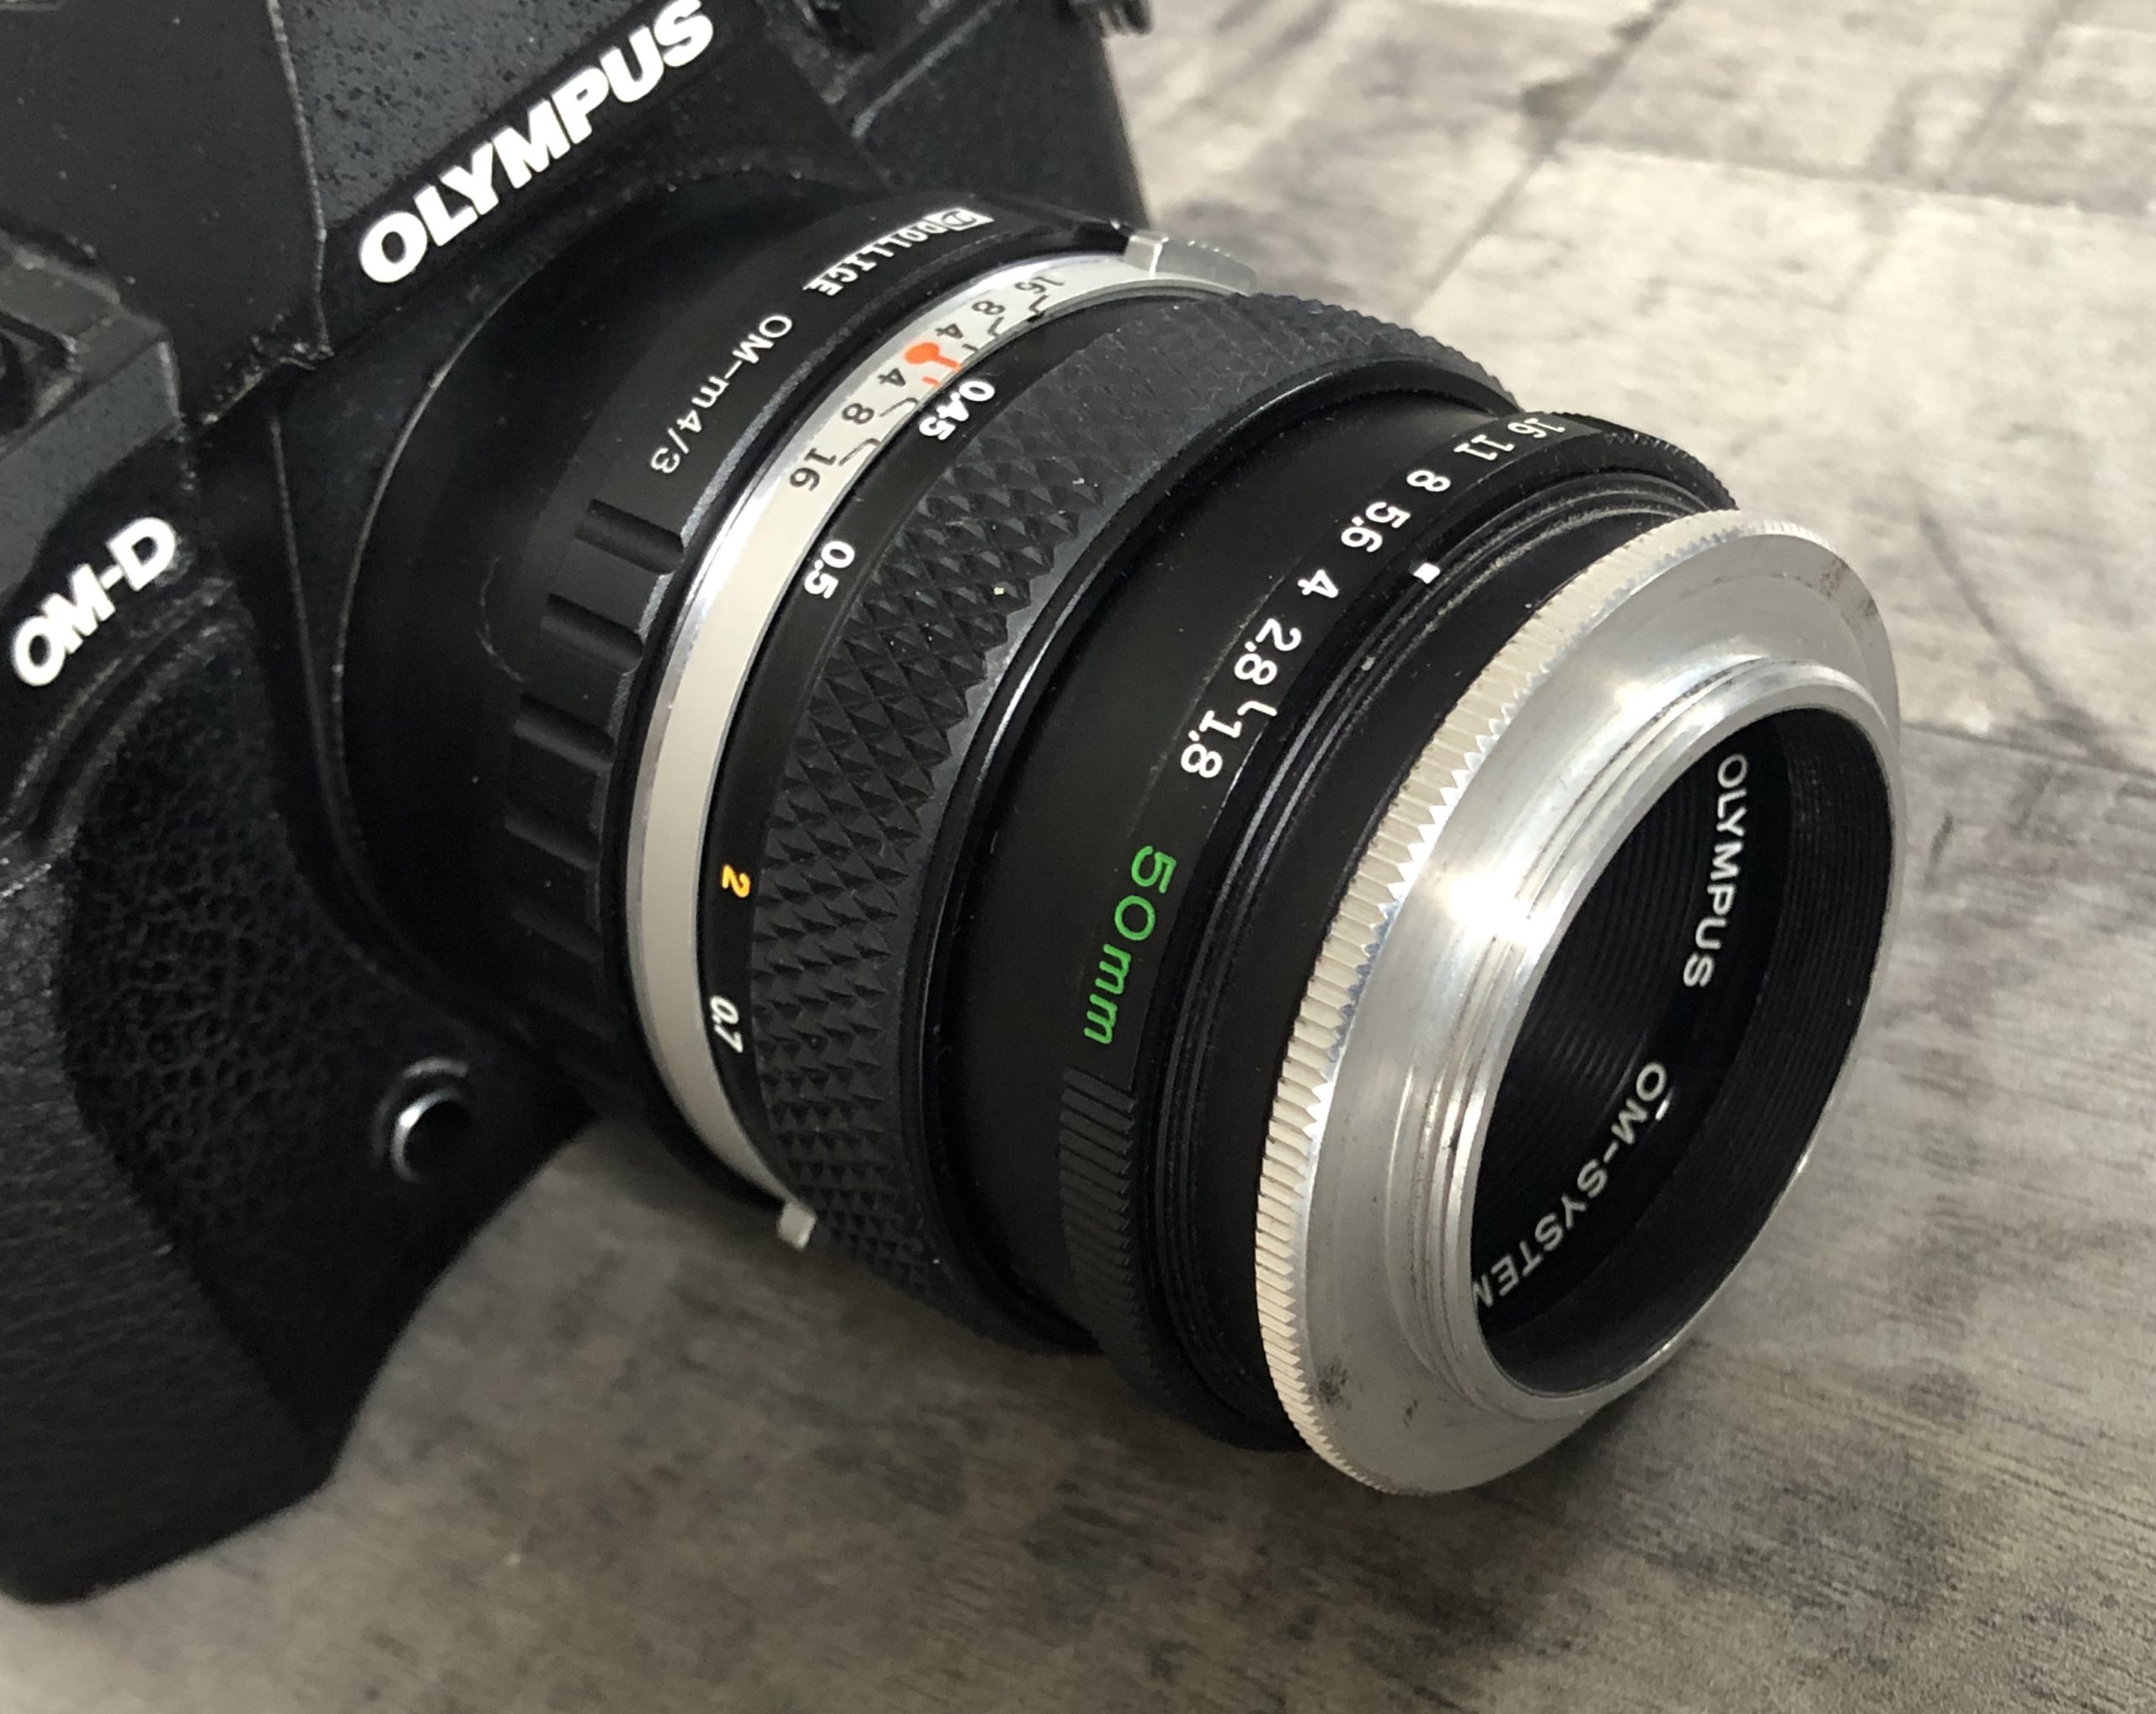
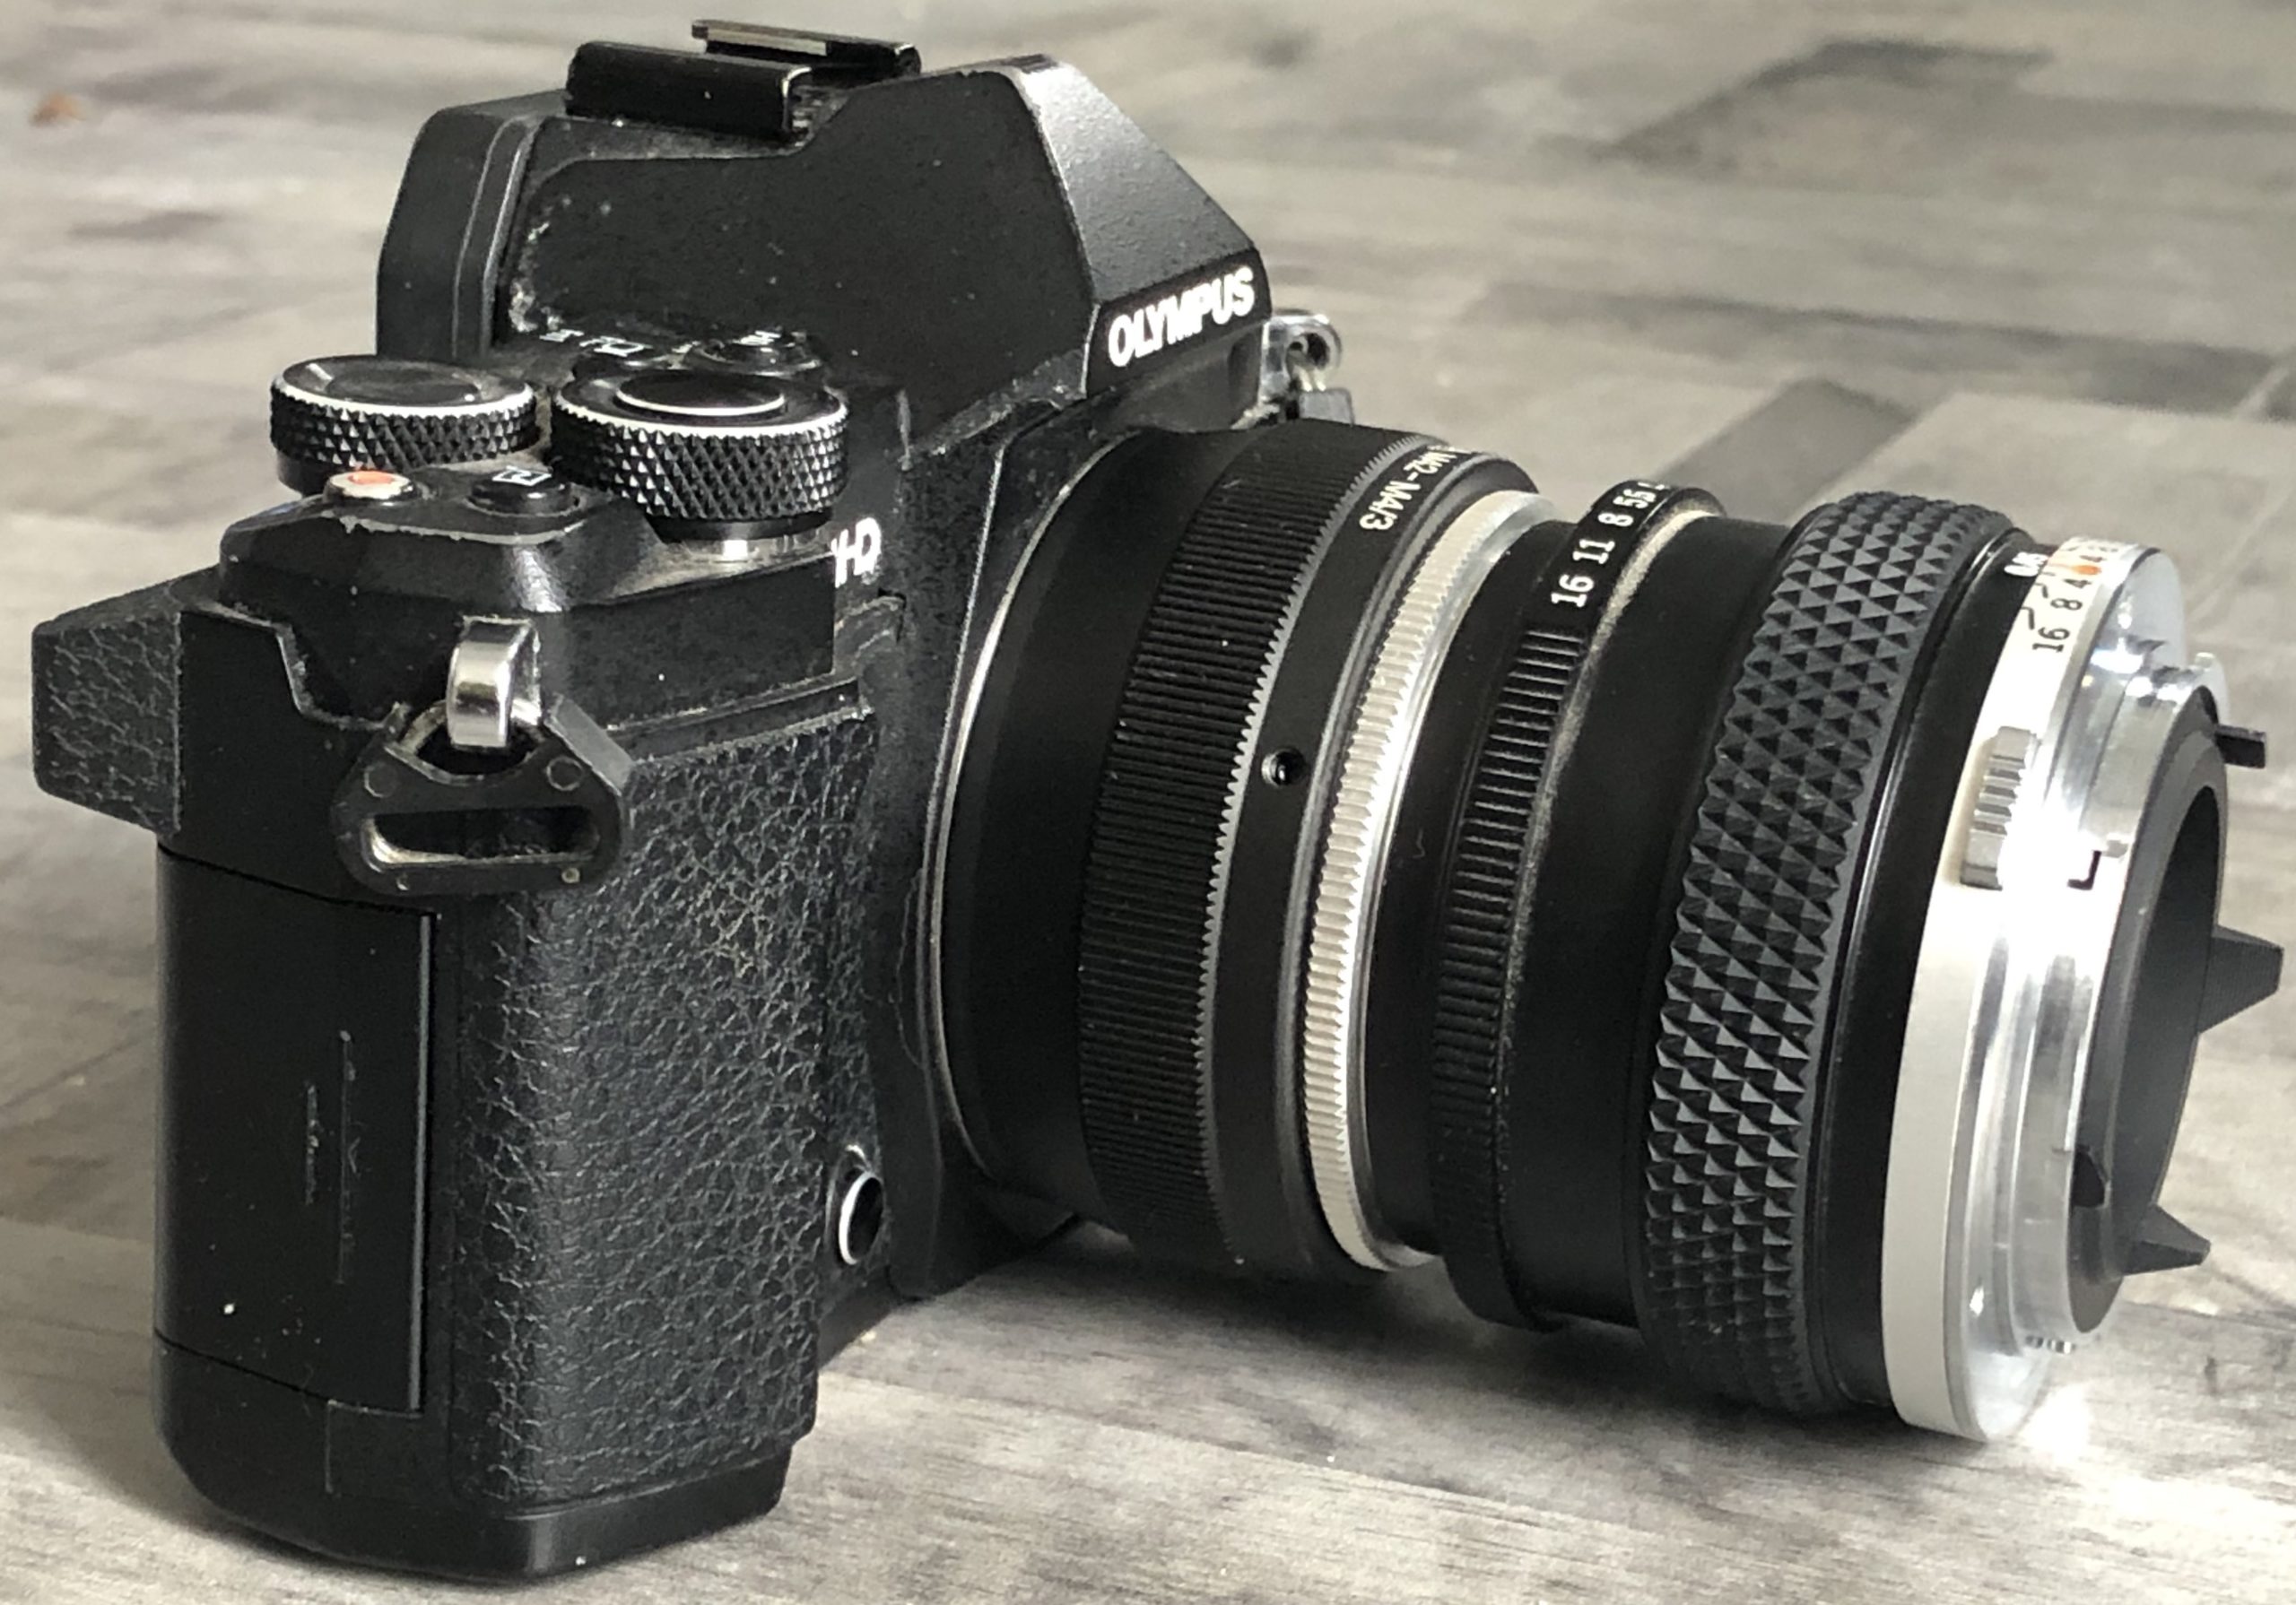
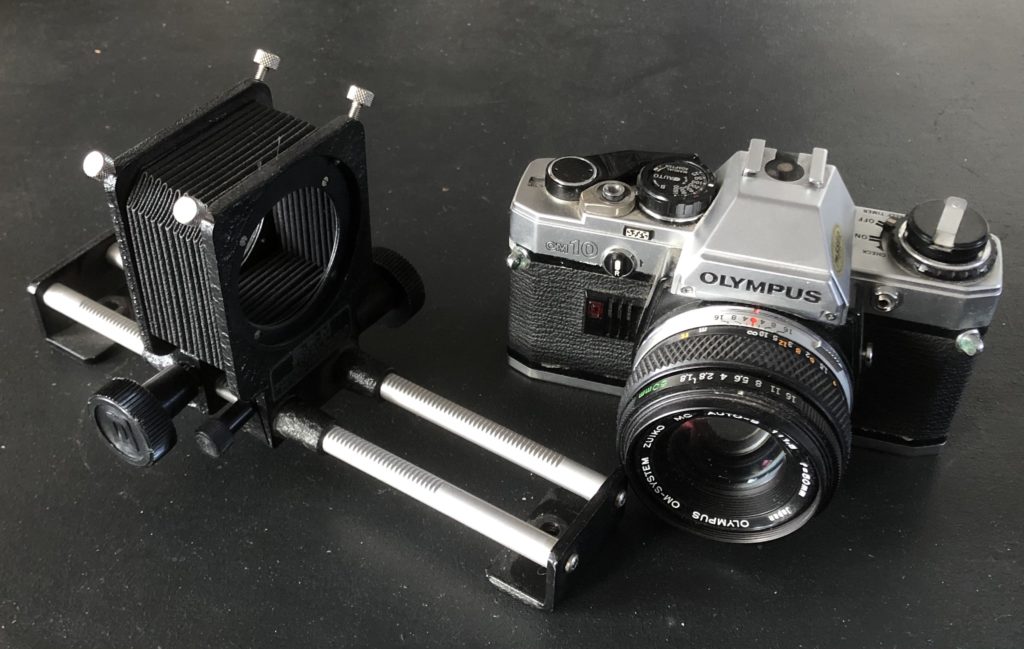
To show the difference I mounted an Olympus 50mm Zuiko on an Olympus Micro 4/3 camera.
I then attached a reverse ring to the front of the lens
and turned it around to fit to the camera backwards.
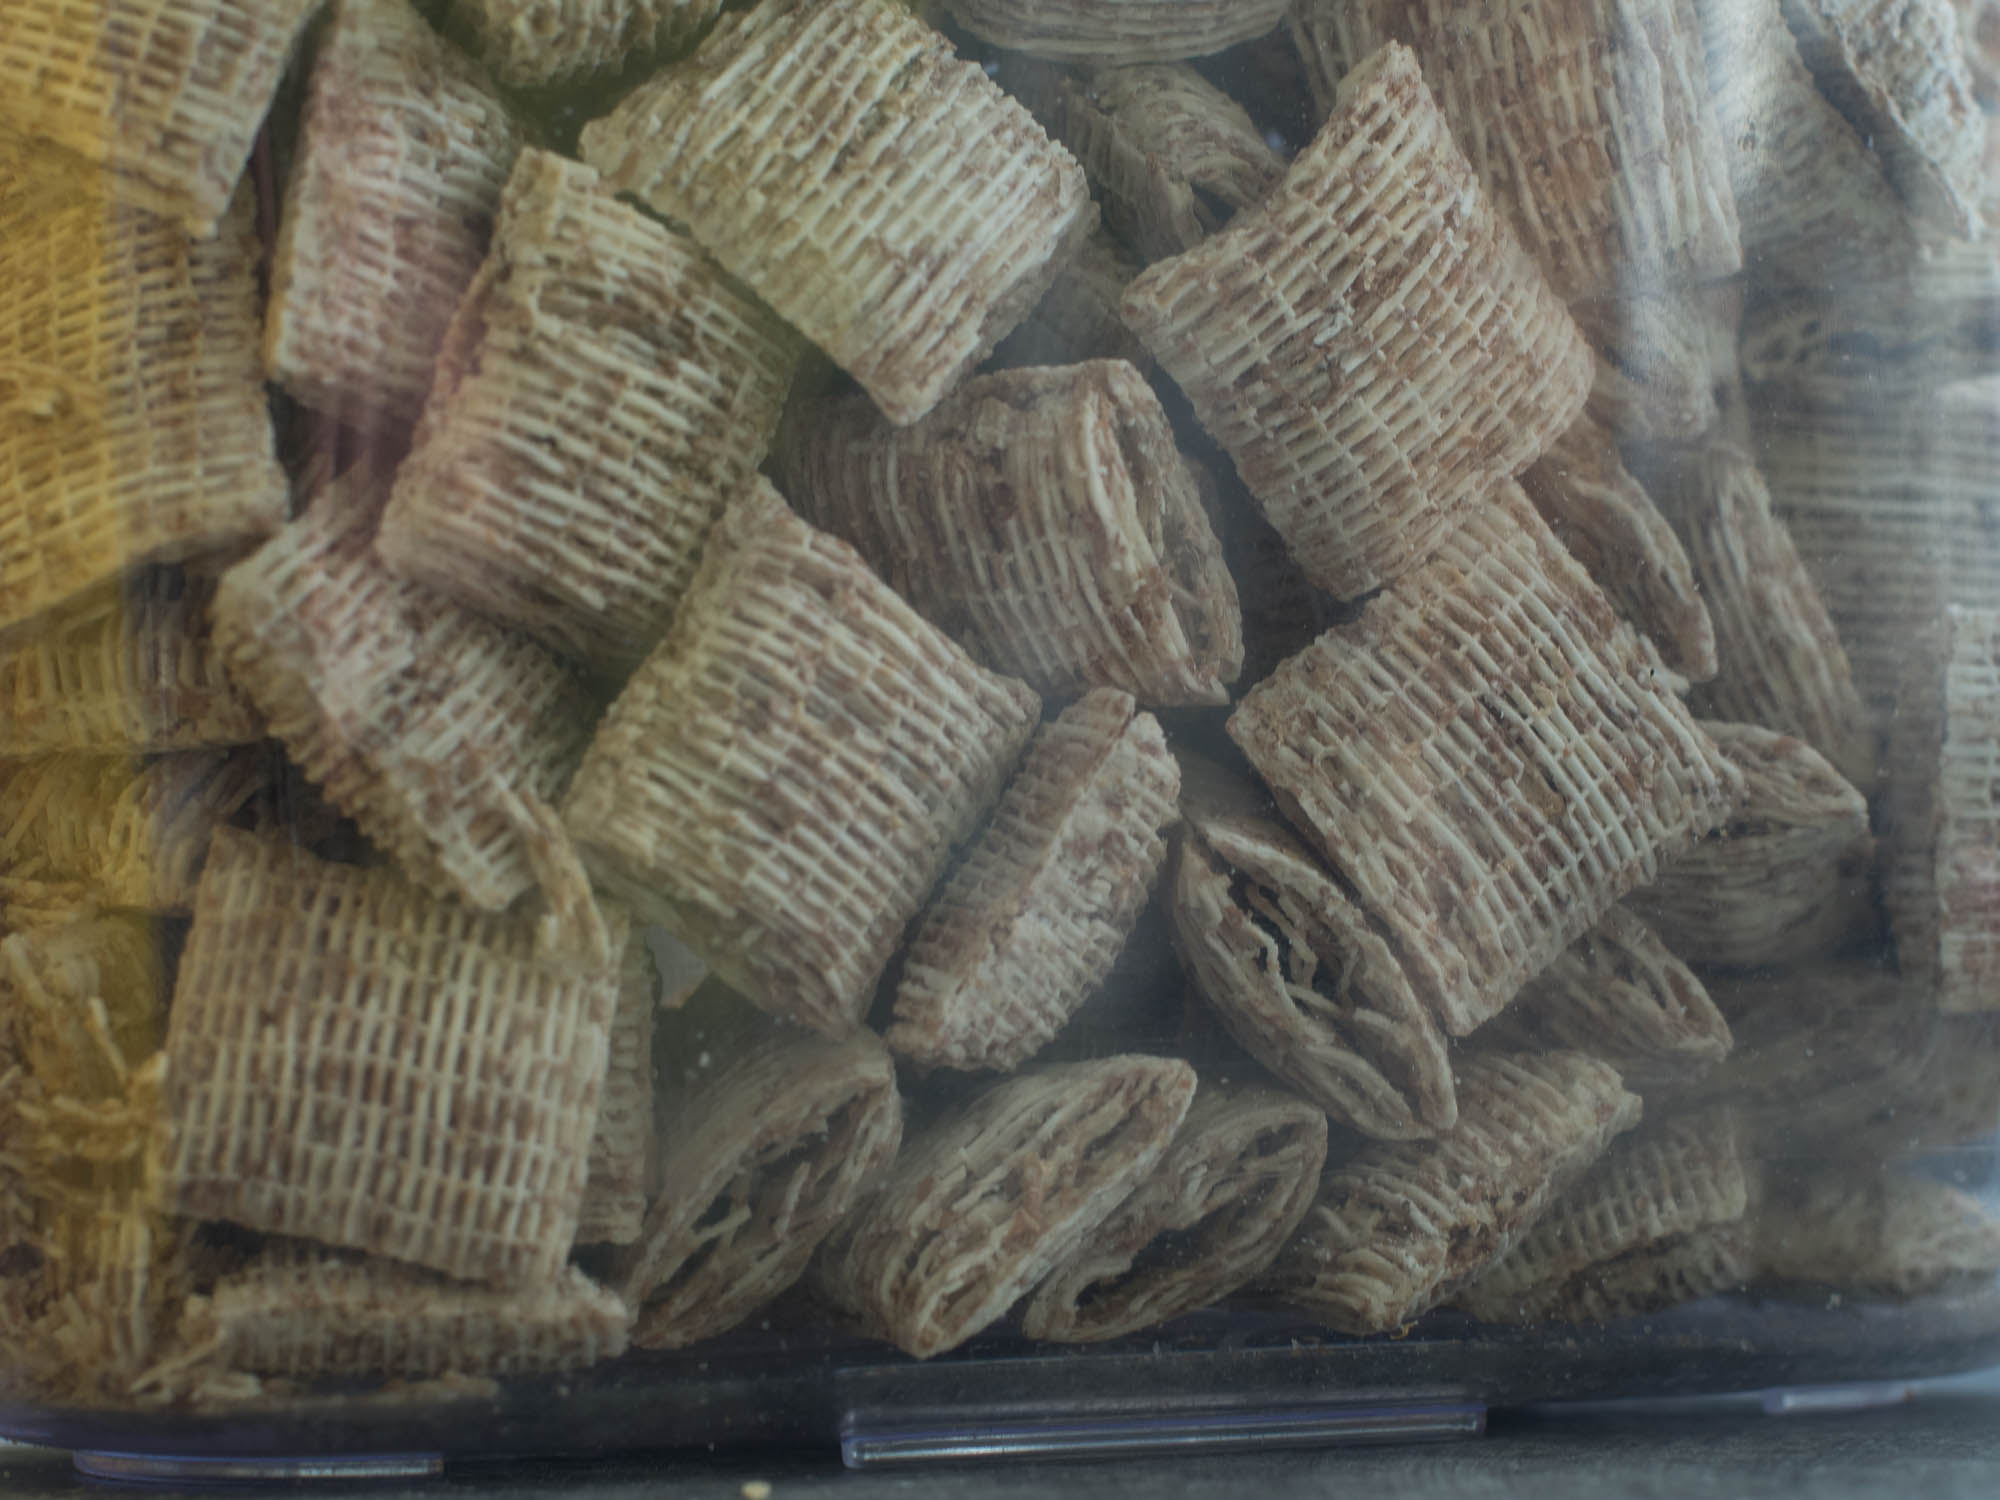
I took a photo of breakfast cereal inside a plastic container with the lens in both the forward position
and the reversed position.
The lens was set to its closest setting of 0.45m for both photos. As you can see reversing the lens with a lens reverse ring allows much closer photographs to be taken.
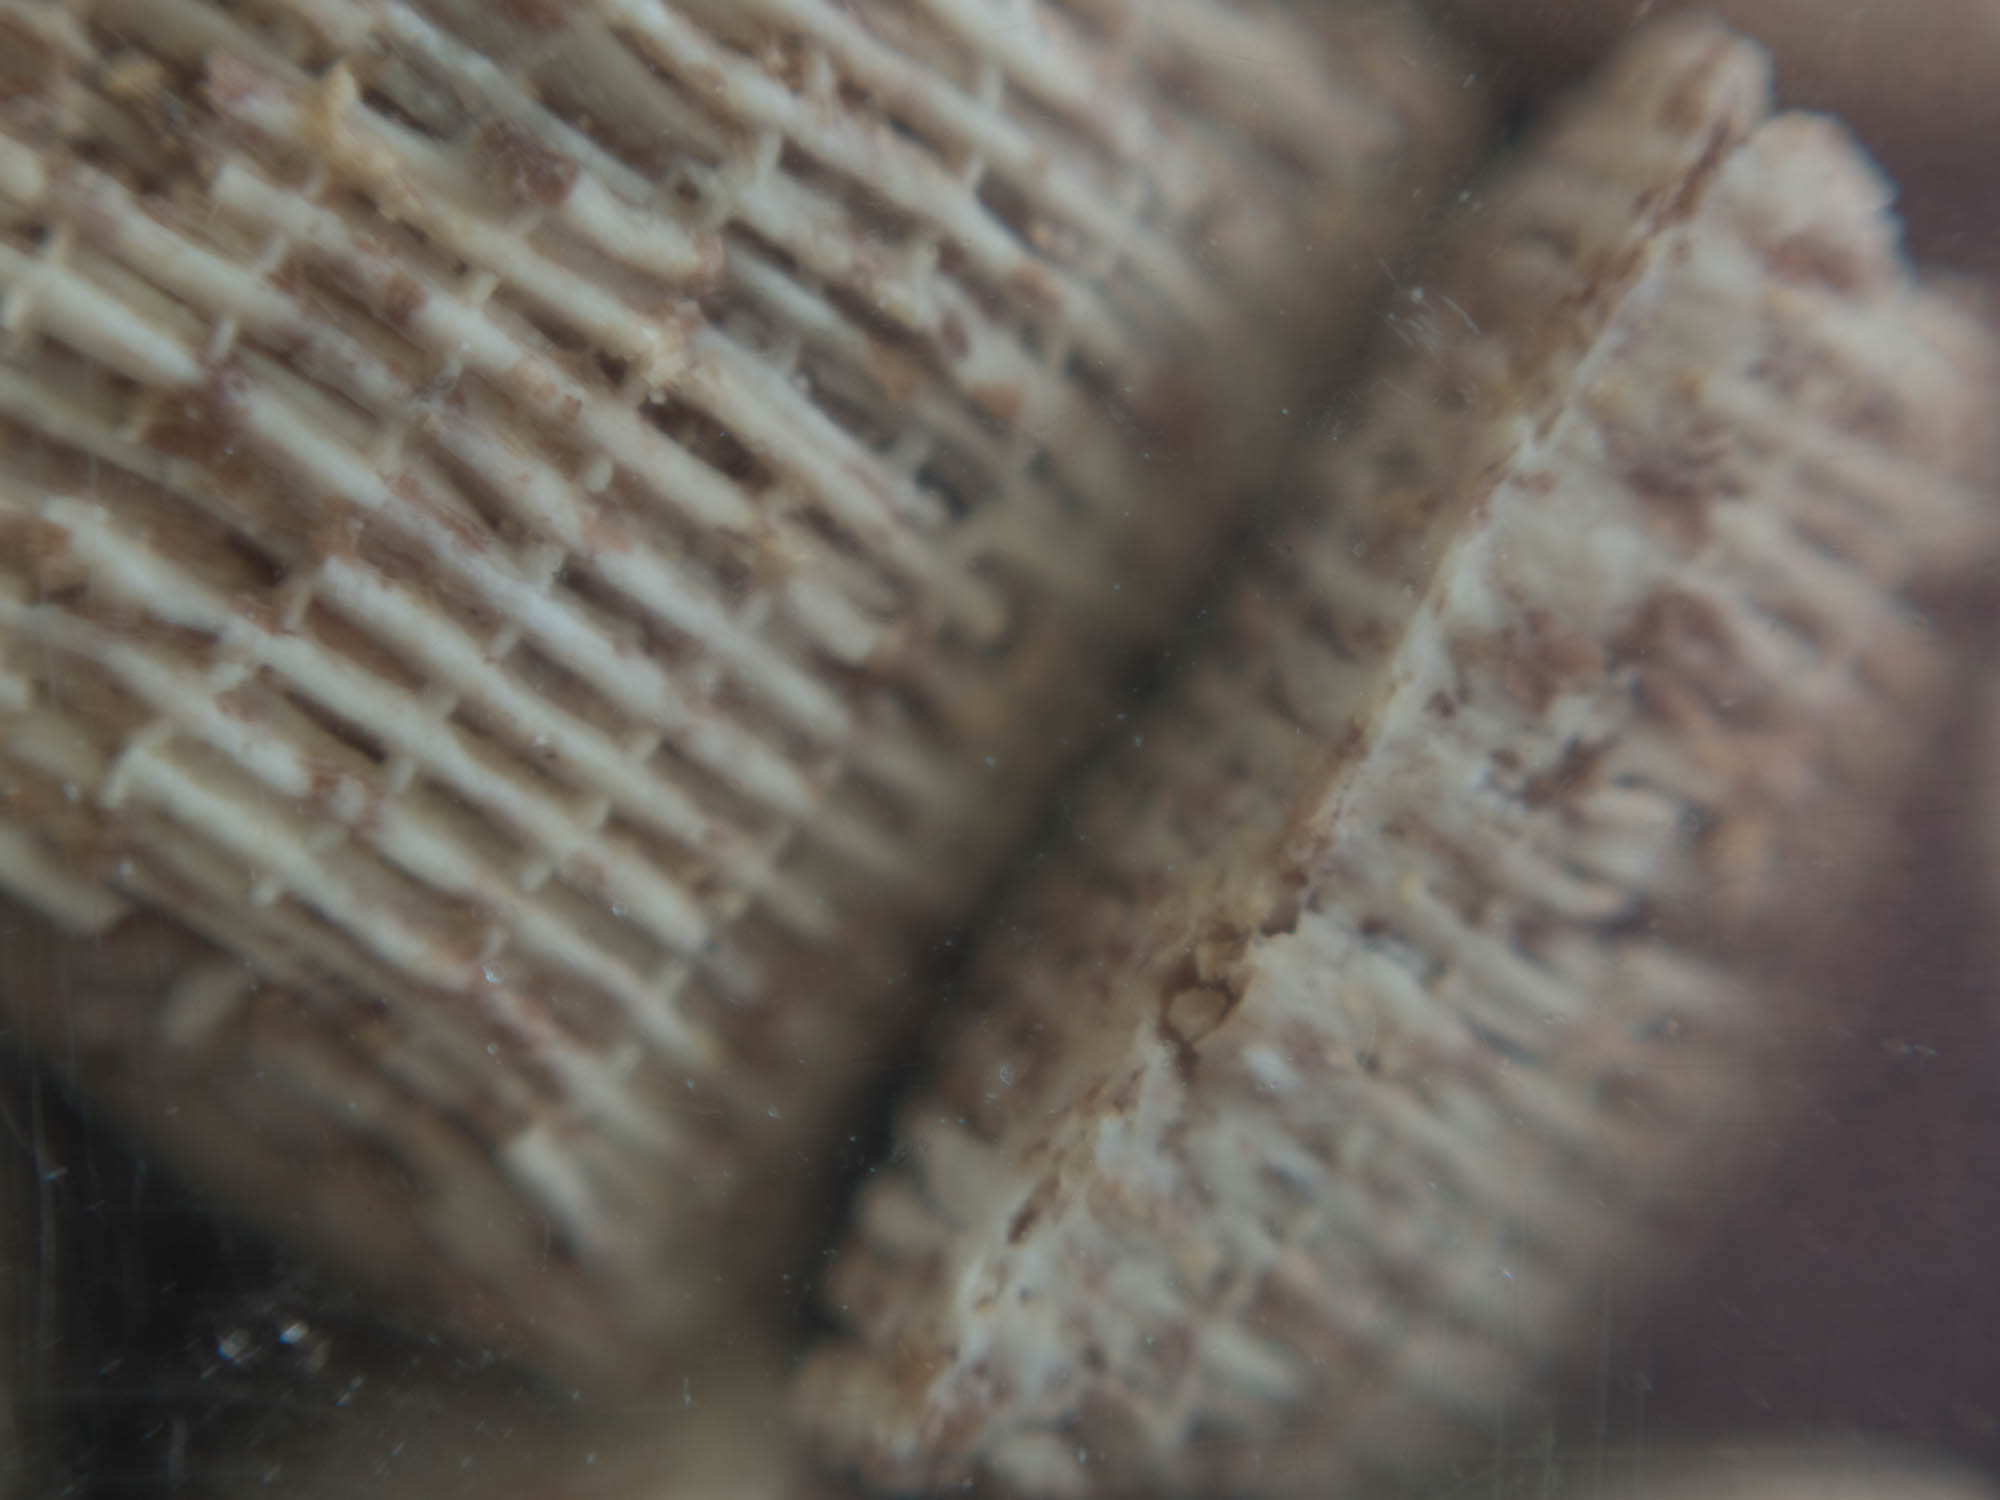
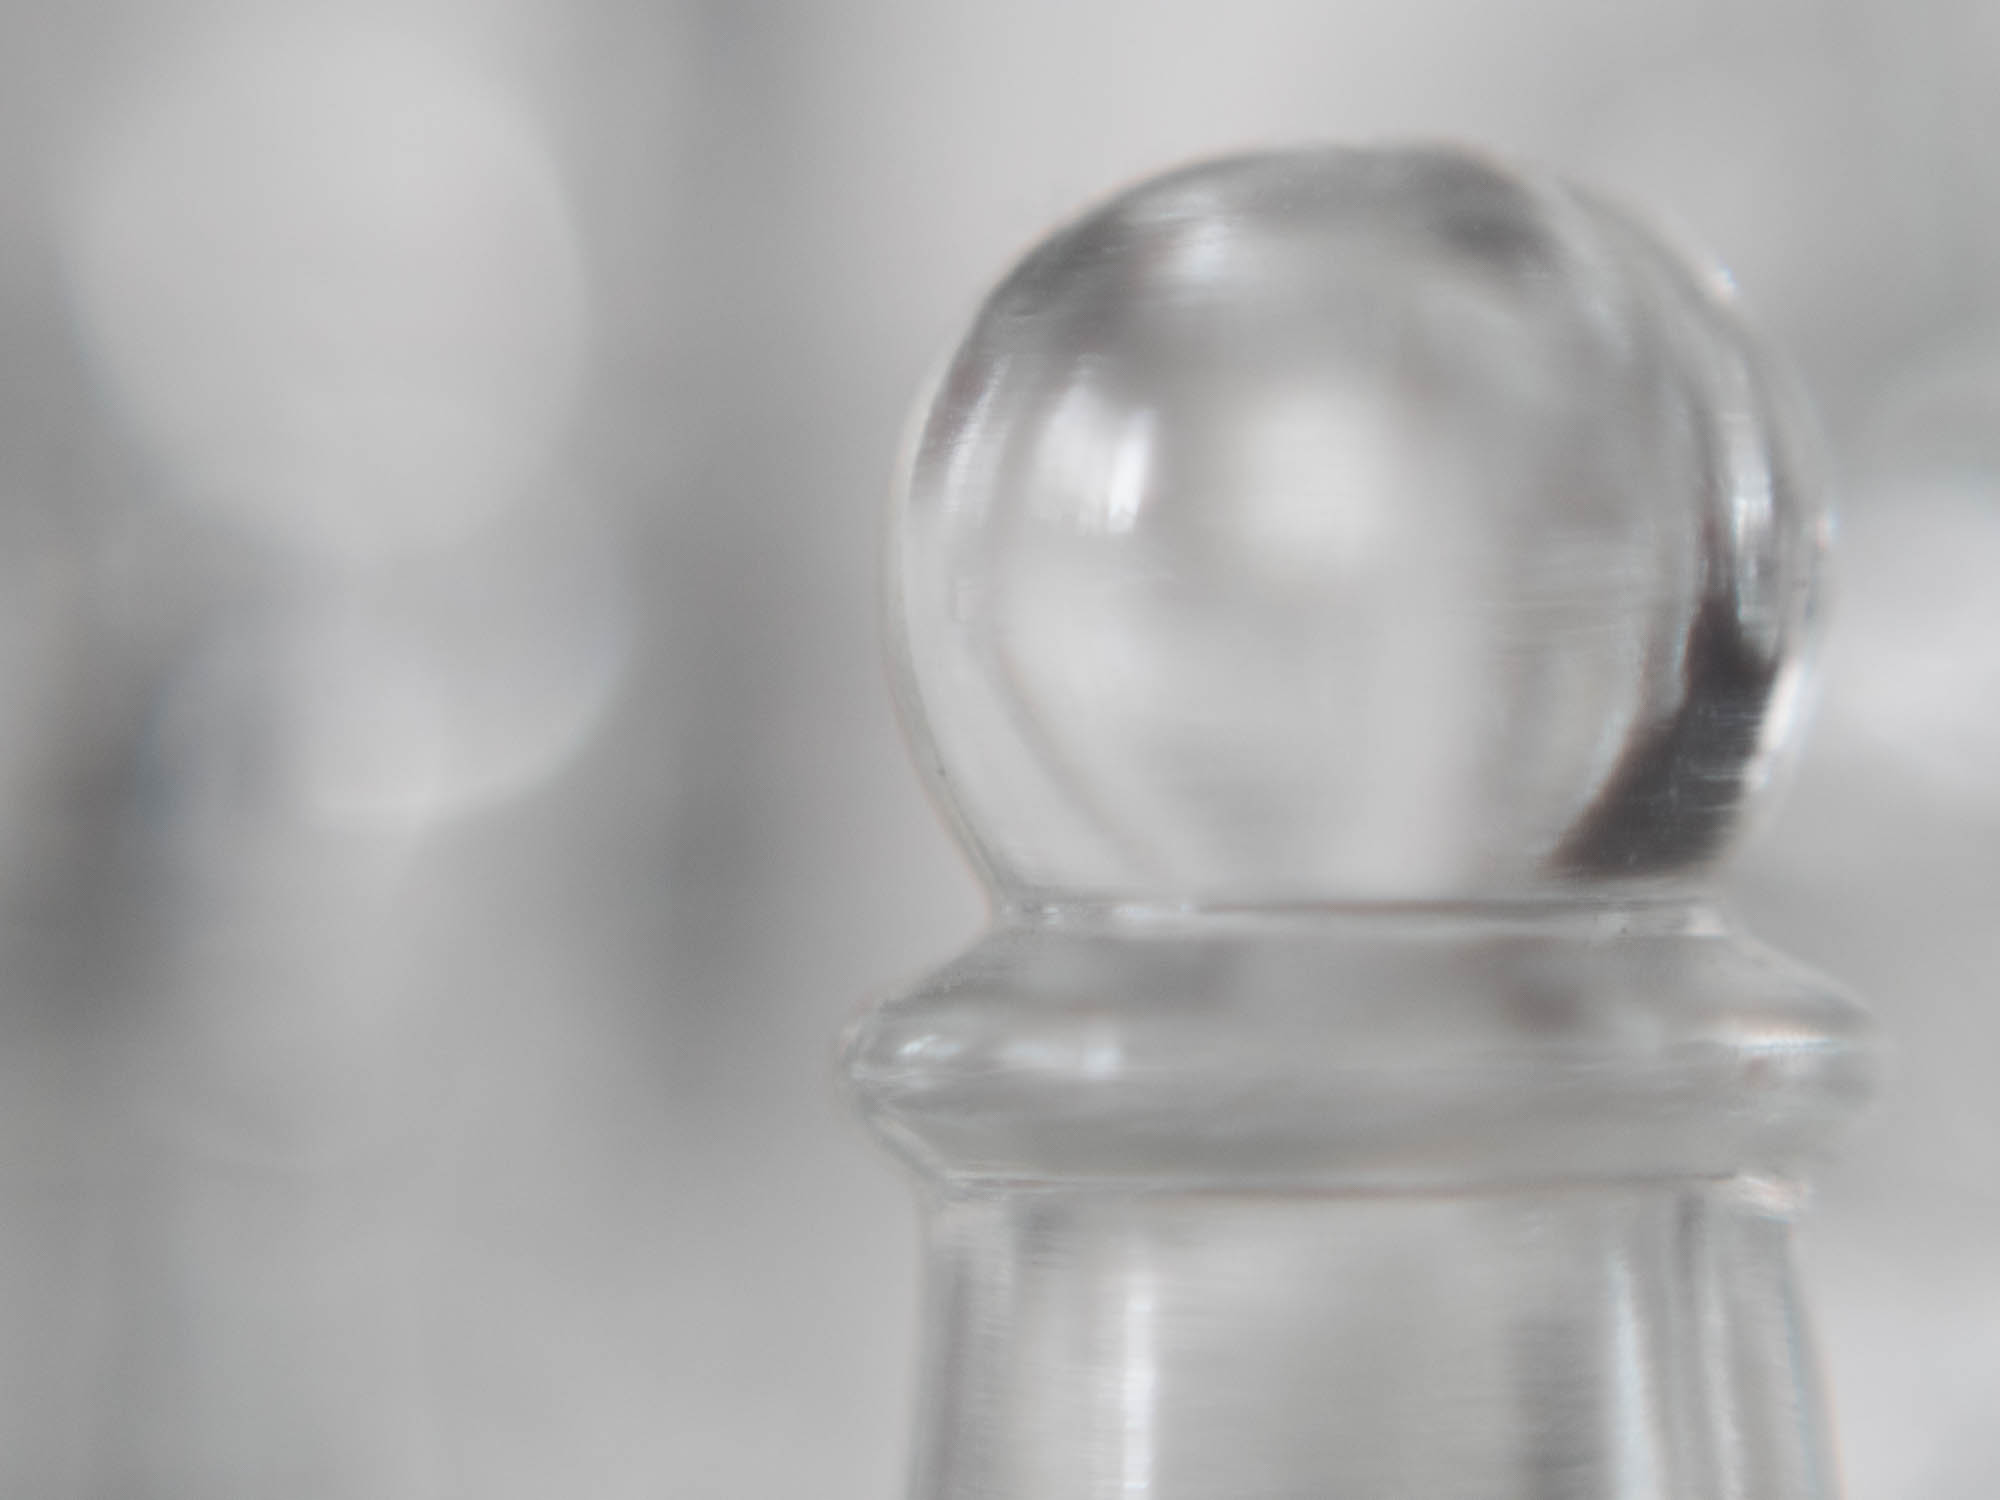
I then took a series of photos with the lens reversed to show the type of photos you can take. Most of these are with the lens at maximum aperture so it gives a more creative effect with minimal sharp zone and lots of nice blurry backgrounds, like what you would achieve using a Lens baby .
Close up of OM-10 exposure dial with shallow depth of field.
Backlit photo of pens caps taken into the light to give the dreamy low contrast result.
Leica camera control taken at f1.8 to ensure shallow focus.
Takumar lens front taken with lens stopped down to f/5.6 to ensure a decent level of sharpness.
A glass chess piece with others in the background to give nice bokeh.
As you can see reversing a lens is a creative way to add options to your camera kit for low cost.
We have a number of reversing rings for sale at photographyattic.com check out this tag page. Lens reversing ring
BPM bellows with its interchangeable mount system is all well and good, but what if you cant find the right mount for your camera body? BPM haven’t made mounts for well over two decades, so the modern camera mounts are impossible to find. And some of the older mounts, such as Yashica/Contax, Rollei 35SL and Olympus Pen, are as rare as rocking horse poo.
You could possibly find a factory with a moulding facility to create some, but that would be costly, or you could gain access to a 3D printer and make a mount, but in both cases you would need an accurate 3d technical drawing to ensure the mounts fit correctly. Thankfully there is a solution and it’s not too expensive.
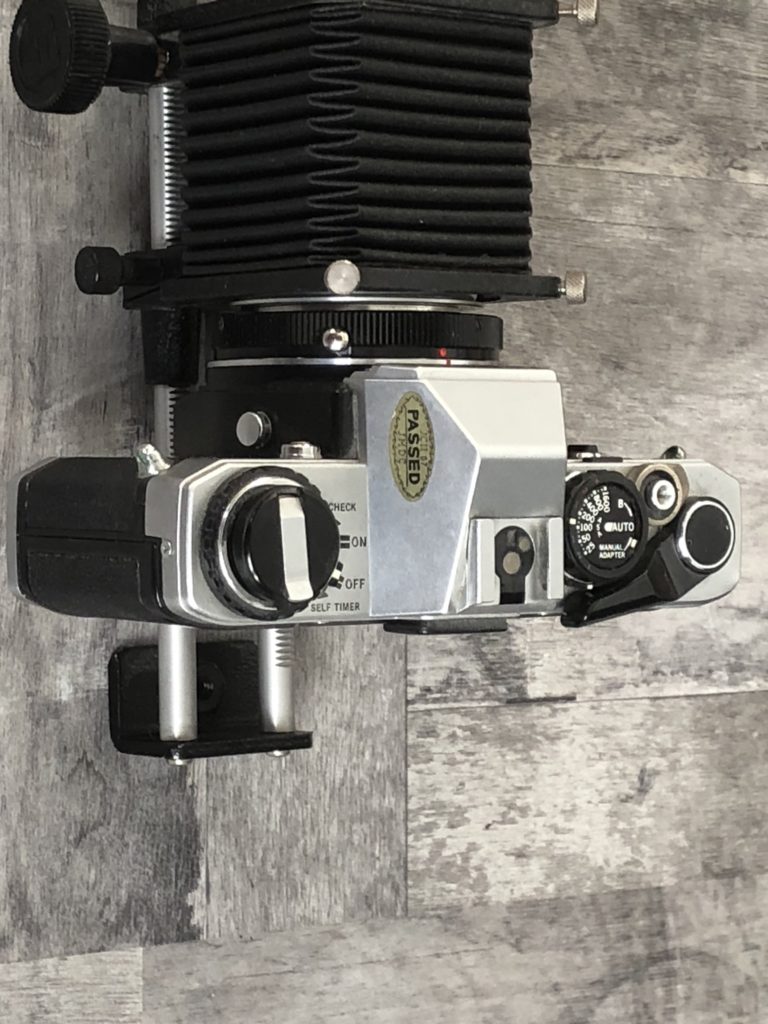
Some lenses sold between the 70 and 90s had an interchangeable mount. This system known as the T2 system, which also attached to the rear of some accessories, such as slide duplicators, had a T2 mount that screws on to the rear side of the lens or accessory and provides the necessary fitting for your camera body. The thread of a T2 mount is similar to that of an M42 camera thread found on Zenit, early Pentax and Praktica bodies, but is just slightly different. A T2 mount will screw onto an M42 thread but it wont go all the way so you just get a few turns – enough to make it a secure fit and the reason for this tip.
If you buy a BPM Pentax / Edixa screw thread mount with a male thread you can screw this into a T2 mount to attach to the bellows so your camera body can be attached. T2 mounts were made in a wide range of fittings and due to the fact many of the original 80s accessories have been reproduced by Chinese manufacturers, they have made mounts for newer camera bodies. So it’s very likely the fitting you want is available, and easily accessible from suppliers on eBay if your local dealer doesn’t stock them. We even have a few here at PhotographyAttic if you follow this link: T2 Mounts for sale
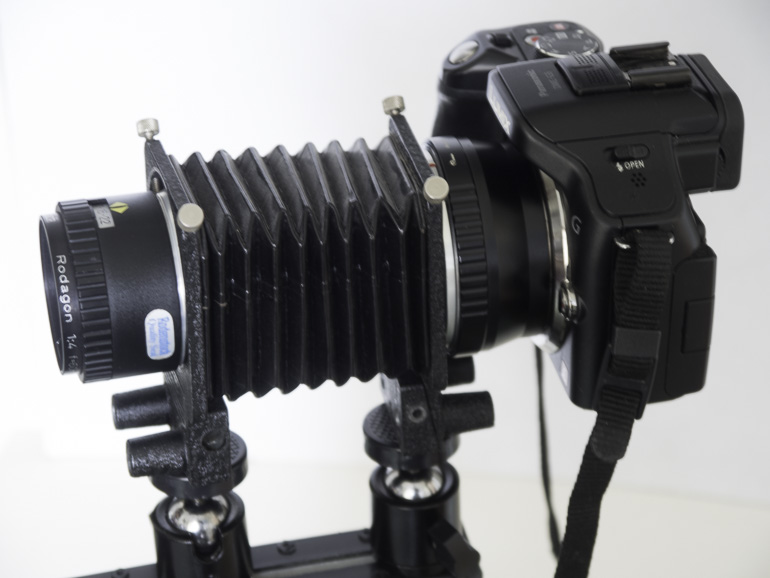
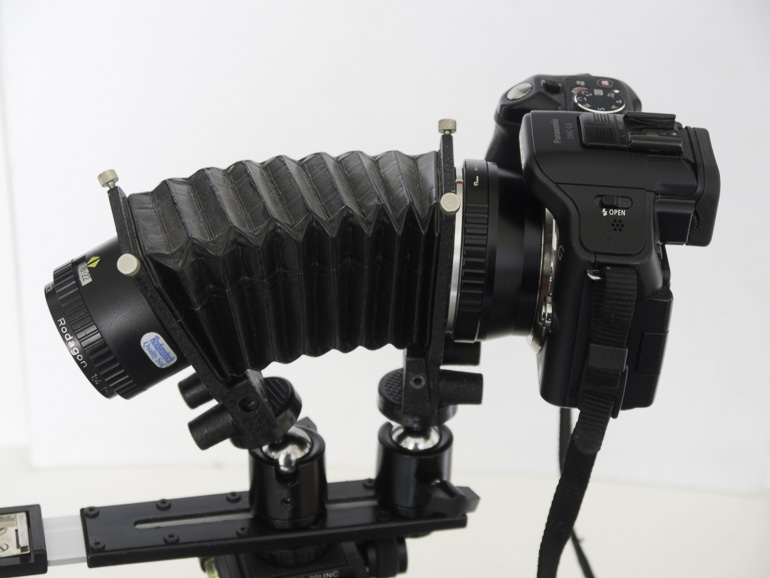
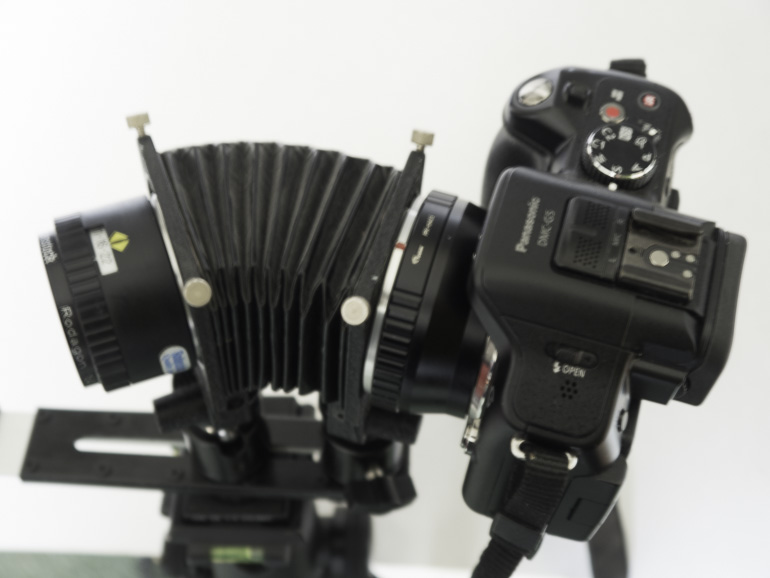
Large format photographers using cameras with bellows have always had the luxury of being able to adjust the lens and/or sensor plane so they are not parallel. This technique is performed to alter the plane of focus. While a conventionally parallel set-up provides front to back sharpness from a focus point parallel to the sensor, the adjusted lens, swung or tilted, places the focus plane at a different angle. This is a very useful technique for landscape photography, allowing sharp focus from close range to infinity, even at wide open apertures. But it’s also incredibly useful for macro photography. With this in mind Photography Attic has taken a set of BPM camera bellows and modified them to create a versatile set of custom bellows with tilt, swing and also shift options.
The bellows lens and camera platforms are individually mounted on a pair of small ball & socket heads which can be attached to a straight bracket like the one you would use with a flash gun. You can then slide the ball and socket along the flash bracket to extend the bellows increase magnification. And then tilt the front or rear panel to create the new plane of focus.
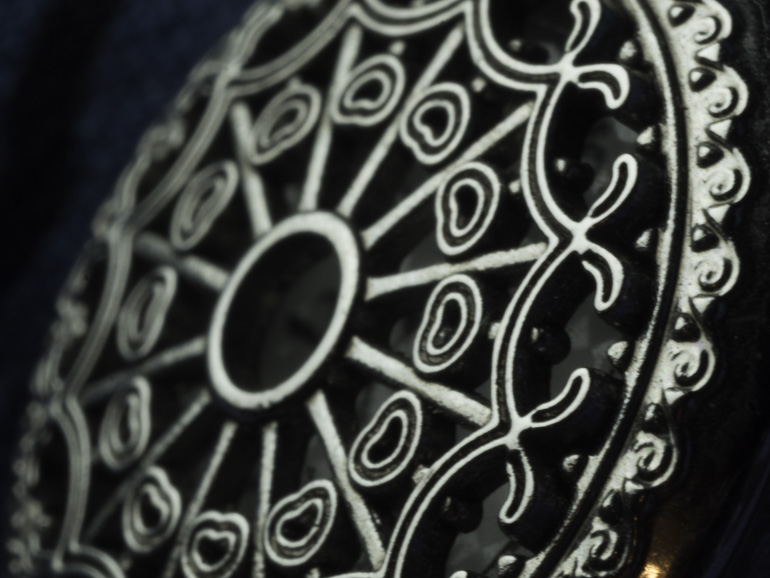
Here’s an example of the tilted bellows in action. A small 25mm pocket watch has been photographed at an angle. Rather than head on and parallel to the camera lens. The lens was then tilted on the camera bellows set up and as a result the widest aperture of f/2.8 can be used with full front to back sharpness. As a comparison a second shot was taken with the lens set conventionally parallel to the film plane. Notice how the sharpness falls off to the rear.
Another option is to use the swing feature. Here the lens is angled in a clockwise or anti clockwise direction to provide sharer front to back focus on an upright subject.
You can also adjust to provide a combination of both tilt and swing when the subject is not horizontal or vertical.
This process is technically known as the Scheimpflug Principle. If you would like to lean more check out the wikipedia page here: Scheimpflug Principle
You can buy a set of modified bellows with tilt shift here:Custom Tilt Shift Bellows You will also need to buy a bracket to mount them on.
Extension tubes are tubes without any optical elements that you place between the camera and lens of an interchangeable lens camera. They extend the lens so it can focus closer, giving the lens macro capabilities. Some have full automatic couplings so the camera can continue to be used in all its auto and program exposure and focus modes. Some lower priced ones have no couplings, so the camera needs to be used in manual.
Tubes are often sold in sets of three. The set illustrated above has 13mm, 21mm and 31mm extensions, and these can be attached in any combination giving a total of seven different extensions:
13mm
21mm
31mm
34mm (13mm+21mm)
44mm (13mm+31mm)
52mm (21mm+31mm)
65mm (13mm+21mm+31mm)
Here a set of three tubes can be seen attached to a Nikon digital SLR camera.
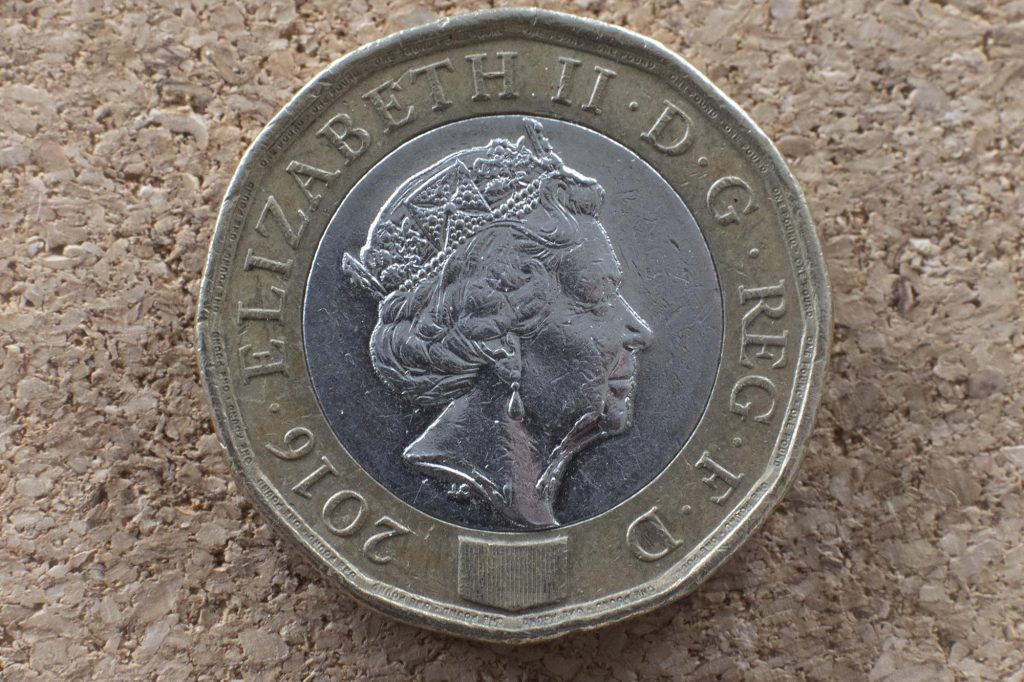
This photograph of a British one pound coin was taken using a nikon camera with a 55mm lens set to infinity and an extension tube added. The smaller coin on the left is with the 13mm and the coin on the right is with the three tubes attached giving 65mm extension. The lens was at f/2.8 to show how shallow depth of field is. When using tubes you either need to use a very small aperture or shoot the subject parallel to the CCD or film plane. Here the coin was at an angle so only a shallow strip across the centre is sharp.
Advantages of using Extension Tubes
Low cost macro
No optical degradation
Compact
Disadvantages of using Extension Tubes
Limited magnification variations
Fiddly changing between magnifications
Taking lens off increases risk of dust intrusion
Fungus spores are everywhere, but they only germinate in humidity and they thrive on dust.
A lens that has a dose of fungus has it because it has dust inside (and all lenses have some specs of dust even if they’re hard to see), and it’s been kept in a humid/warm environment. Fungus likes dark, damp places with warmth. Fungus generates spores which look to feed on dust, but the amount of dust in most lenses isnt enough for the fungus to spread.
When you clean a lens you move the dust around and push it into the edges. If the lens is then stored in a humid environment it’s more likely to encourage fungus growth. The fungus wont spread from lens to lens but it may appear in other lenses if the conditions are right for it.
So it’s best to store your lenses in a dry place in good light with minimal humidity. Also use them – the UV in sunlight kills fungus.
The above photo shows one patch of familiar fungal veins. This is on a rear element and is hard to spot without scrutiny.
The best way to check for fungus is to shine a bright light in through the front or rear. A mini torch such as a Maglight is ideal.
Can fungus spread from camera lens to lens?
Does lens fungus spread from one lens to another? It’s a common question. Much is written about the subject on the internet…and views are mixed – some saying yes it does spread so you should isolate the infected lens and some say no, don’t worry about it.
This lens has lots of fungal attack ont the front element that’s creeping out to the centre. At present this could be used without any real loss in quality.
Using infected lenses
You can often clean fungus off the lens elements providing it’s not etched into the coating. If it’s on the inner elements you’ll need to strip the lens down but only attempt that if you’re competent with mechanical items as they’re not always as simple to take apart as they look.
If the lens is stored well once fungus is found it’s unlikely to spread.
Lenses can be used and results will vary depending on the level of contamination. A small colony here or there is hardly likely to affect anything while a more severe case will cases a dramatic reduction in contrast and sharpness, especially when shooting into the sun.
This lens is badly affected and will result in lower contrast photos that lack sharpness and have a diffused look.
For those who want more info check out this informative web page: All about lens fungus


 If you
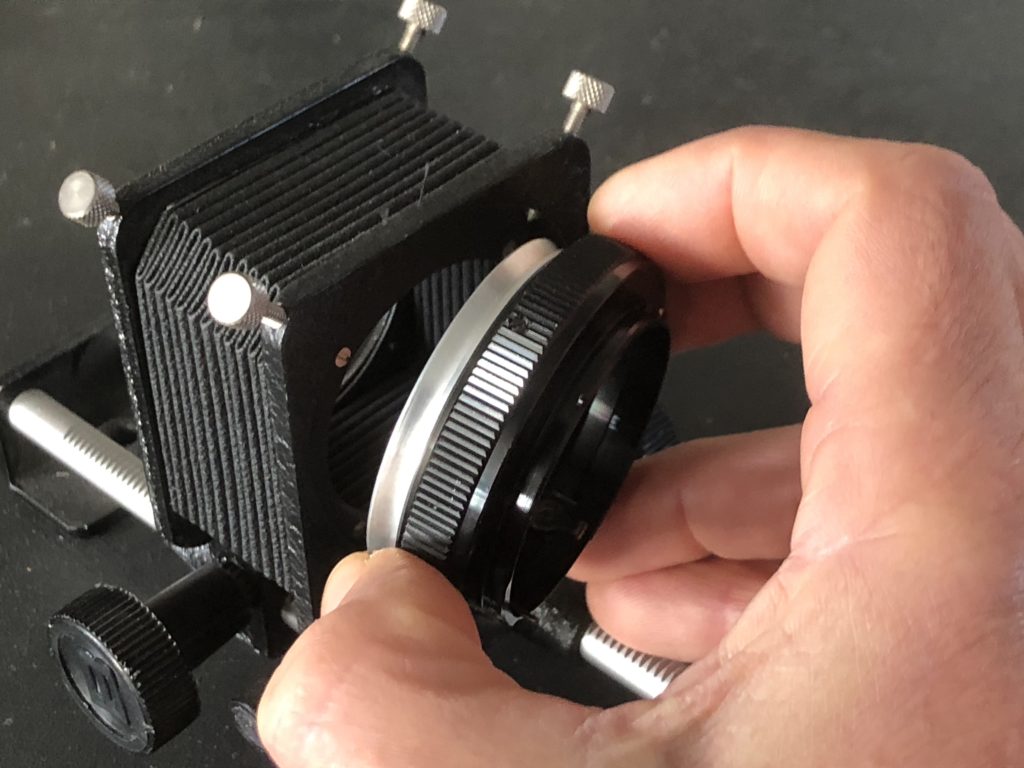


 This photograph of a British one pound coin was taken using a nikon camera with a 55mm lens set to infinity and an extension tube added. The smaller coin on the left is with the 13mm and the coin on the right is with the three tubes attached giving 65mm extension. The lens was at f/2.8 to show how shallow depth of field is. When using tubes you either need to use a very small aperture or shoot the subject parallel to the CCD or film plane. Here the coin was at an angle so only a shallow strip across the centre is sharp.

