BPM Bellows were made way before 35mm autofocus and digital cameras came along with their newer more advanced electronic lens mounts. While Nikon and Pentax kept the same basic mount size and added electrical couplings, Canon, Minolta and Olympus changed completely so you wont find BPM adaptors for these cameras. That said many options have been reproduced in China and sell at low cost on eBay, and although the BPM system isn’t on their radar it is possible to cobble together an option that will allow your camers to fit BPM bellows.
Here are various options for the newer Canon, Minolta (also Sony) and Olympus (also Panasonic) camera mounts
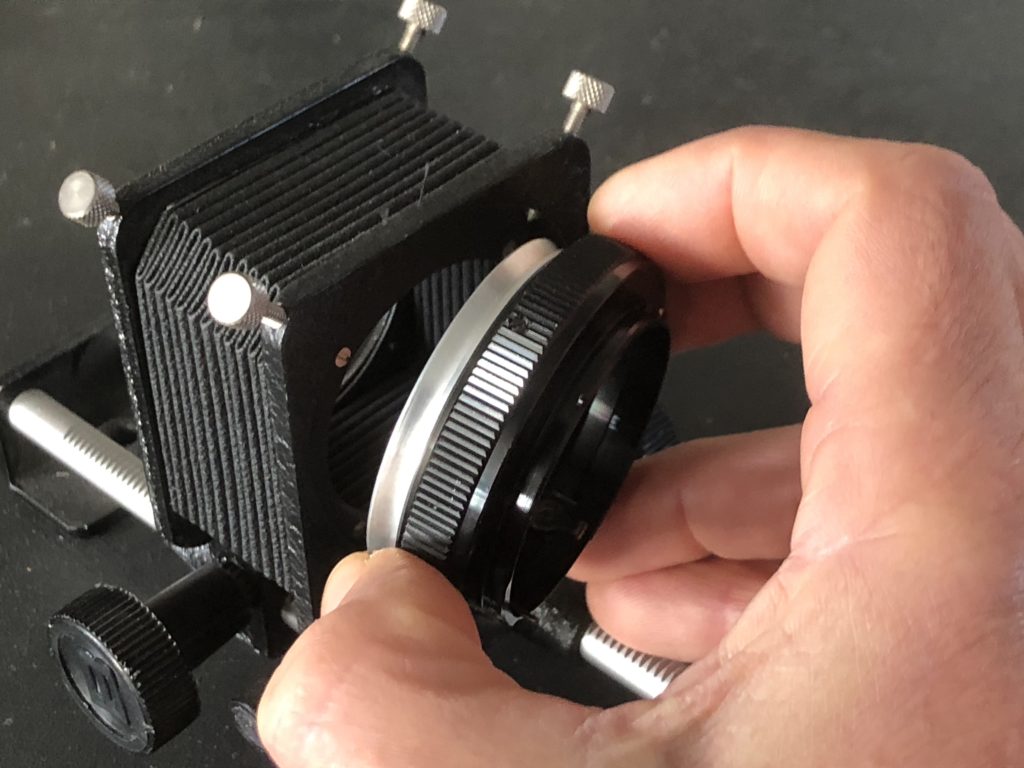
How to attach a Canon EOS Lens to BPM Bellows:
You could buy a cheap Canon EOS fit accessory such as an extension tube or 2x converter (or even a broken EOS SLR body) and strip back to the mount which you can then stick to any BPM mount with superglue. A small extension tube would be ideal as there’s no glass to remove. Alternatively cut the centre out of a plastic Canon EOS rear lens cap and glue it to any BPM mount. Care obviously needs to be taken to A) centre it and B) make sure it’s stuck well enough to support the weight of the lens. If this is all too much bother you can buy a cheap lens that BPM made mounts for and attach that to the front with the necessary BPM lens mount. The beauty of the BPM system is any lens can be added to the front. It doesnt have to be camera brand specific.
How to attach a Canon EOS Body to BPM Bellows:
Same advice as above – using a mount from an existing EOS Canon item and glue to any BPM mount. If you got an extension tube or teleconverter, both sides can be utilised for body and lens fittings. Or there’s a Canon EOS T2 mount https://www.photographyattic.com/product-2984 that you can screw a BPM M42 screw mount adaptor to https://www.photographyattic.com/product-553. The T2 mount isnt exactly the same as M42 but it will screw in so far and be safe enough to use.
How to attach a Minolta Dynax / Sony Alpha Lens to BPM Bellows:
You could buy a cheap Minolta Dynax / Sony Alpha fit accessory such as an extension tube or 2x converter (or even a broken Minolta Dynax / Sony Alpha SLR body) and strip back to the mount which you can then stick to any BPM mount with superglue A small extension tube is ideal as there’s no glass to remove. Alternatively cut the centre out of a plastic Dynax/Alpha rear lens cap and glue it to any BPM mount. Care obviously needs to be taken to A) centre it and B) make sure it’s stuck well enough to support the weight of the lens. If this is all too much bother you can buy a cheap lens that BPM made mounts for and attach that to the front with the necessary BPM lens mount. The beauty of the BPM system is any lens can be added to the front. It doesnt have to be camera brand specific.
How to attach a Minolta Dynax / Sony Alpha body to BPM Bellows:
Same advice as before – using a mount from an existing Minolta Dynax / Sony Alpha item and glue to any BPM mount. If you got an extension tube or teleconverter, both sides could be used for body and lens fittings. Or there’s a Minolta Dynax T2 mount that you can screw a BPM M42 screw mount adaptor to https://www.photographyattic.com/product-553. The T2 mount isnt exactly the same as M42 but it will screw in so far and be safe enough to use. Or you can also buy a Minolta MD to Minolta AF adapter and use the BPM Minolta MD mount https://www.photographyattic.com/product-557 to attach the Minolta Dynax / Sony Alpha body BPM Bellows
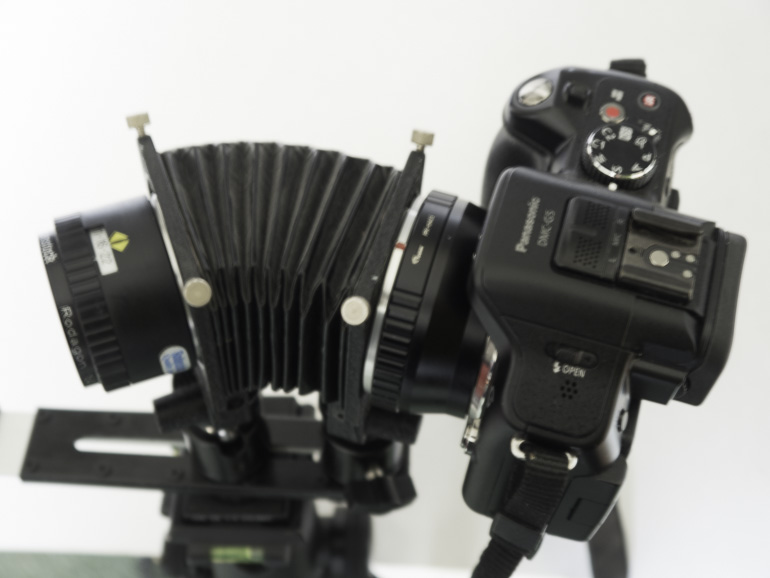
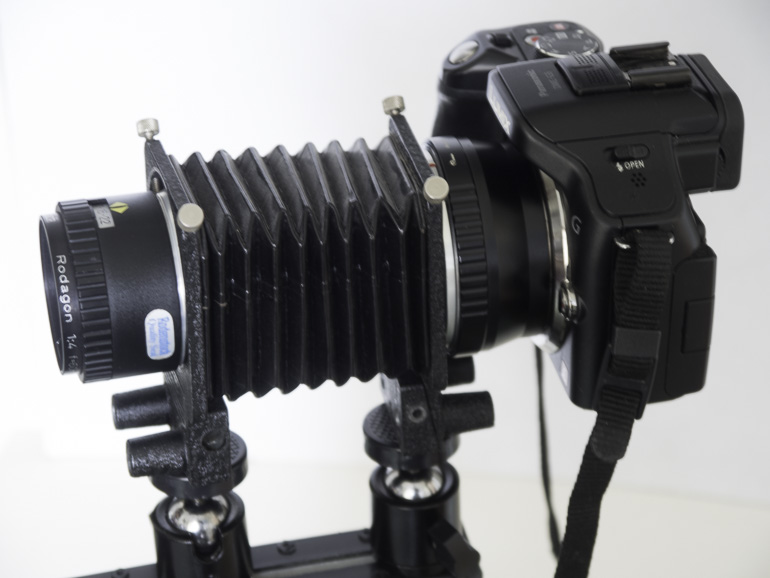
How to attach an Olympus / Panasonic Micro 4/3 Lens to BPM Bellows:
You could buy a cheap Olympus / Panasonic Micro 4/3 fit accessory such as an extension tube or 2x converter (or even a broken Olympus / Panasonic Micro 4/3 body) and strip back to the mount which you can then stick to any BPM mount with superglue A small extension tube is ideal as there’s no glass to remove. Alternatively cut the centre out of a plastic Micro 4/3 rear lens cap and glue it to any BPM mount. Care obviously needs to be taken to A) centre it and B) make sure it’s stuck well enough to support the weight of the lens. If this is all too much bother you can buy a cheap lens that BPM made mounts for and attach that to the front with the necessary BPM lens mount. The beauty of the BPM system is any lens can be added to the front. It doesnt have to be camera brand specific.
How to attach an Olympus / Panasonic Micro 4/3 Body to BPM Bellows:
Same advice as before – using a mount from an existing Olympus / Panasonic Micro 4/3 item and glue to any BPM mount. If you got an extension tube, both sides could be used for body and lens fittings. Or there’s a micro 4/3 to T2 mount https://www.photographyattic.com/product-1826– that you can screw a BPM M42 screw mount adaptor to https://www.photographyattic.com/product-553. The T2 mount isnt exactly the same as M42 but it will screw in so far and be safe enough to use.
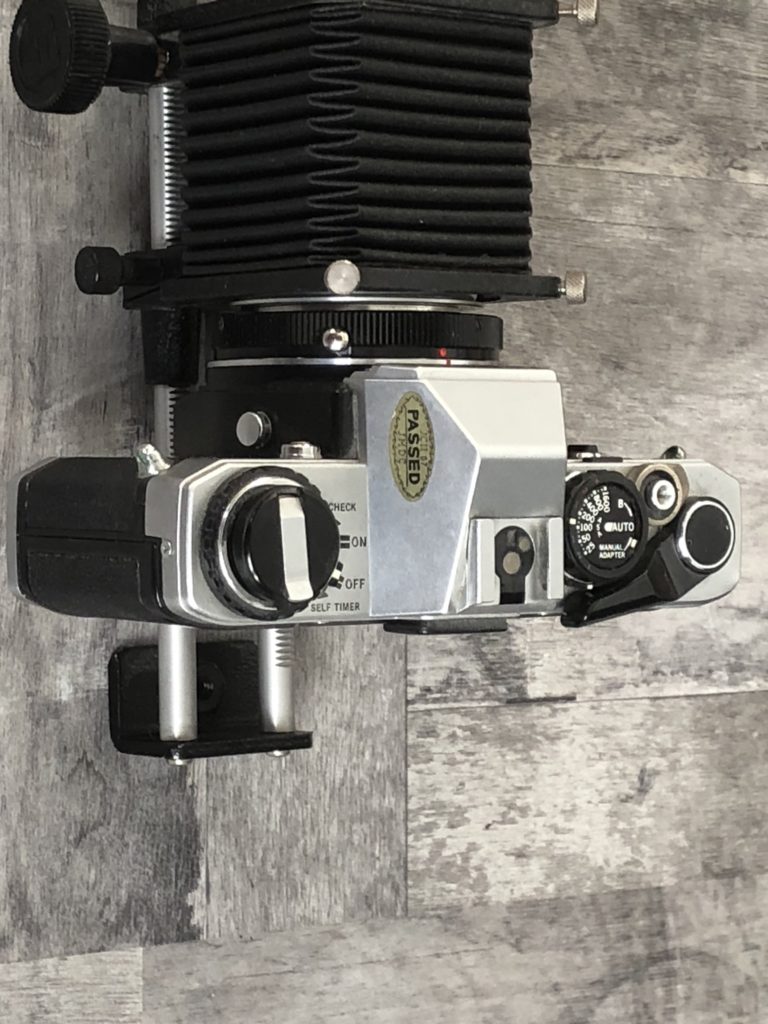
The camera and lens have to be used in manual with each of the options above, as there is no way to have electronic coupling with the BPM Bellows system.
If you have trouble finding what you need to use BPM bellows please get in touch and we will try and help.
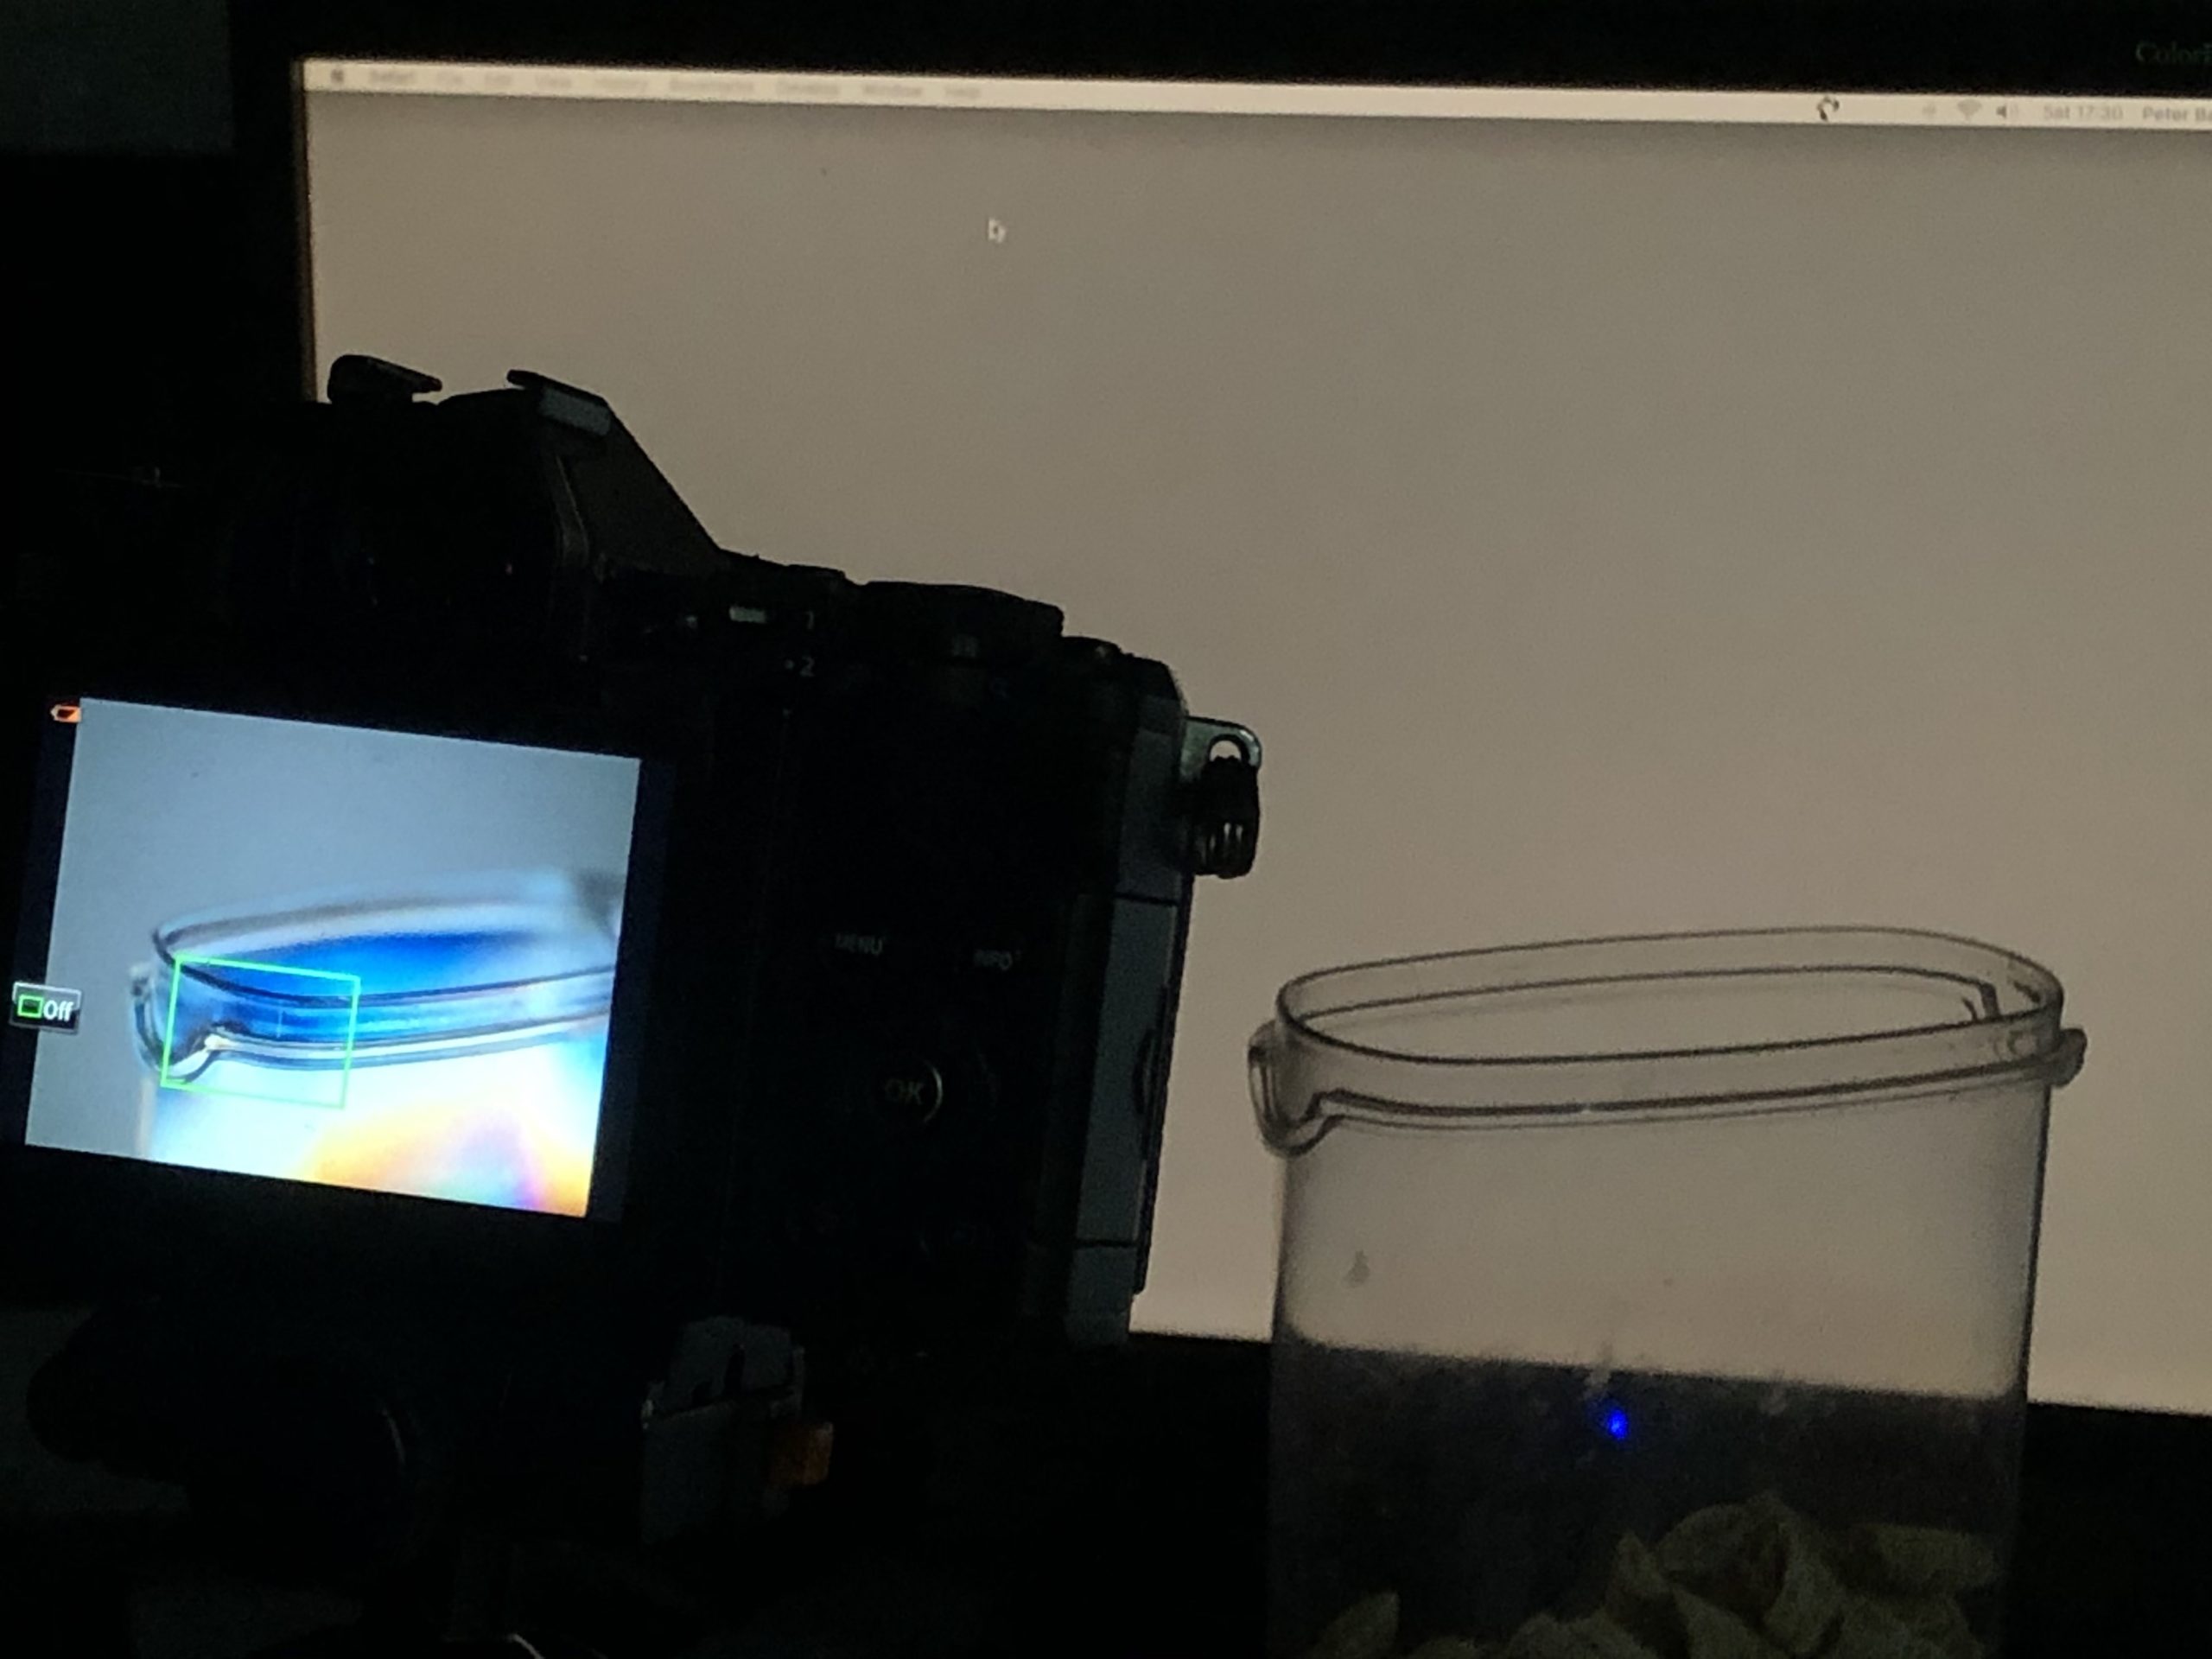
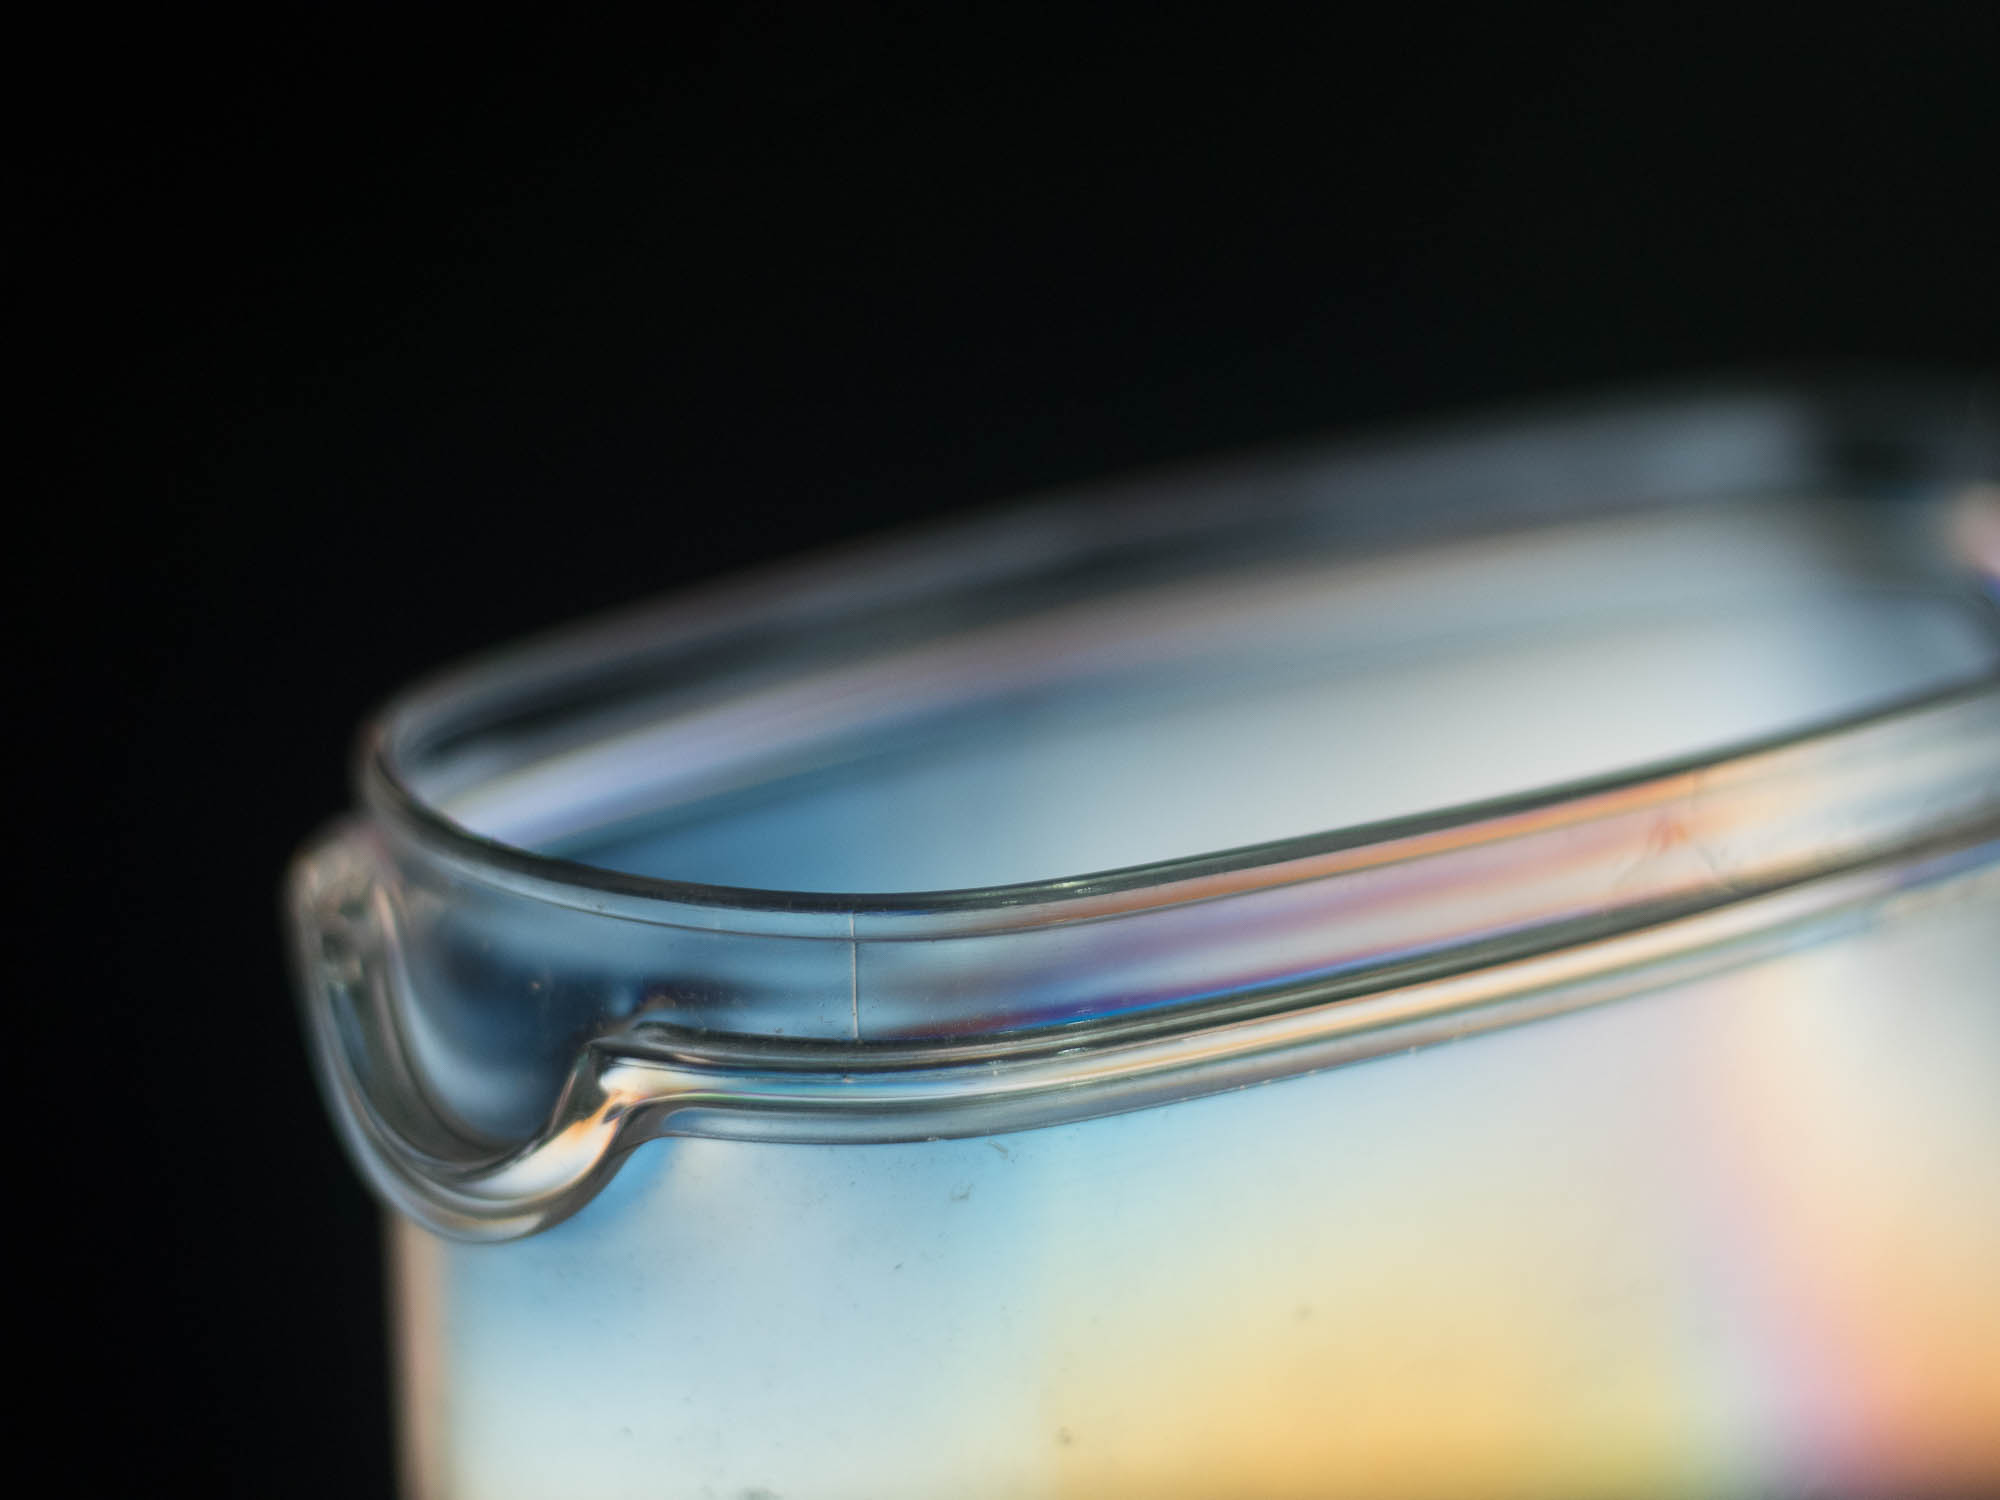
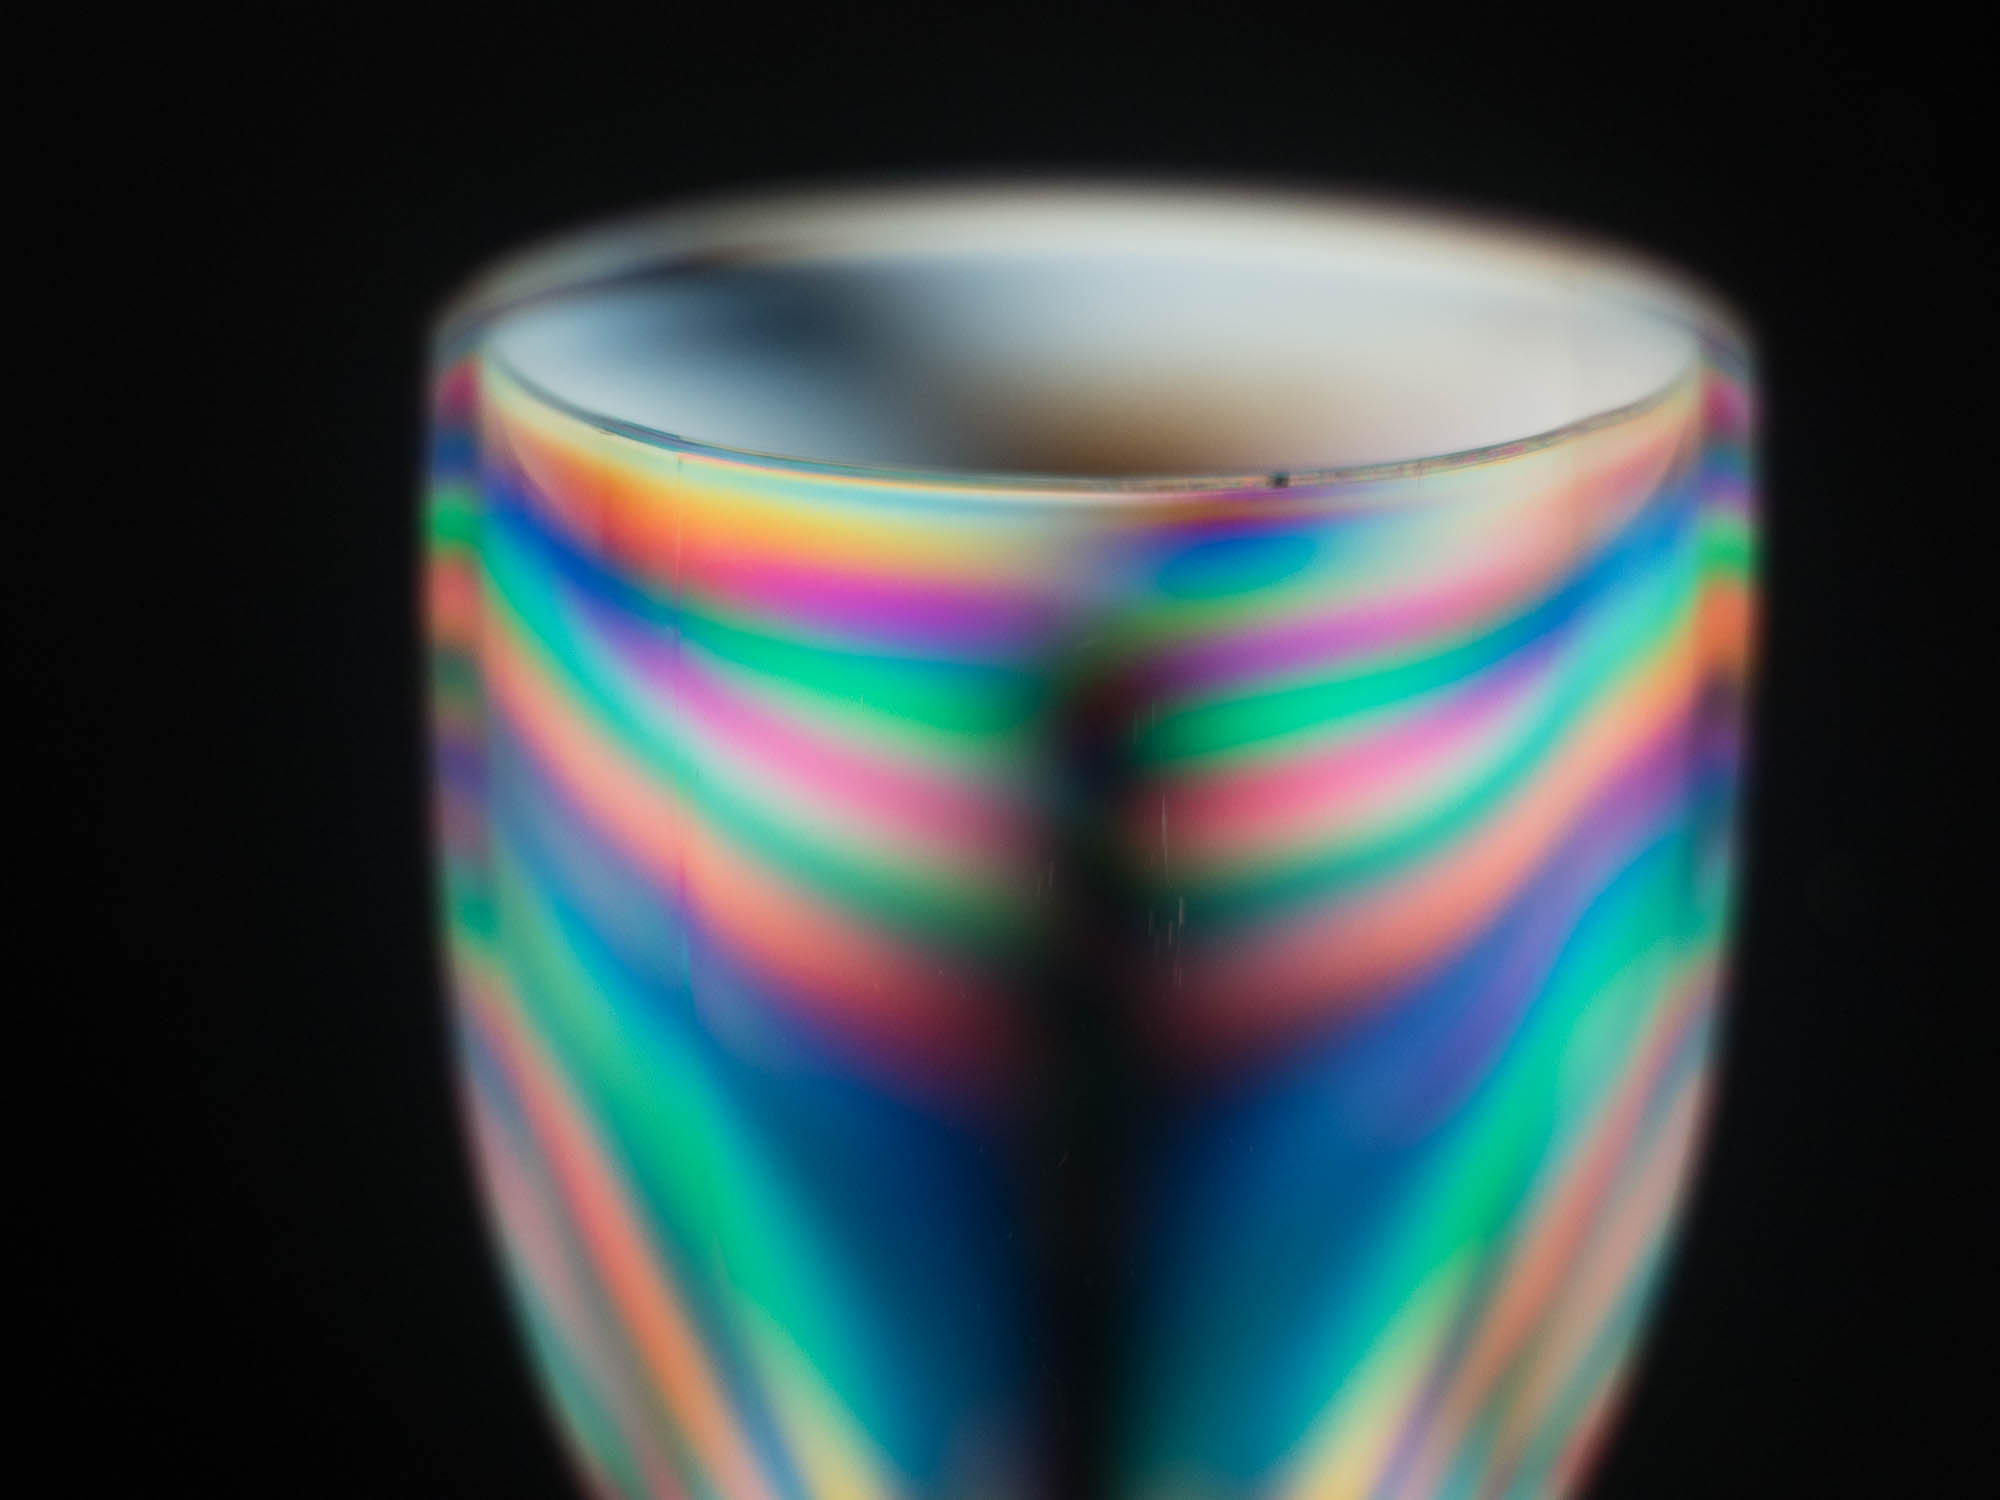
The cross polarising techniques is a simple one to create. Just place a polarising filter in front of the lens and photograph a stiff plastic object in front of an LCD computer screen. To illustrate the tip I attached a Hoyarex Linear Polarising filter* to the front of a digital camera.
I then positioned a plastic cereal container in front of my computer monitor (make sure the background is neutral grey and not a screen saver ) and mounted the camera on a tripod. You can hand hold if there’s enough light to get a camera shake free photo.
When you rotate the polariser you will see a rainbow of colour with the background colour of the monitor.
As you rotate the colours will become stronger and the background will go black.
I repeated the technique using a plastic wine glass
* Any polarising filter can be used – linear or circular . We have a selection for sale here in both screw in and system filters. Polarising filters for sale. The system filters are more practical as you can use one filter with a variety of lenses with different filter threads. Just get the filter, a holder, and a range of adaptor rings for the holder to attach to different lenses.
A reversing ring reverses an interchangeable lens on the camera body. One side has a camera body mount, the other side has a diameter the same size as the lens’ filter thread you intend to reverse. A “Nikon AI to 55mm reversing ring” for example would allow a Nikon lens with a 55mm thread to be reversed on a Nikon body with an AI mount.
Reversing a lens makes it perform like a macro lens at a fraction of the cost.
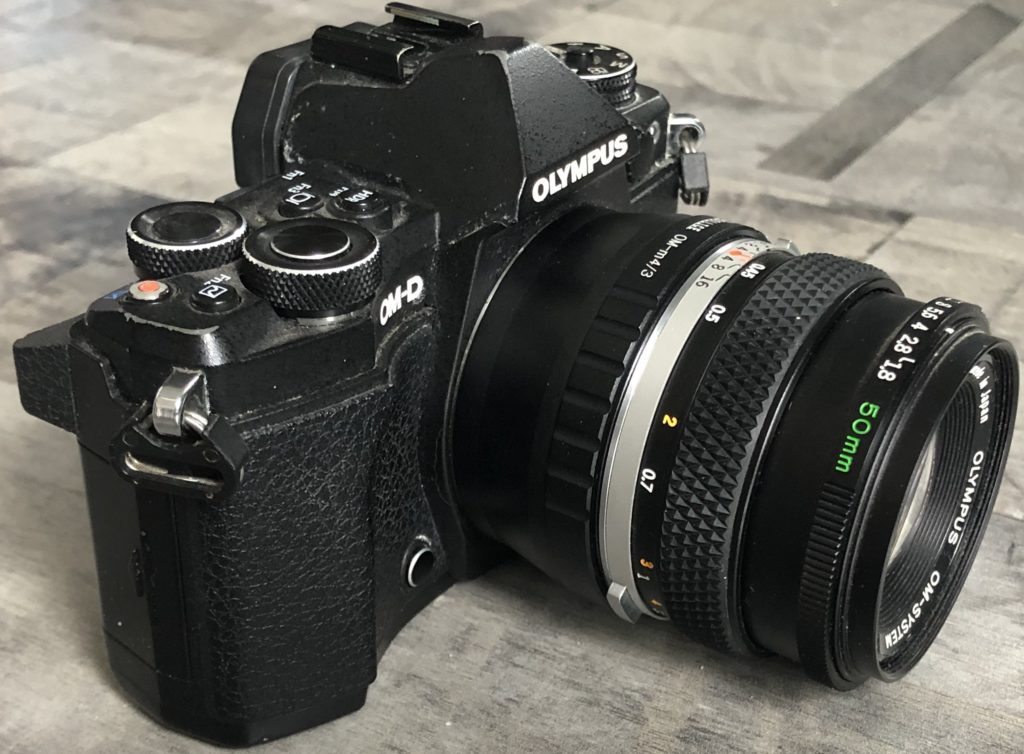
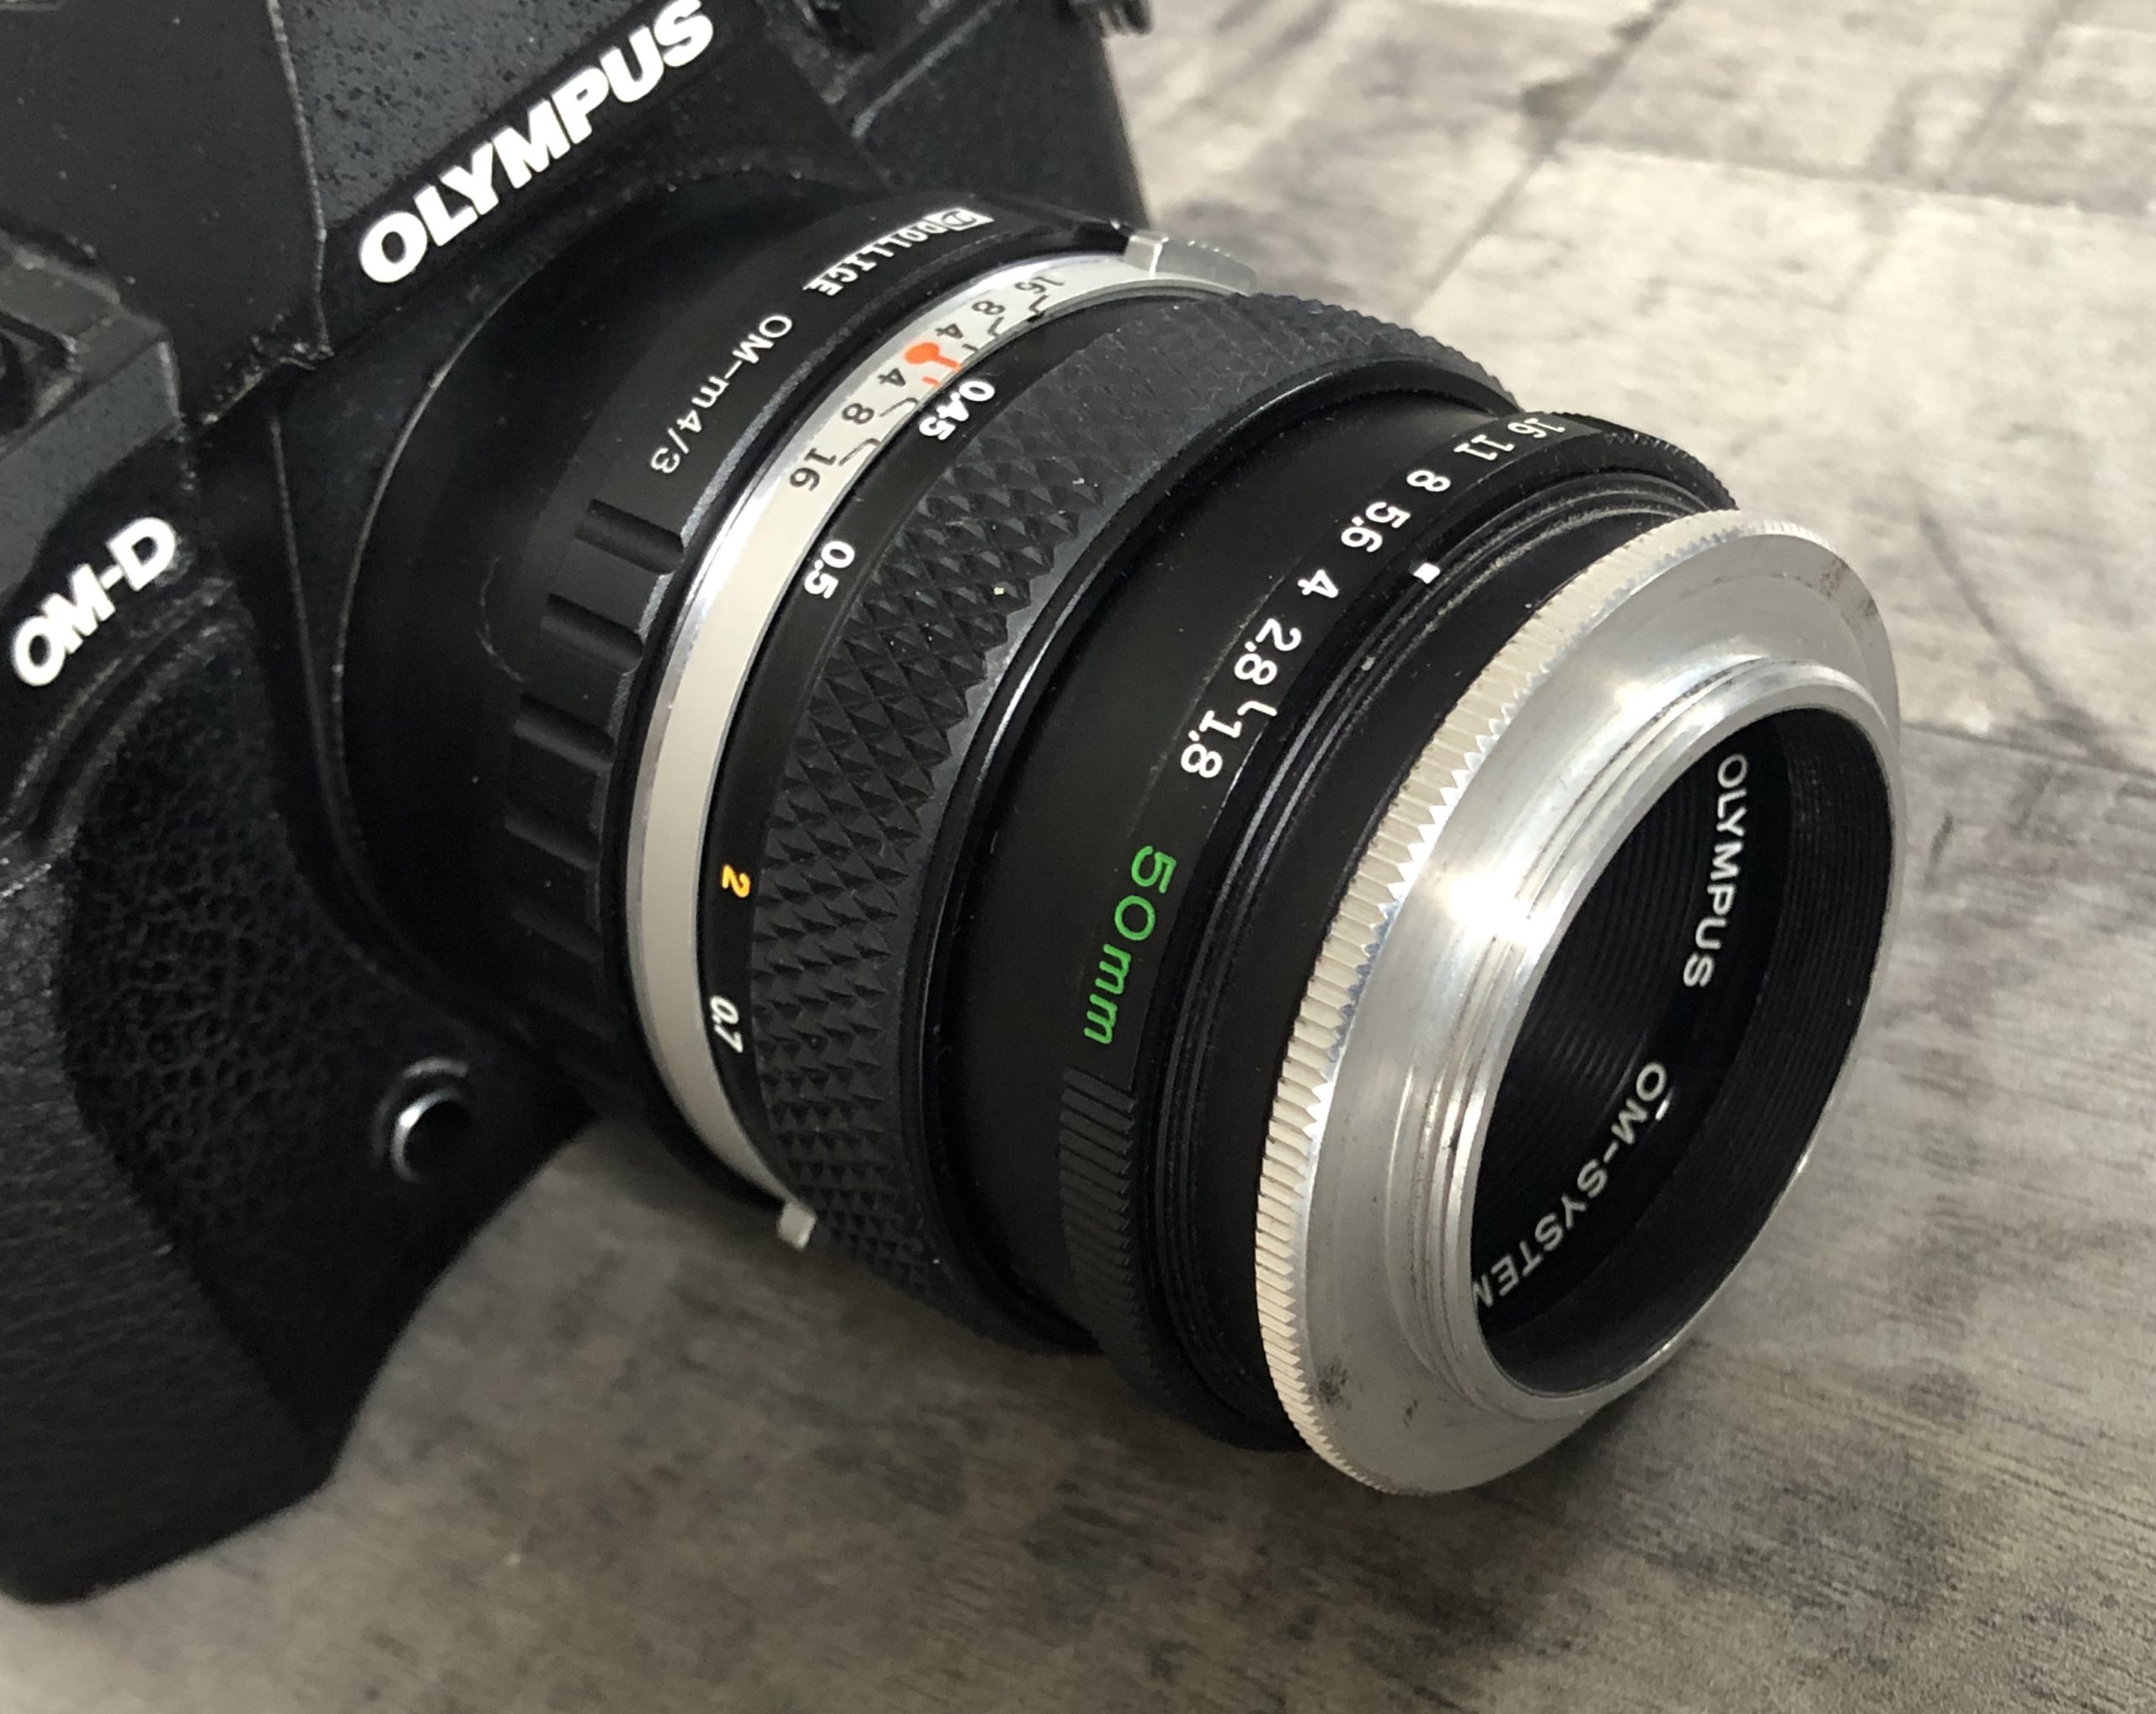
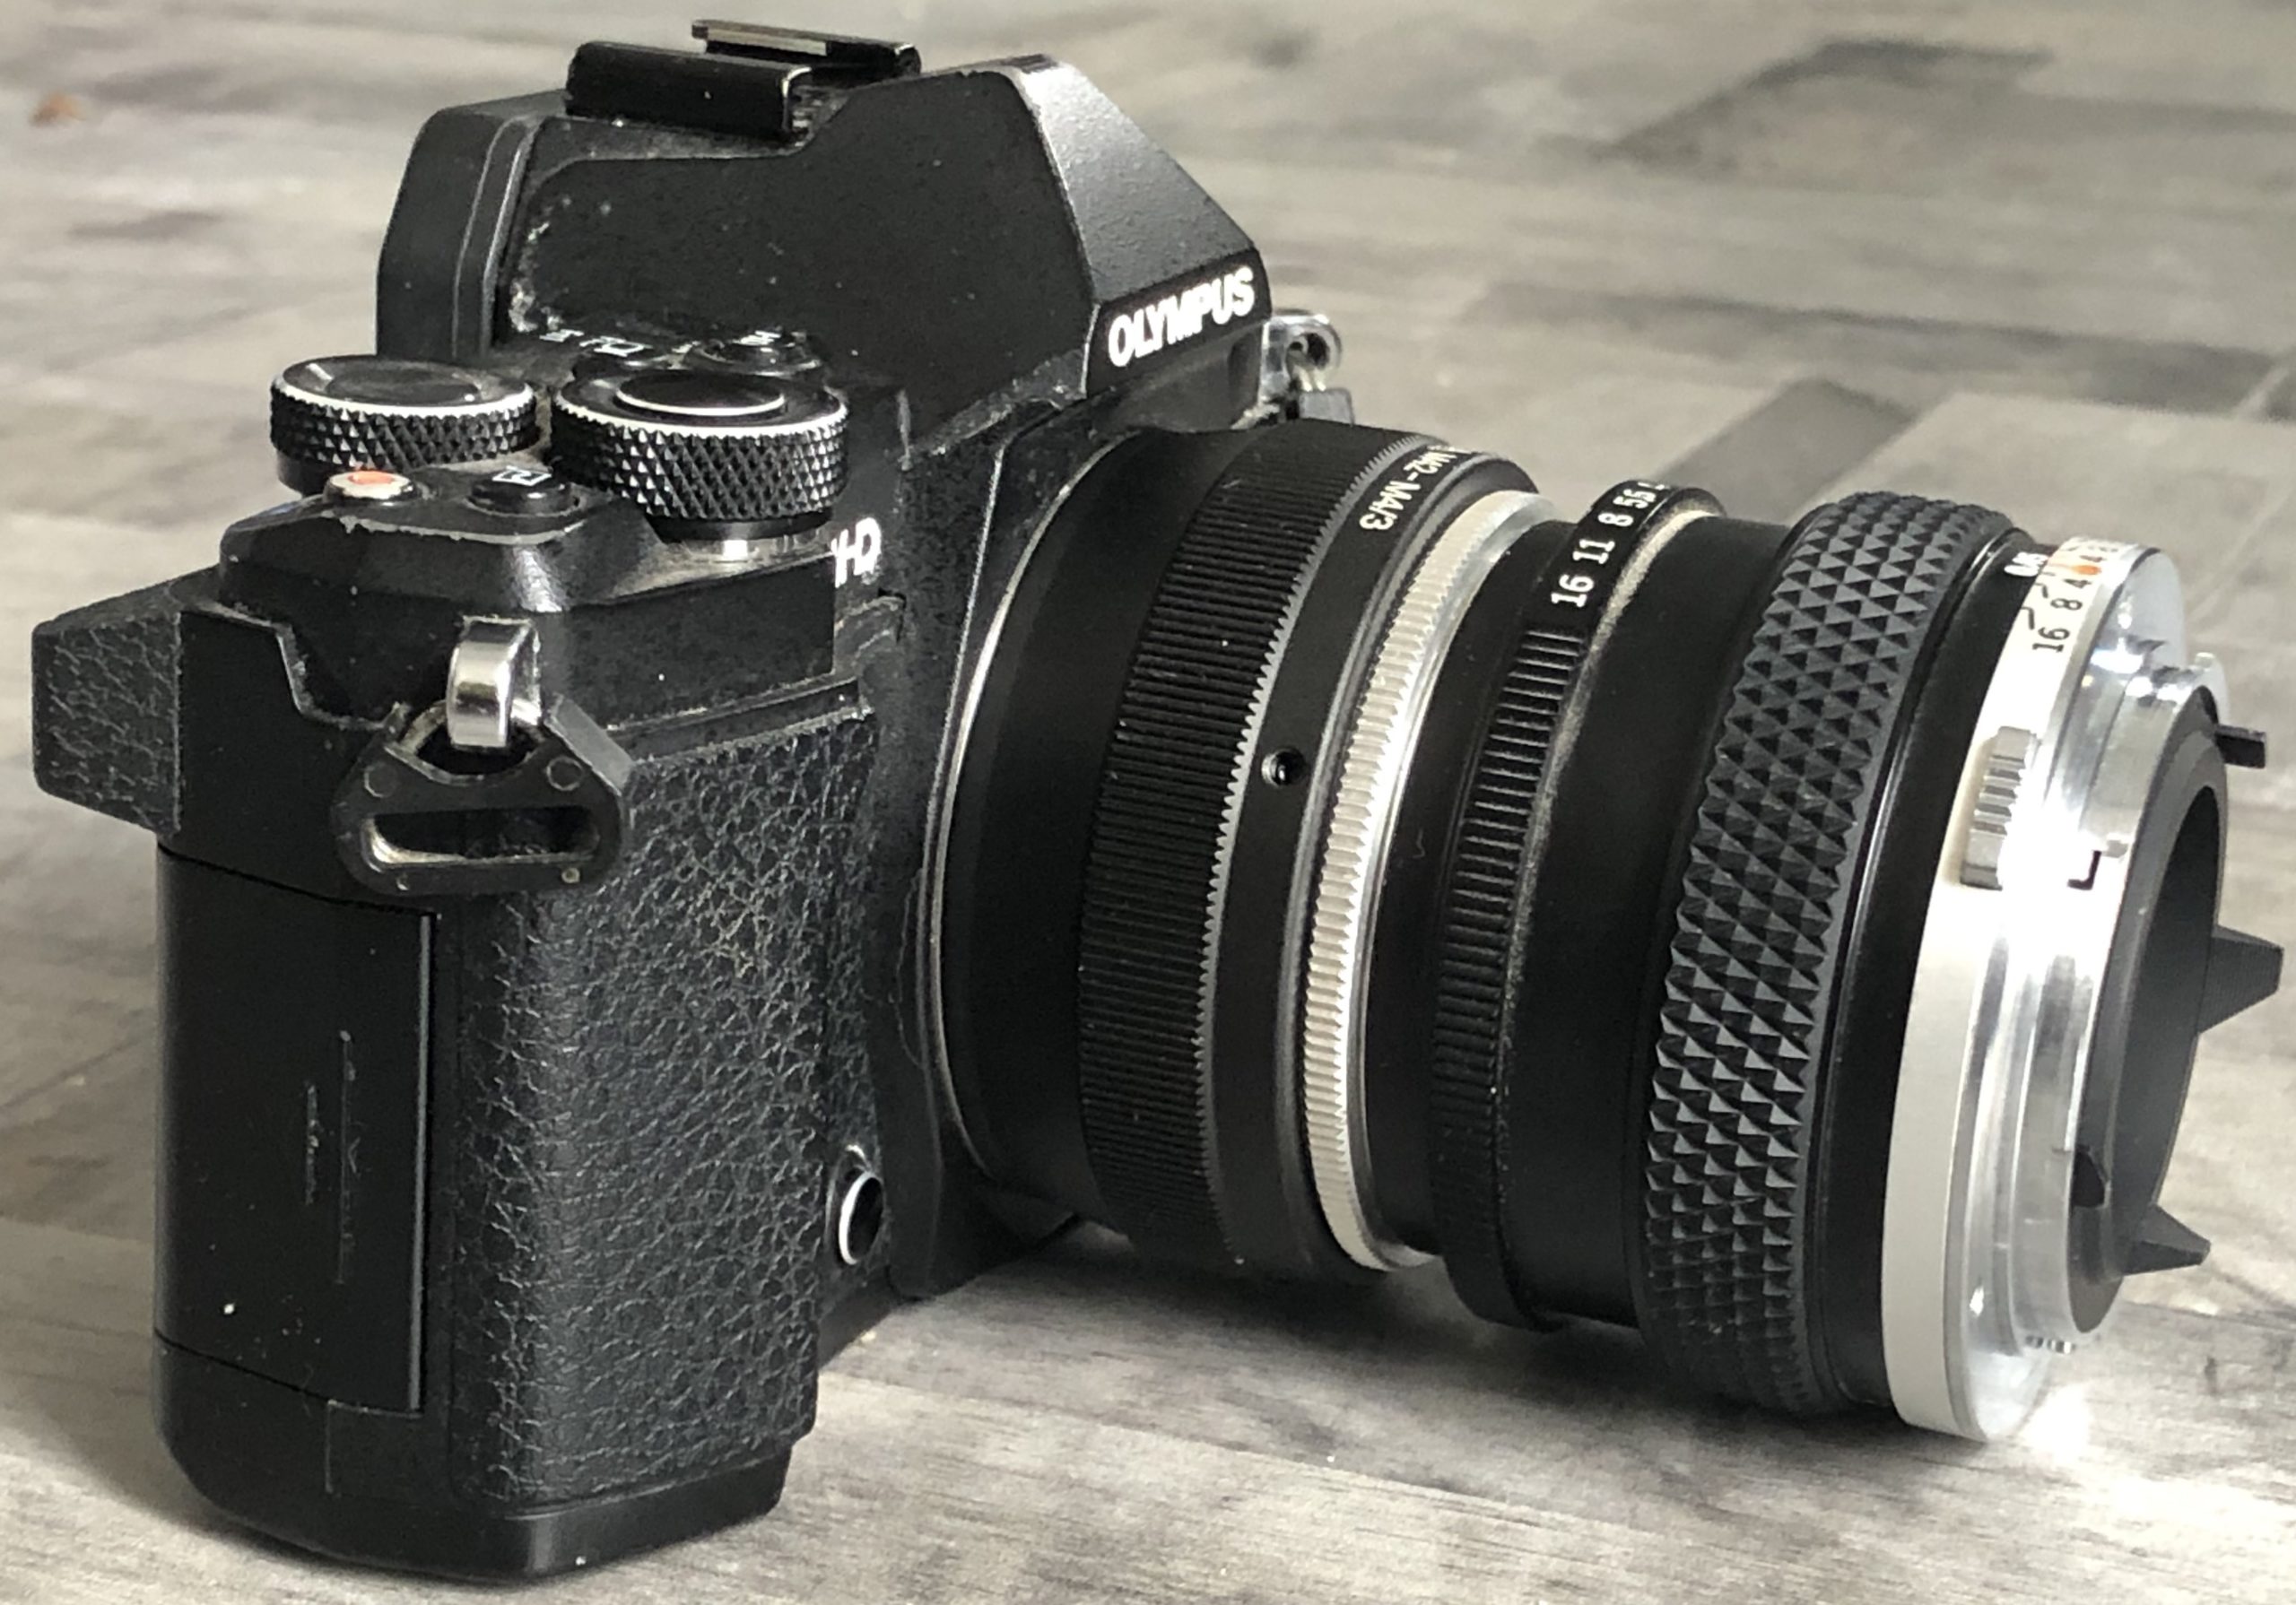
To show the difference I mounted an Olympus 50mm Zuiko on an Olympus Micro 4/3 camera.
I then attached a reverse ring to the front of the lens
and turned it around to fit to the camera backwards.
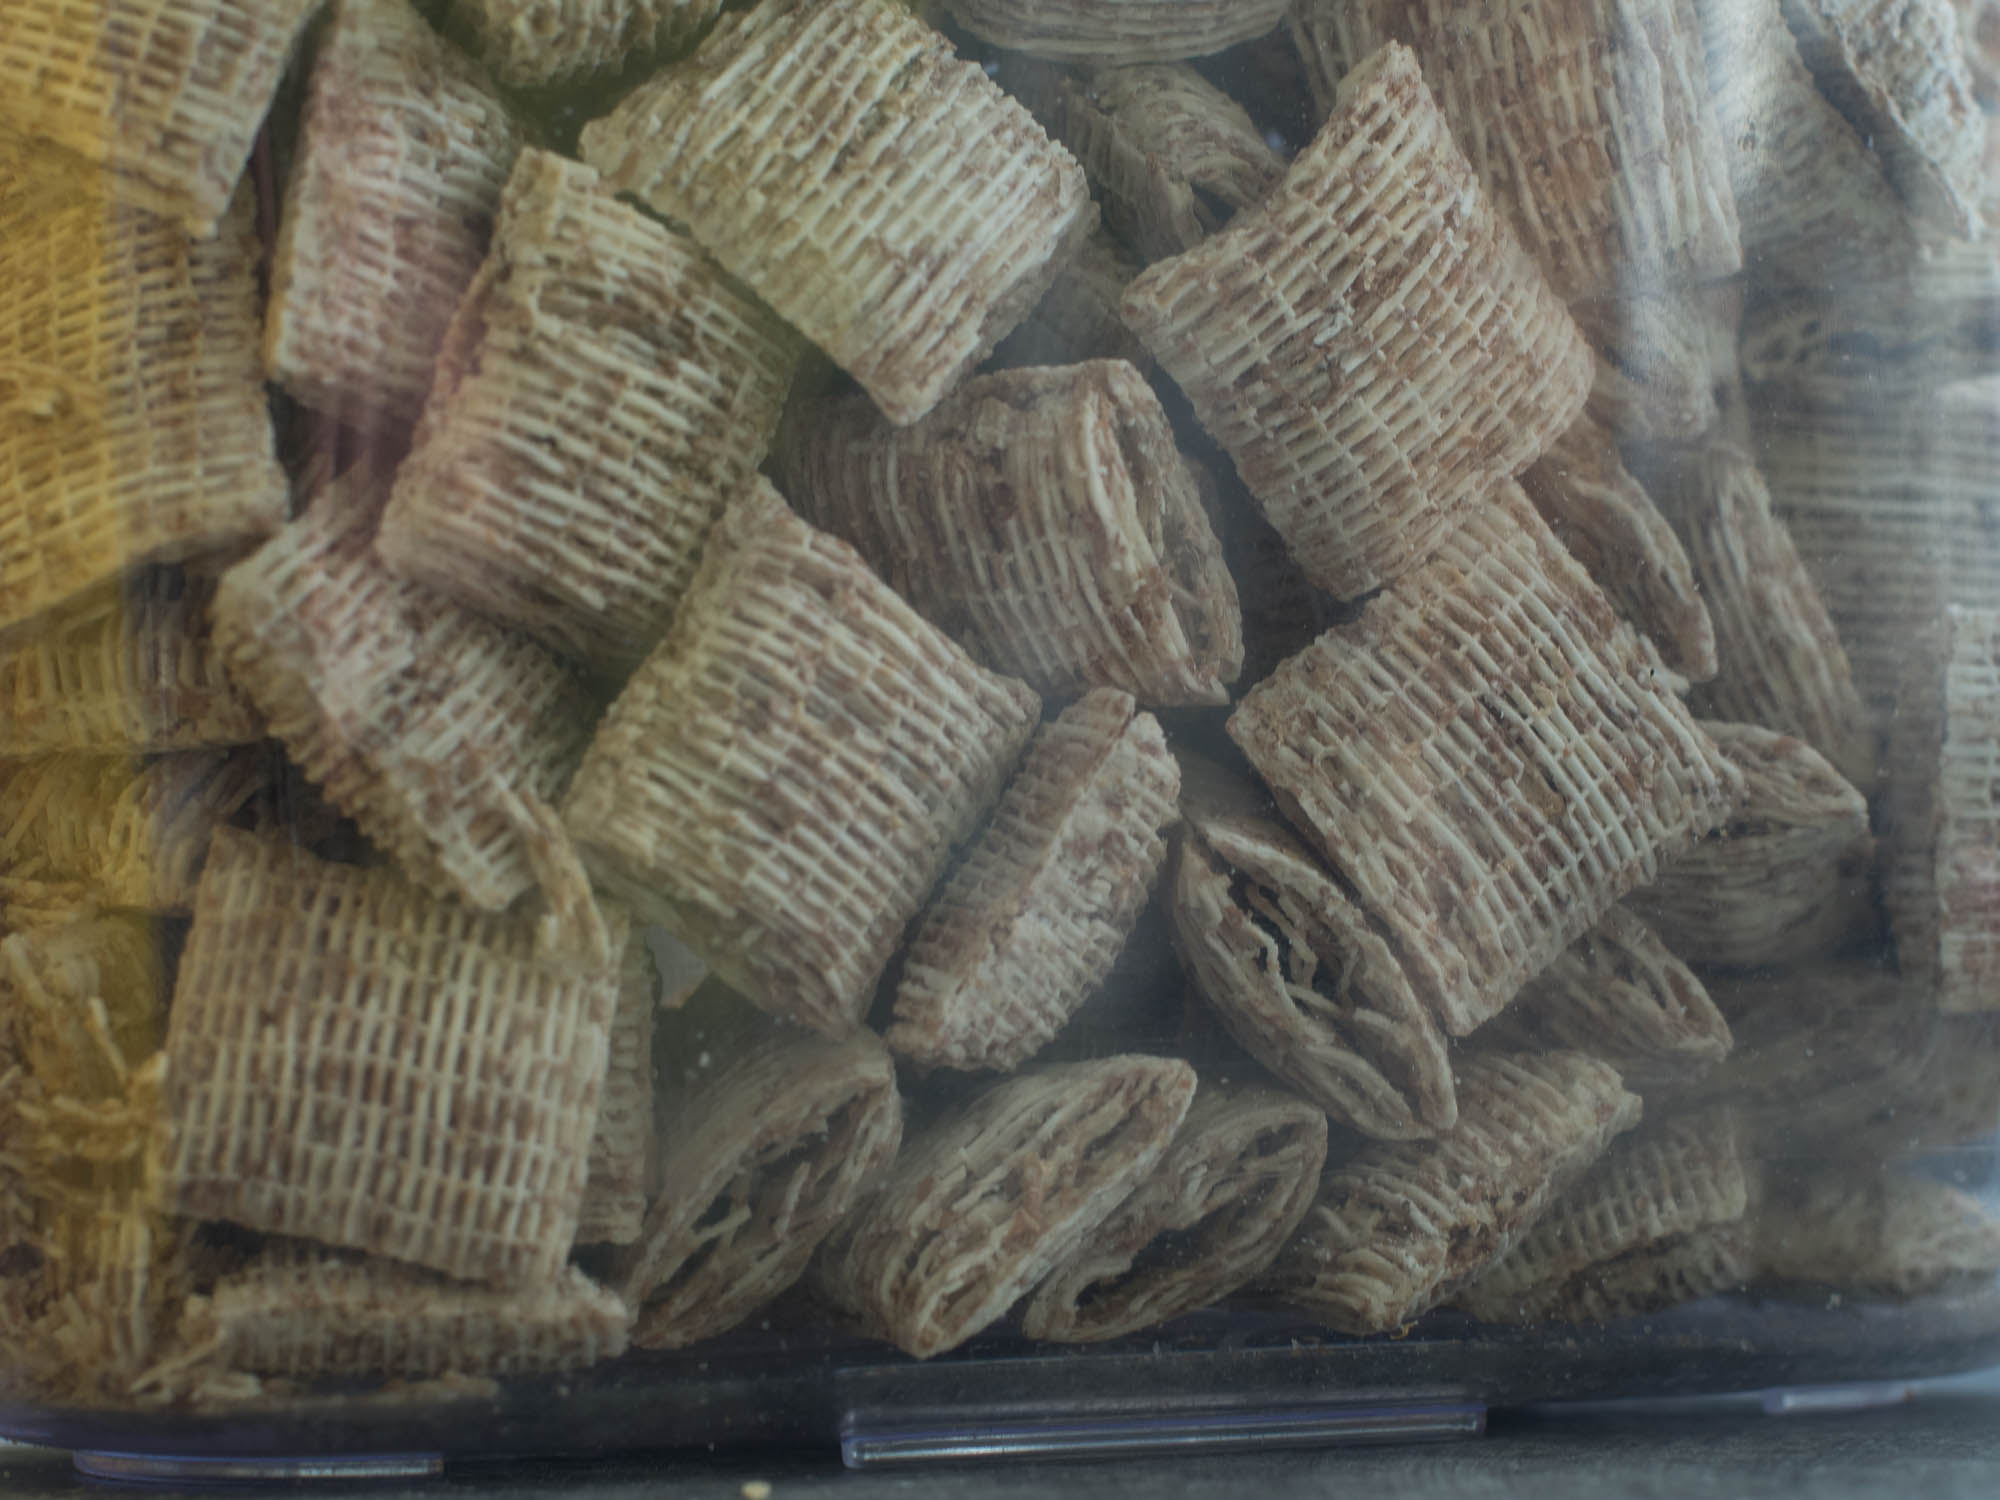
I took a photo of breakfast cereal inside a plastic container with the lens in both the forward position
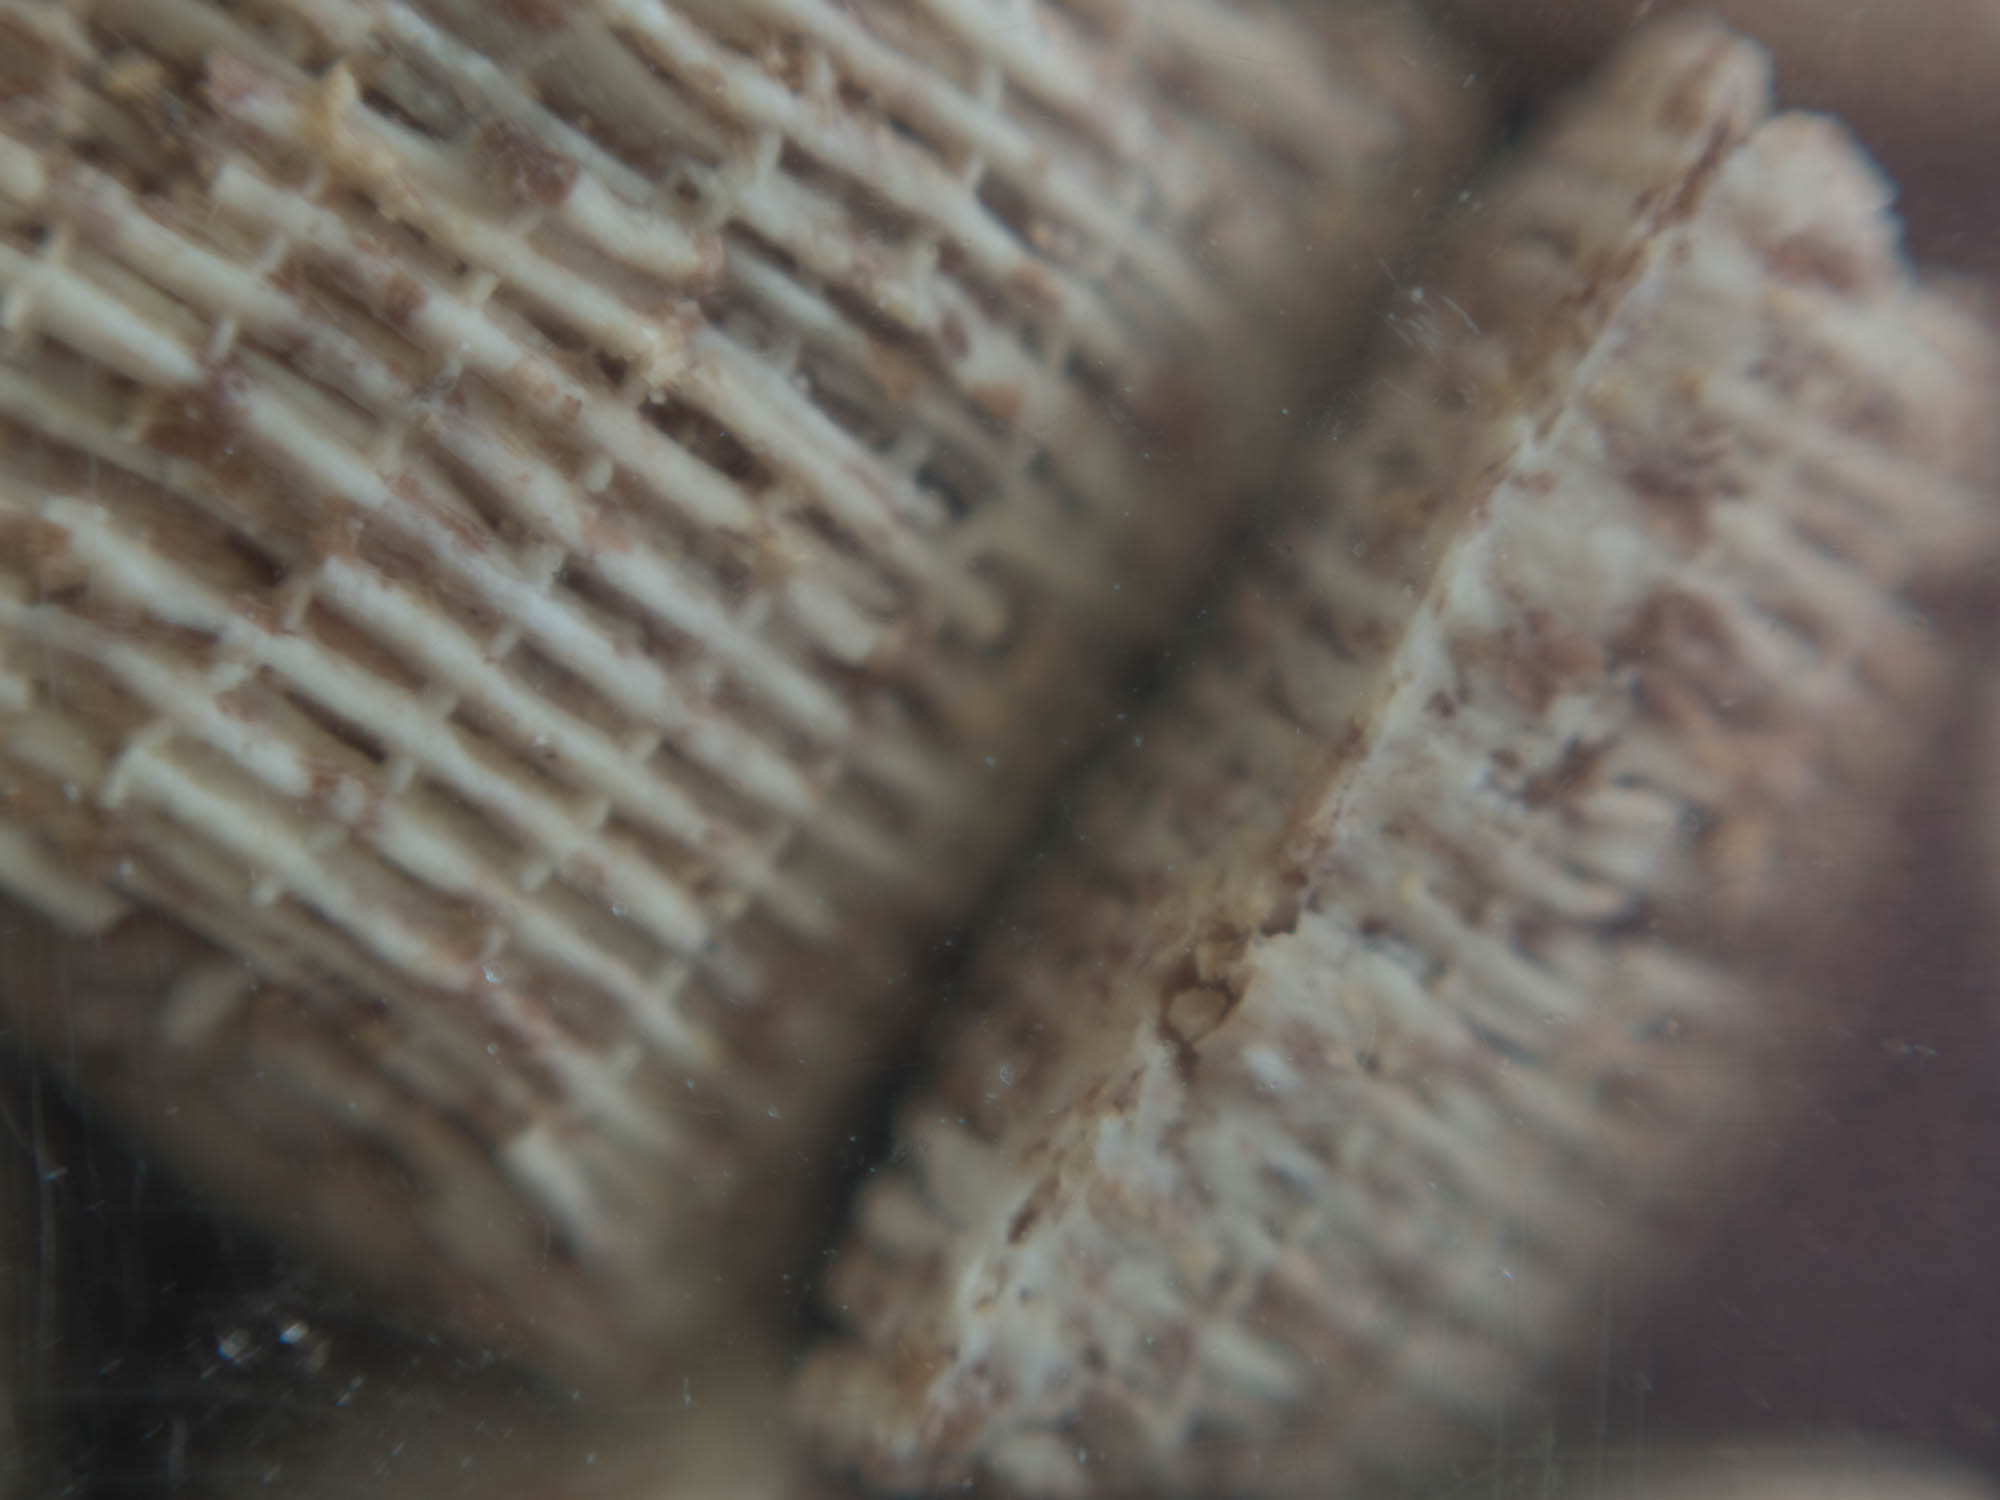
and the reversed position.
The lens was set to its closest setting of 0.45m for both photos. As you can see reversing the lens with a lens reverse ring allows much closer photographs to be taken.
I then took a series of photos with the lens reversed to show the type of photos you can take. Most of these are with the lens at maximum aperture so it gives a more creative effect with minimal sharp zone and lots of nice blurry backgrounds, like what you would achieve using a Lens baby .
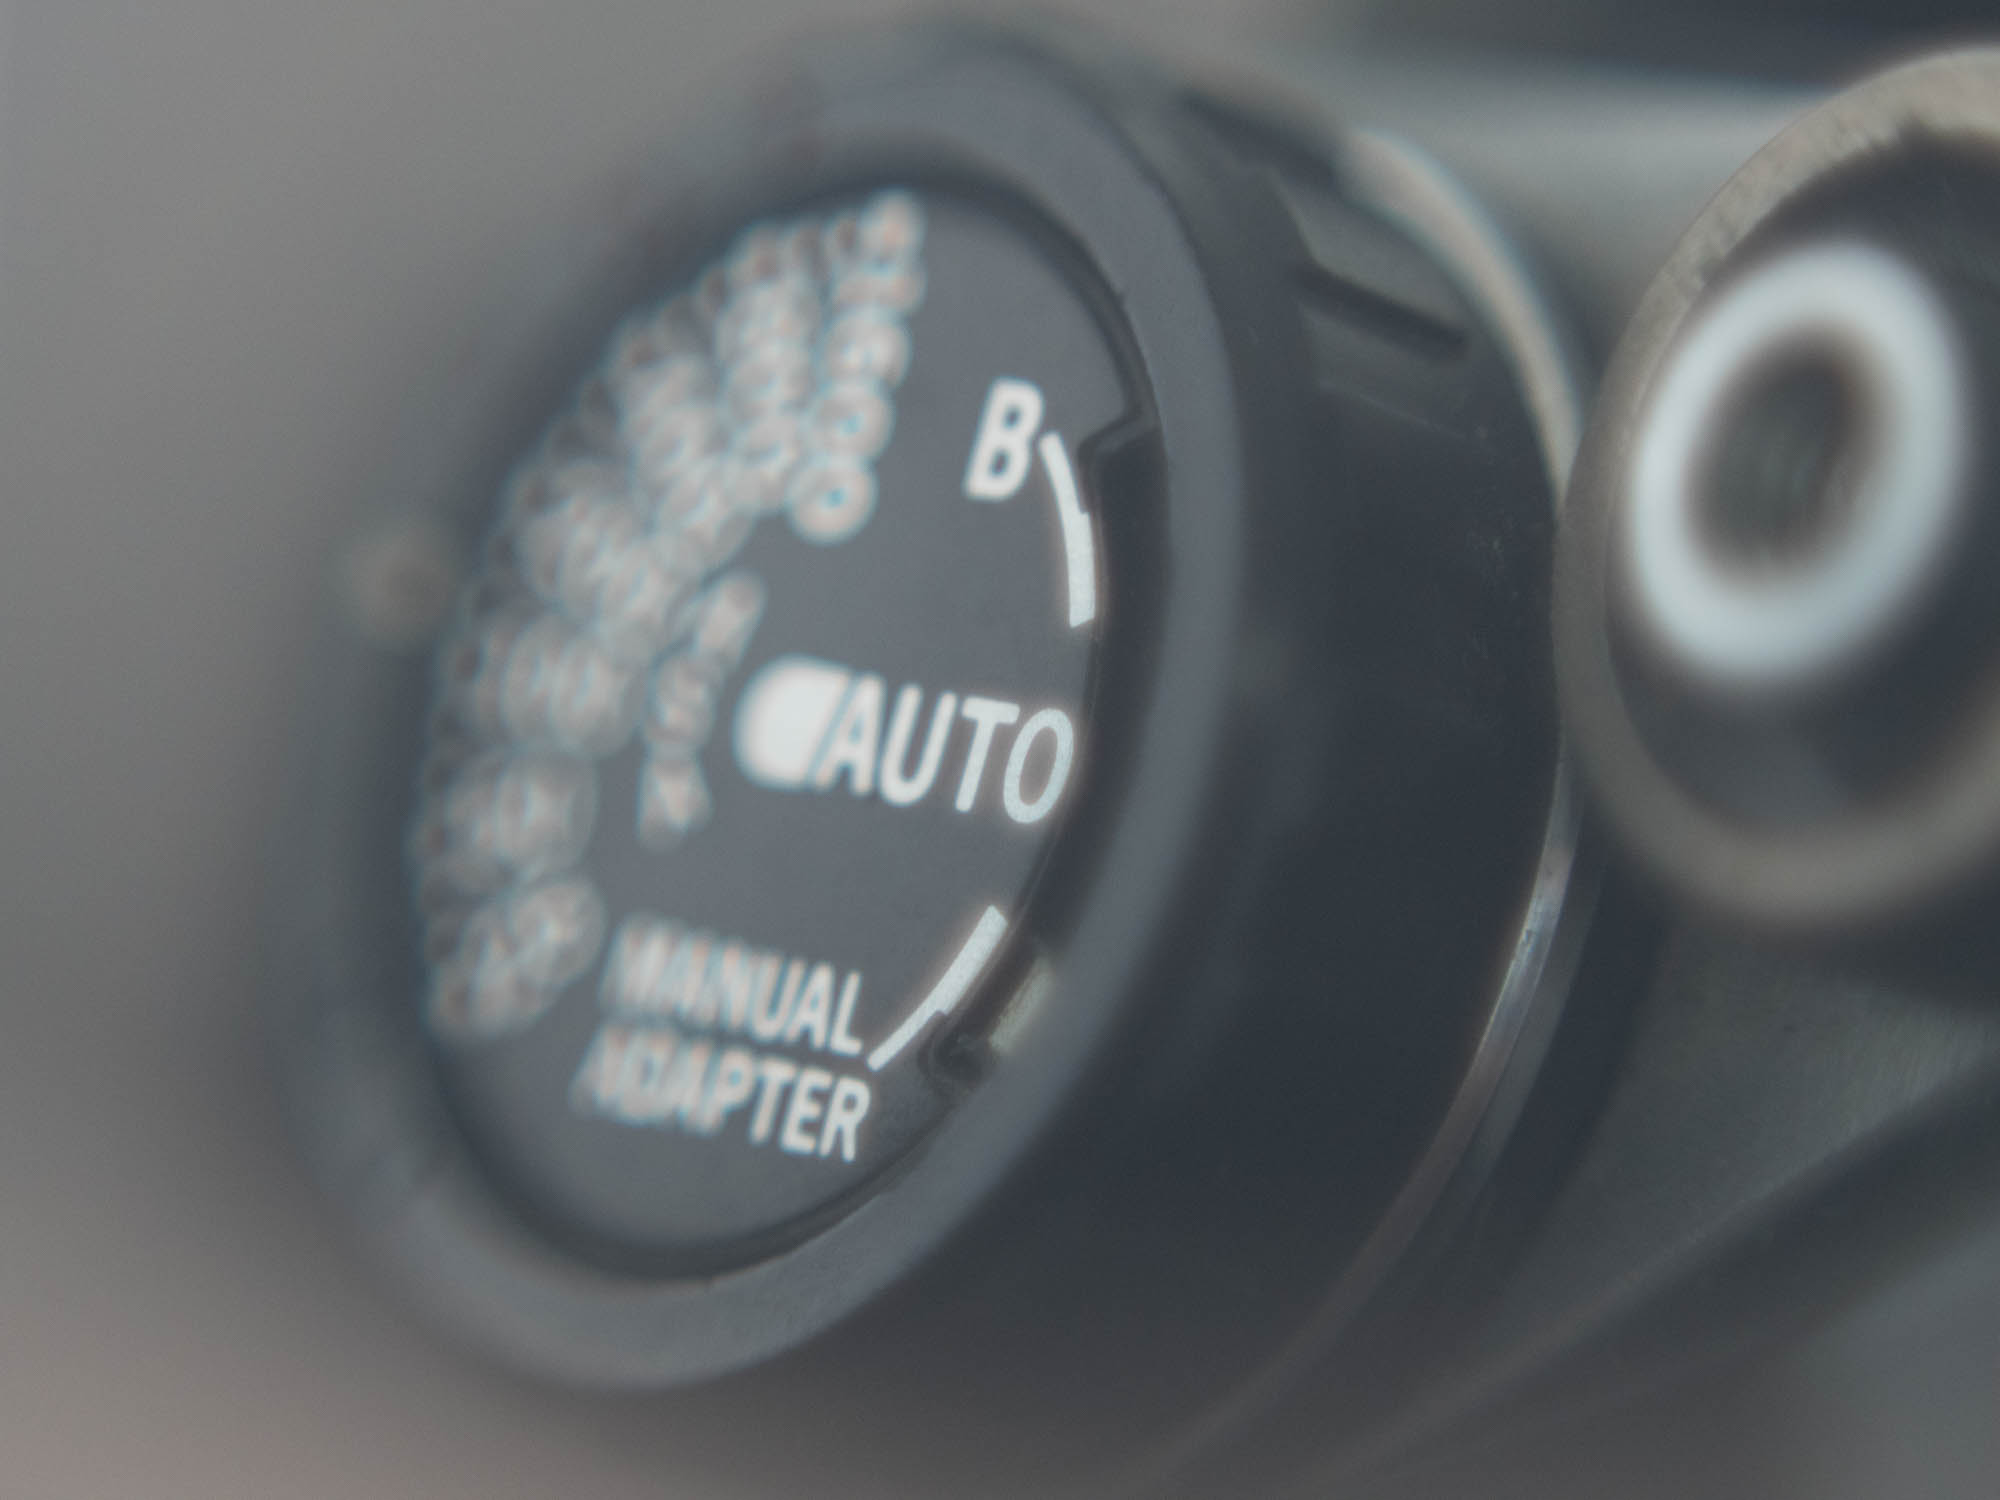
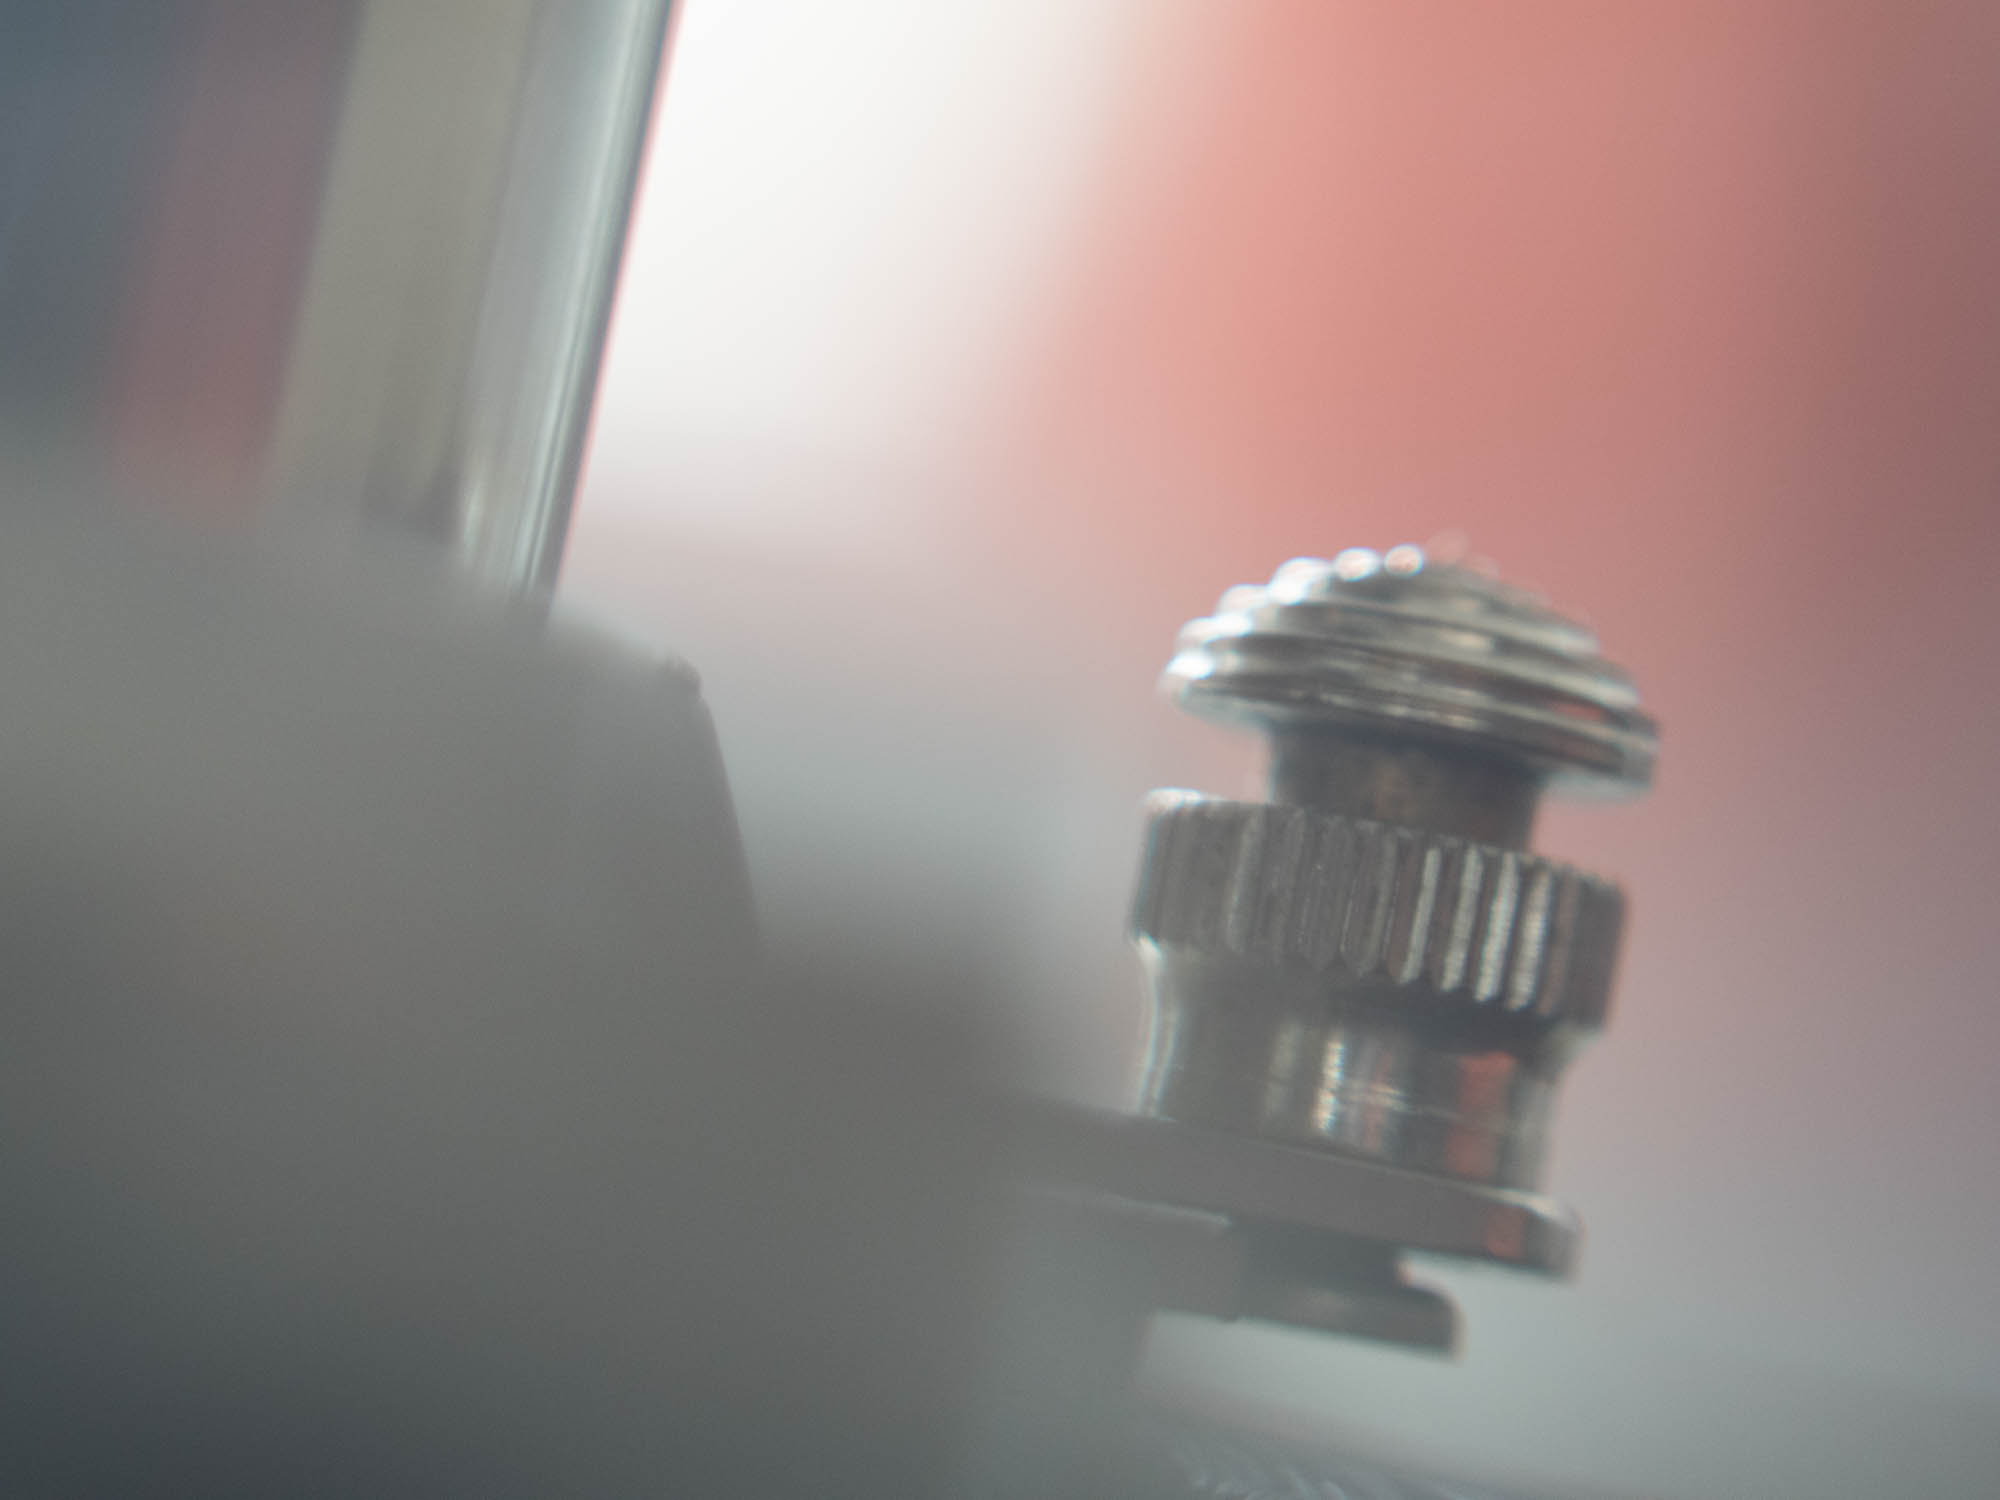
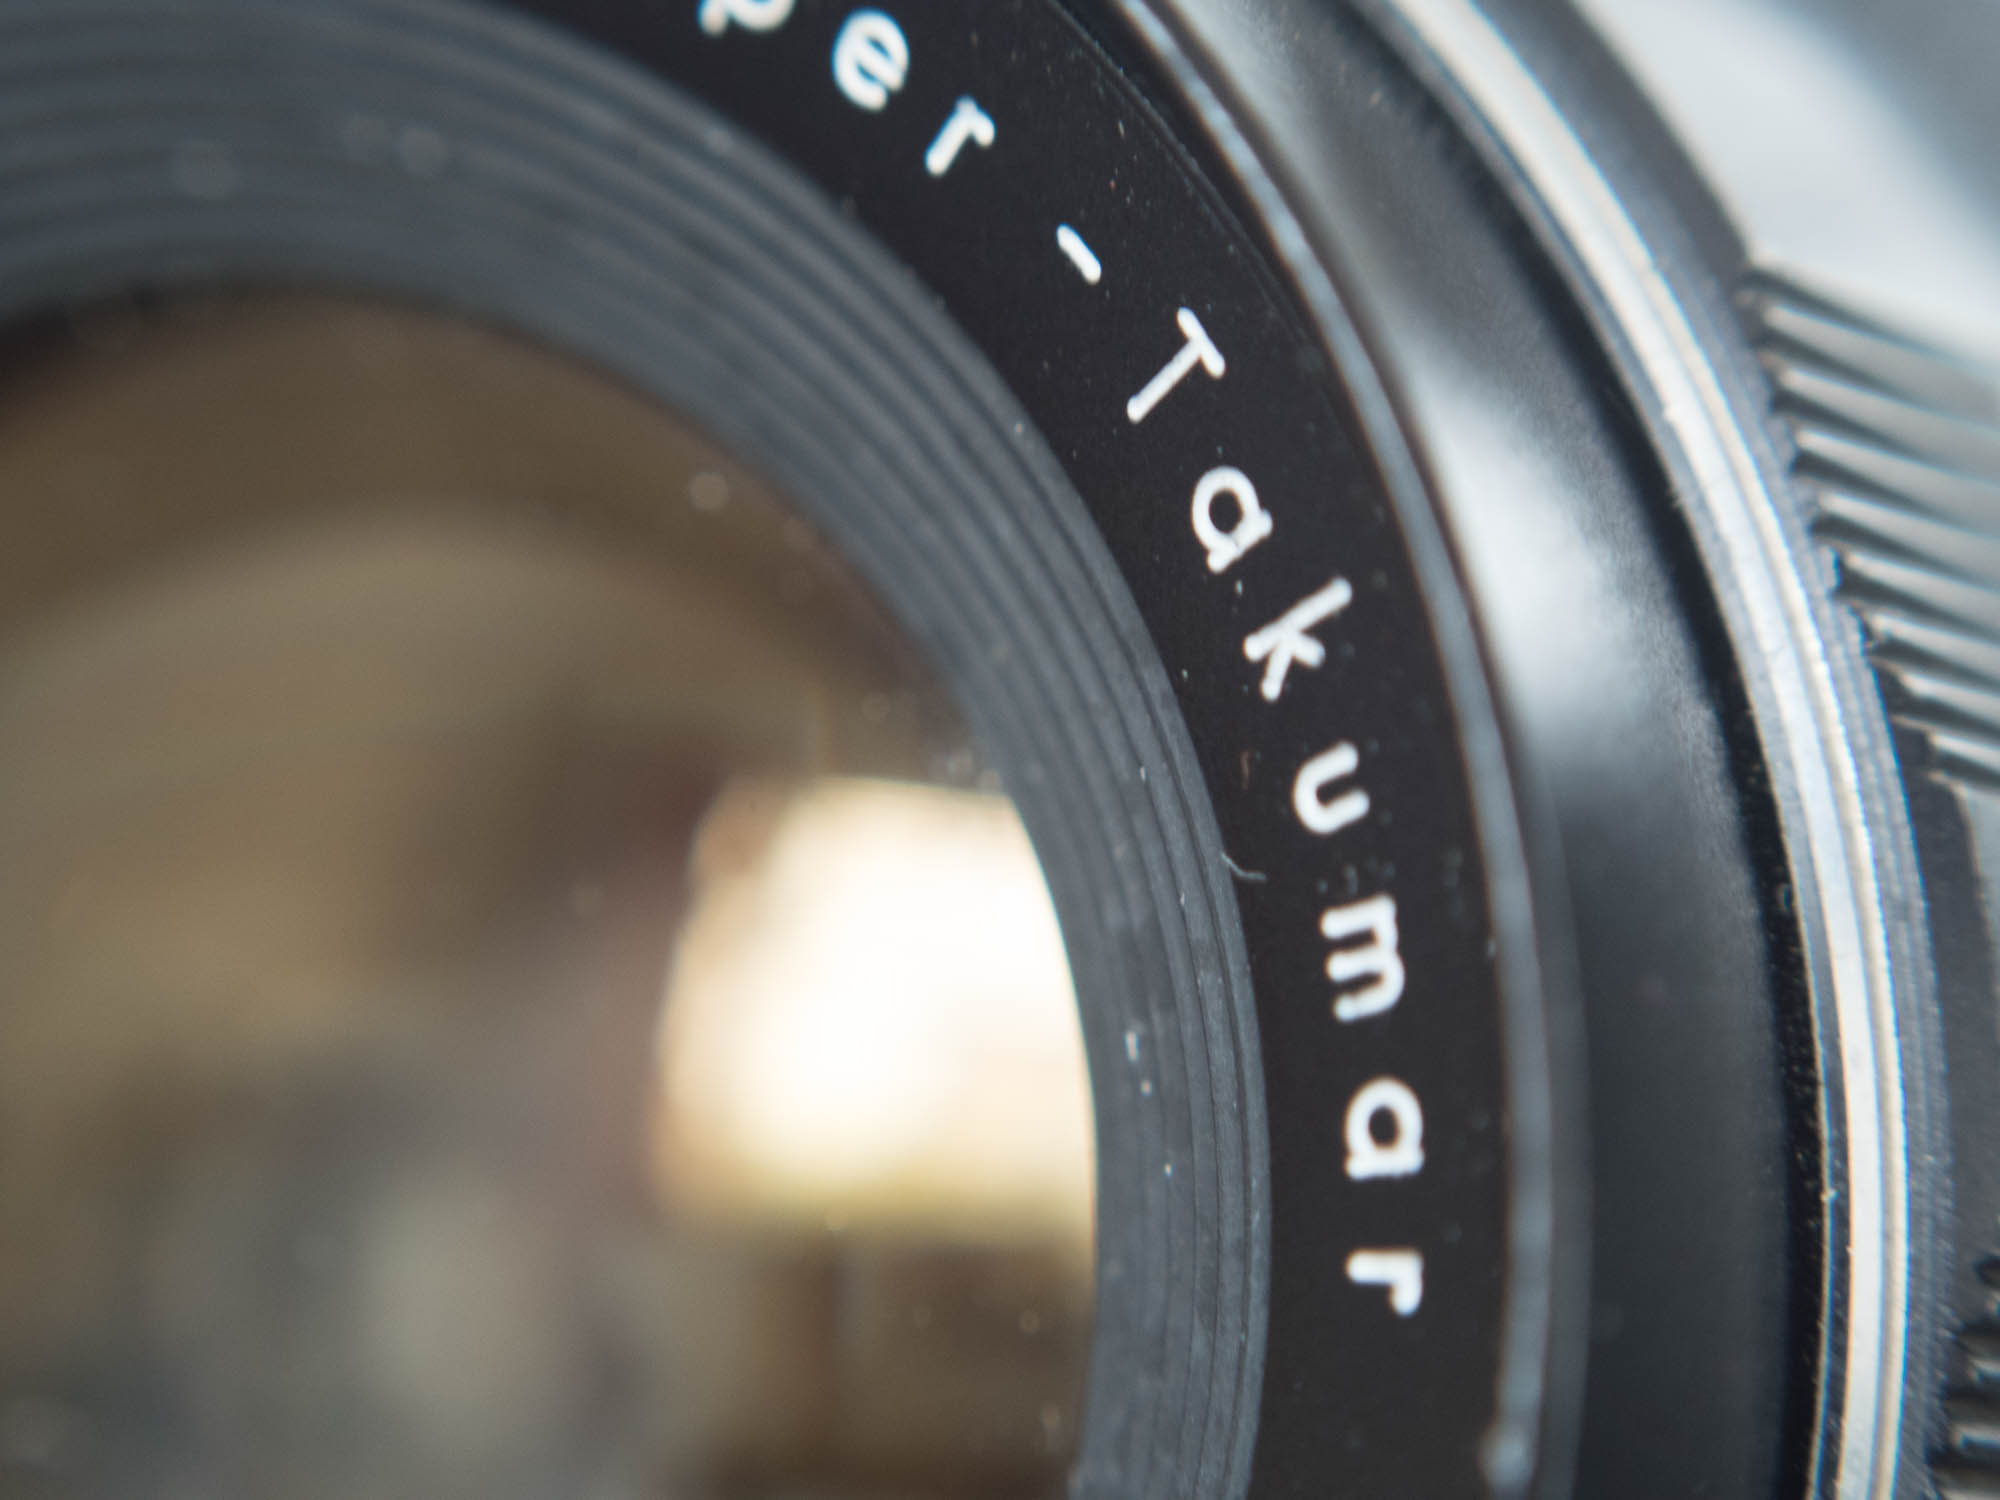
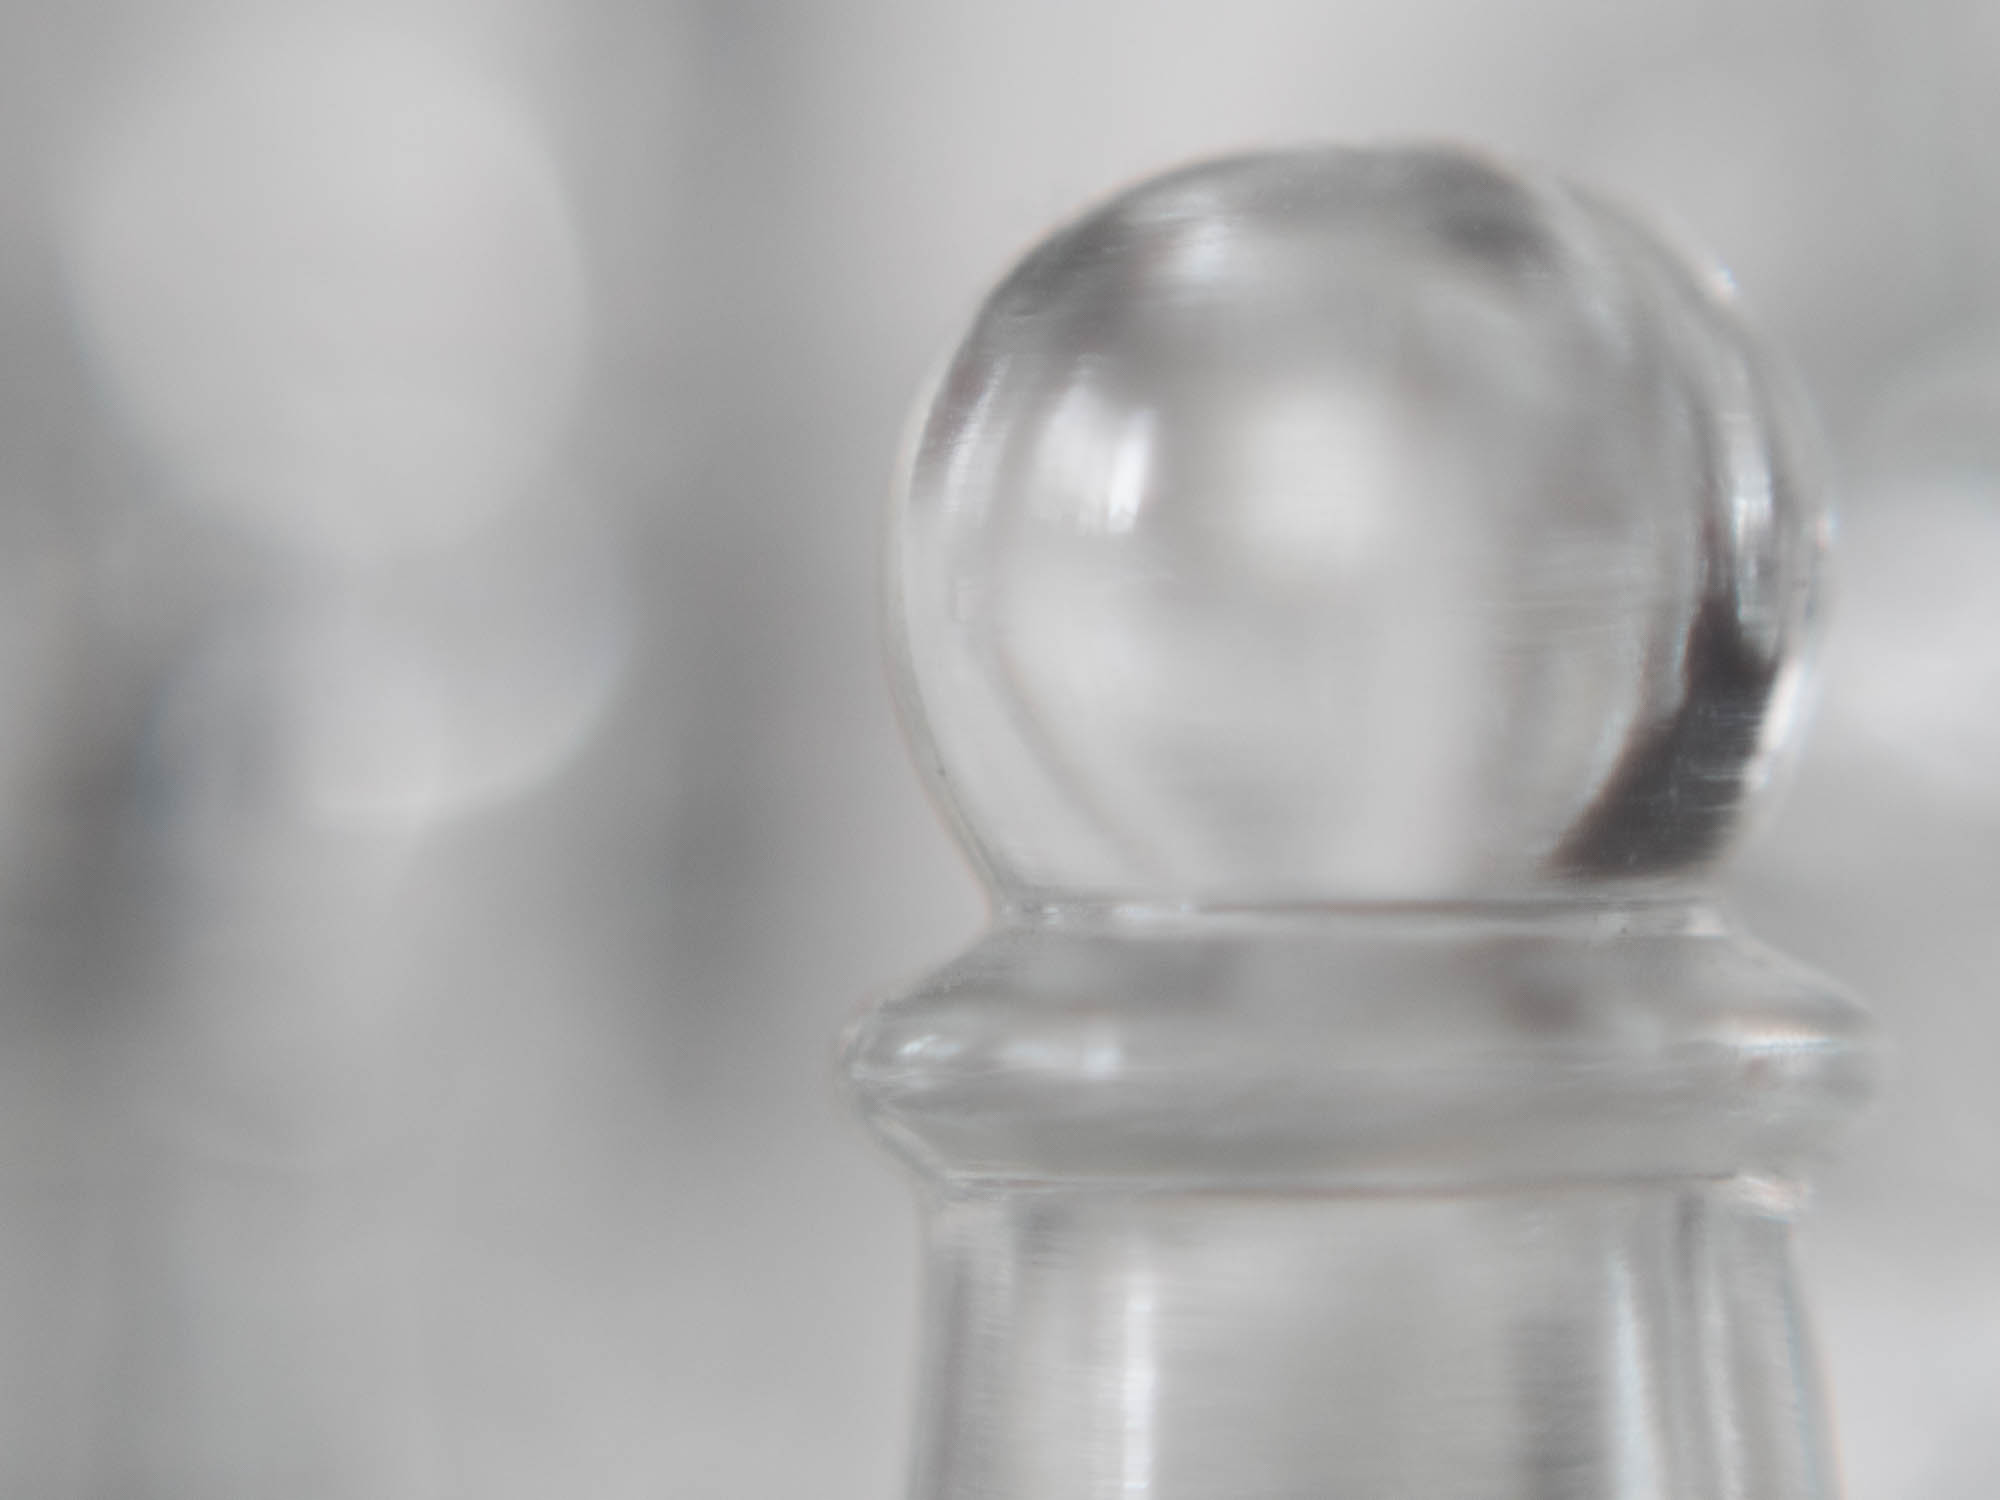
Close up of OM-10 exposure dial with shallow depth of field.Backlit photo of pens caps taken into the light to give the dreamy low contrast result.Leica camera control taken at f1.8 to ensure shallow focus.Takumar lens front taken with lens stopped down to f/5.6 to ensure a decent level of sharpness.A glass chess piece with others in the background to give nice bokeh.
As you can see reversing a lens is a creative way to add options to your camera kit for low cost.
We have a number of reversing rings for sale at photographyattic.com check out this tag page. Lens reversing ring
BPM bellows with its interchangeable mount system is all well and good, but what if you cant find the right mount for your camera body? BPM haven’t made mounts for well over two decades, so the modern camera mounts are impossible to find. And some of the older mounts, such as Yashica/Contax, Rollei 35SL and Olympus Pen, are as rare as rocking horse poo.
You could possibly find a factory with a moulding facility to create some, but that would be costly, or you could gain access to a 3D printer and make a mount, but in both cases you would need an accurate 3d technical drawing to ensure the mounts fit correctly. Thankfully there is a solution and it’s not too expensive.
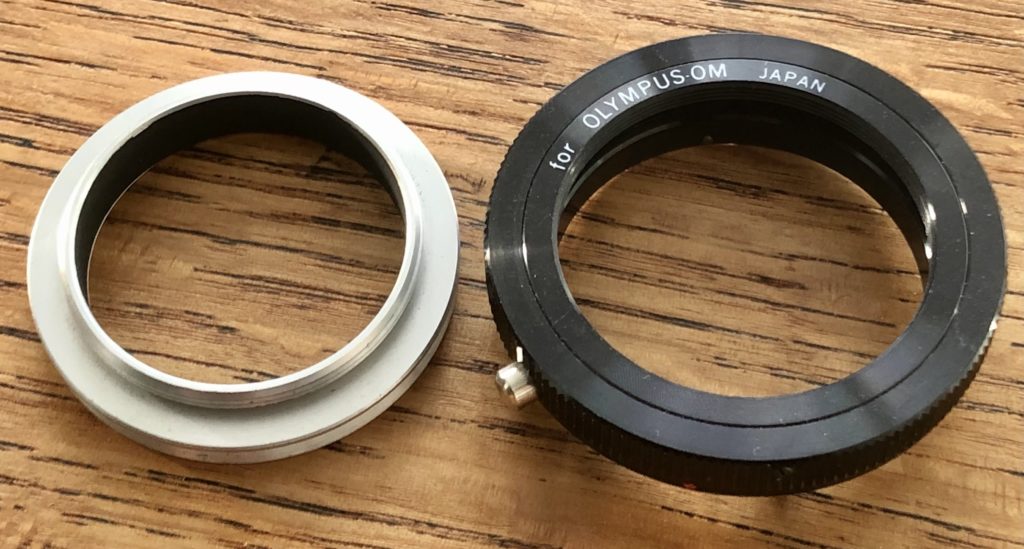
Some lenses sold between the 70 and 90s had an interchangeable mount. This system known as the T2 system, which also attached to the rear of some accessories, such as slide duplicators, had a T2 mount that screws on to the rear side of the lens or accessory and provides the necessary fitting for your camera body. The thread of a T2 mount is similar to that of an M42 camera thread found on Zenit, early Pentax and Praktica bodies, but is just slightly different. A T2 mount will screw onto an M42 thread but it wont go all the way so you just get a few turns – enough to make it a secure fit and the reason for this tip.
If you buy a BPM Pentax / Edixa screw thread mount with a male thread you can screw this into a T2 mount to attach to the bellows so your camera body can be attached. T2 mounts were made in a wide range of fittings and due to the fact many of the original 80s accessories have been reproduced by Chinese manufacturers, they have made mounts for newer camera bodies. So it’s very likely the fitting you want is available, and easily accessible from suppliers on eBay if your local dealer doesn’t stock them. We even have a few here at PhotographyAttic if you follow this link: T2 Mounts for sale
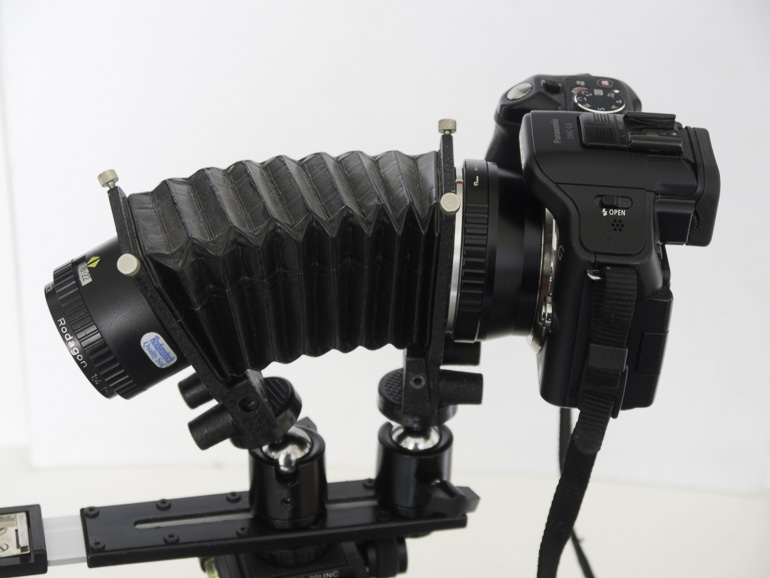
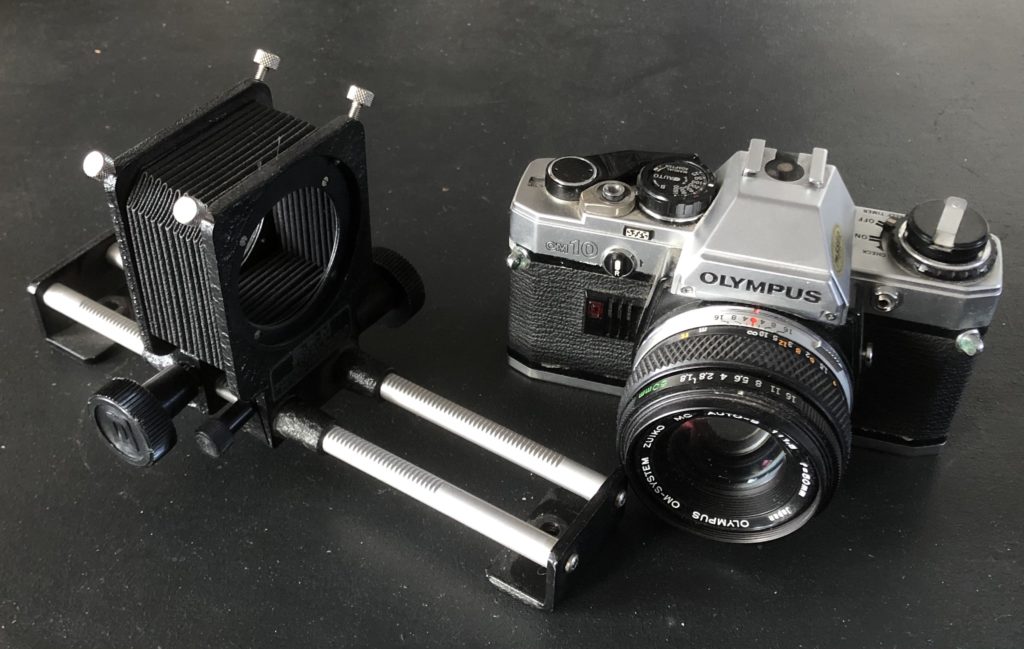
Large format photographers using cameras with bellows have always had the luxury of being able to adjust the lens and/or sensor plane so they are not parallel. This technique is performed to alter the plane of focus. While a conventionally parallel set-up provides front to back sharpness from a focus point parallel to the sensor, the adjusted lens, swung or tilted, places the focus plane at a different angle. This is a very useful technique for landscape photography, allowing sharp focus from close range to infinity, even at wide open apertures. But it’s also incredibly useful for macro photography. With this in mind Photography Attic has taken a set of BPM camera bellows and modified them to create a versatile set of custom bellows with tilt, swing and also shift options.
The bellows lens and camera platforms are individually mounted on a pair of small ball & socket heads which can be attached to a straight bracket like the one you would use with a flash gun. You can then slide the ball and socket along the flash bracket to extend the bellows increase magnification. And then tilt the front or rear panel to create the new plane of focus.
Here’s an example of the tilted bellows in action. A small 25mm pocket watch has been photographed at an angle. Rather than head on and parallel to the camera lens. The lens was then tilted on the camera bellows set up and as a result the widest aperture of f/2.8 can be used with full front to back sharpness. As a comparison a second shot was taken with the lens set conventionally parallel to the film plane. Notice how the sharpness falls off to the rear.
Another option is to use the swing feature. Here the lens is angled in a clockwise or anti clockwise direction to provide sharer front to back focus on an upright subject.
You can also adjust to provide a combination of both tilt and swing when the subject is not horizontal or vertical.
This process is technically known as the Scheimpflug Principle. If you would like to lean more check out the wikipedia page here: Scheimpflug Principle
You can buy a set of modified bellows with tilt shift here:Custom Tilt Shift Bellows You will also need to buy a bracket to mount them on.
There’s an interesting series of videos appeared that were produced by Lee Filters with conversation between the revered landscape photographers, Joe Cornish and David Noton. Epsiode 2 sees them discussing the changes digital photography has made in capturing the moment, and why they still use graduated filters. It’s not like the usual manufacturer produced media as there’s no mention of Lee filters, and well worth a view.
Here’s a list of current used graduated filters for sale on PhotographyAttic:
The Hoyarex filter system was really good: high quality filters.. Great variety of options in the range. Some glass filters. Solid holder. And a really useful rubber hood. But the Hoyarex System had a big flaw! And that has become evident over the years as more and more filters become scratched.
It’s not due to use either! These scratches occur when the filters are stored in their plastic case. The resin filter catches the edge of the case, which usually bends a bit in the middle. So after being jostled around in a camera bag the rubbing effect causes the resin to mark or scratch.
So here’s a tip to prevent further wear. Buy a packet of lens tissues and wrap one over the filter at the top end that sticks out of the case. Then the filter wont get rubbed. You can use toilet tissue, but a lens tissue is softer and has no fibres that will come off and cause dust problems.
The Hoyarex Skylight 1B filter – cat number 011 – is one of the most valuable filters in the Hoyarex range, yet is often overlooked, because its not a special effect filter.
But this underused filter will do two things to ensure your photography improves.
Firstly, and most importantly, the filter is a lens protector. The Hoyarex system is made so that when a filter is placed in the back slot it removes any possibility of dust reaching the lens. So if the holder is left on with a filter inserted the lens wont get dust falling on the surface or scratches. The skylight is the obvious choice as it has no special effect value. It’s also one of the few filters in the Hoyarex range that’s made from glass so optically very good.
But the filter has another use. A skylight filter has a very slight pink tint that has a warming effect when shooting in hazy days, so landscapes can be photographed with slightly more clarity.
Yes you can give your old Praktica a new lease of life for just one quid.
There’s a growing trend to replace the leather/plastic trims on vintage cameras with fancy new wood veneers, posh patterned leathers or exotic animal skins. All options cost a fair few quid and usually mean you sending off for a mail order deal.
Here’s a way to give your old camera a new look for just one pound. Those who remember Blue Peter will be familiar with sticky back plastic which was used for hundreds of DIY projects. Today high street Pound Stores are selling rolls of self adhesive patterned material for £1, and one option is this wood veneer.
All you need to do is remove the camera’s existing leather/plastic trim, use the trim as a template, cut out the new replacement from your roll, peel off the back and stick it in place. You can cover some books / furniture with the rest.
It won’t give the luxury feel of the leather products, so should not really be considered if you’re still using the camera regularly, but it does make an attractive cover if the camera is to become an ornament.
If you prefer a high quality leather version check out this great article on recovering a Praktica MTL3.
 How to attach an Olympus / Panasonic Micro 4/3 Body to BPM Bellows:
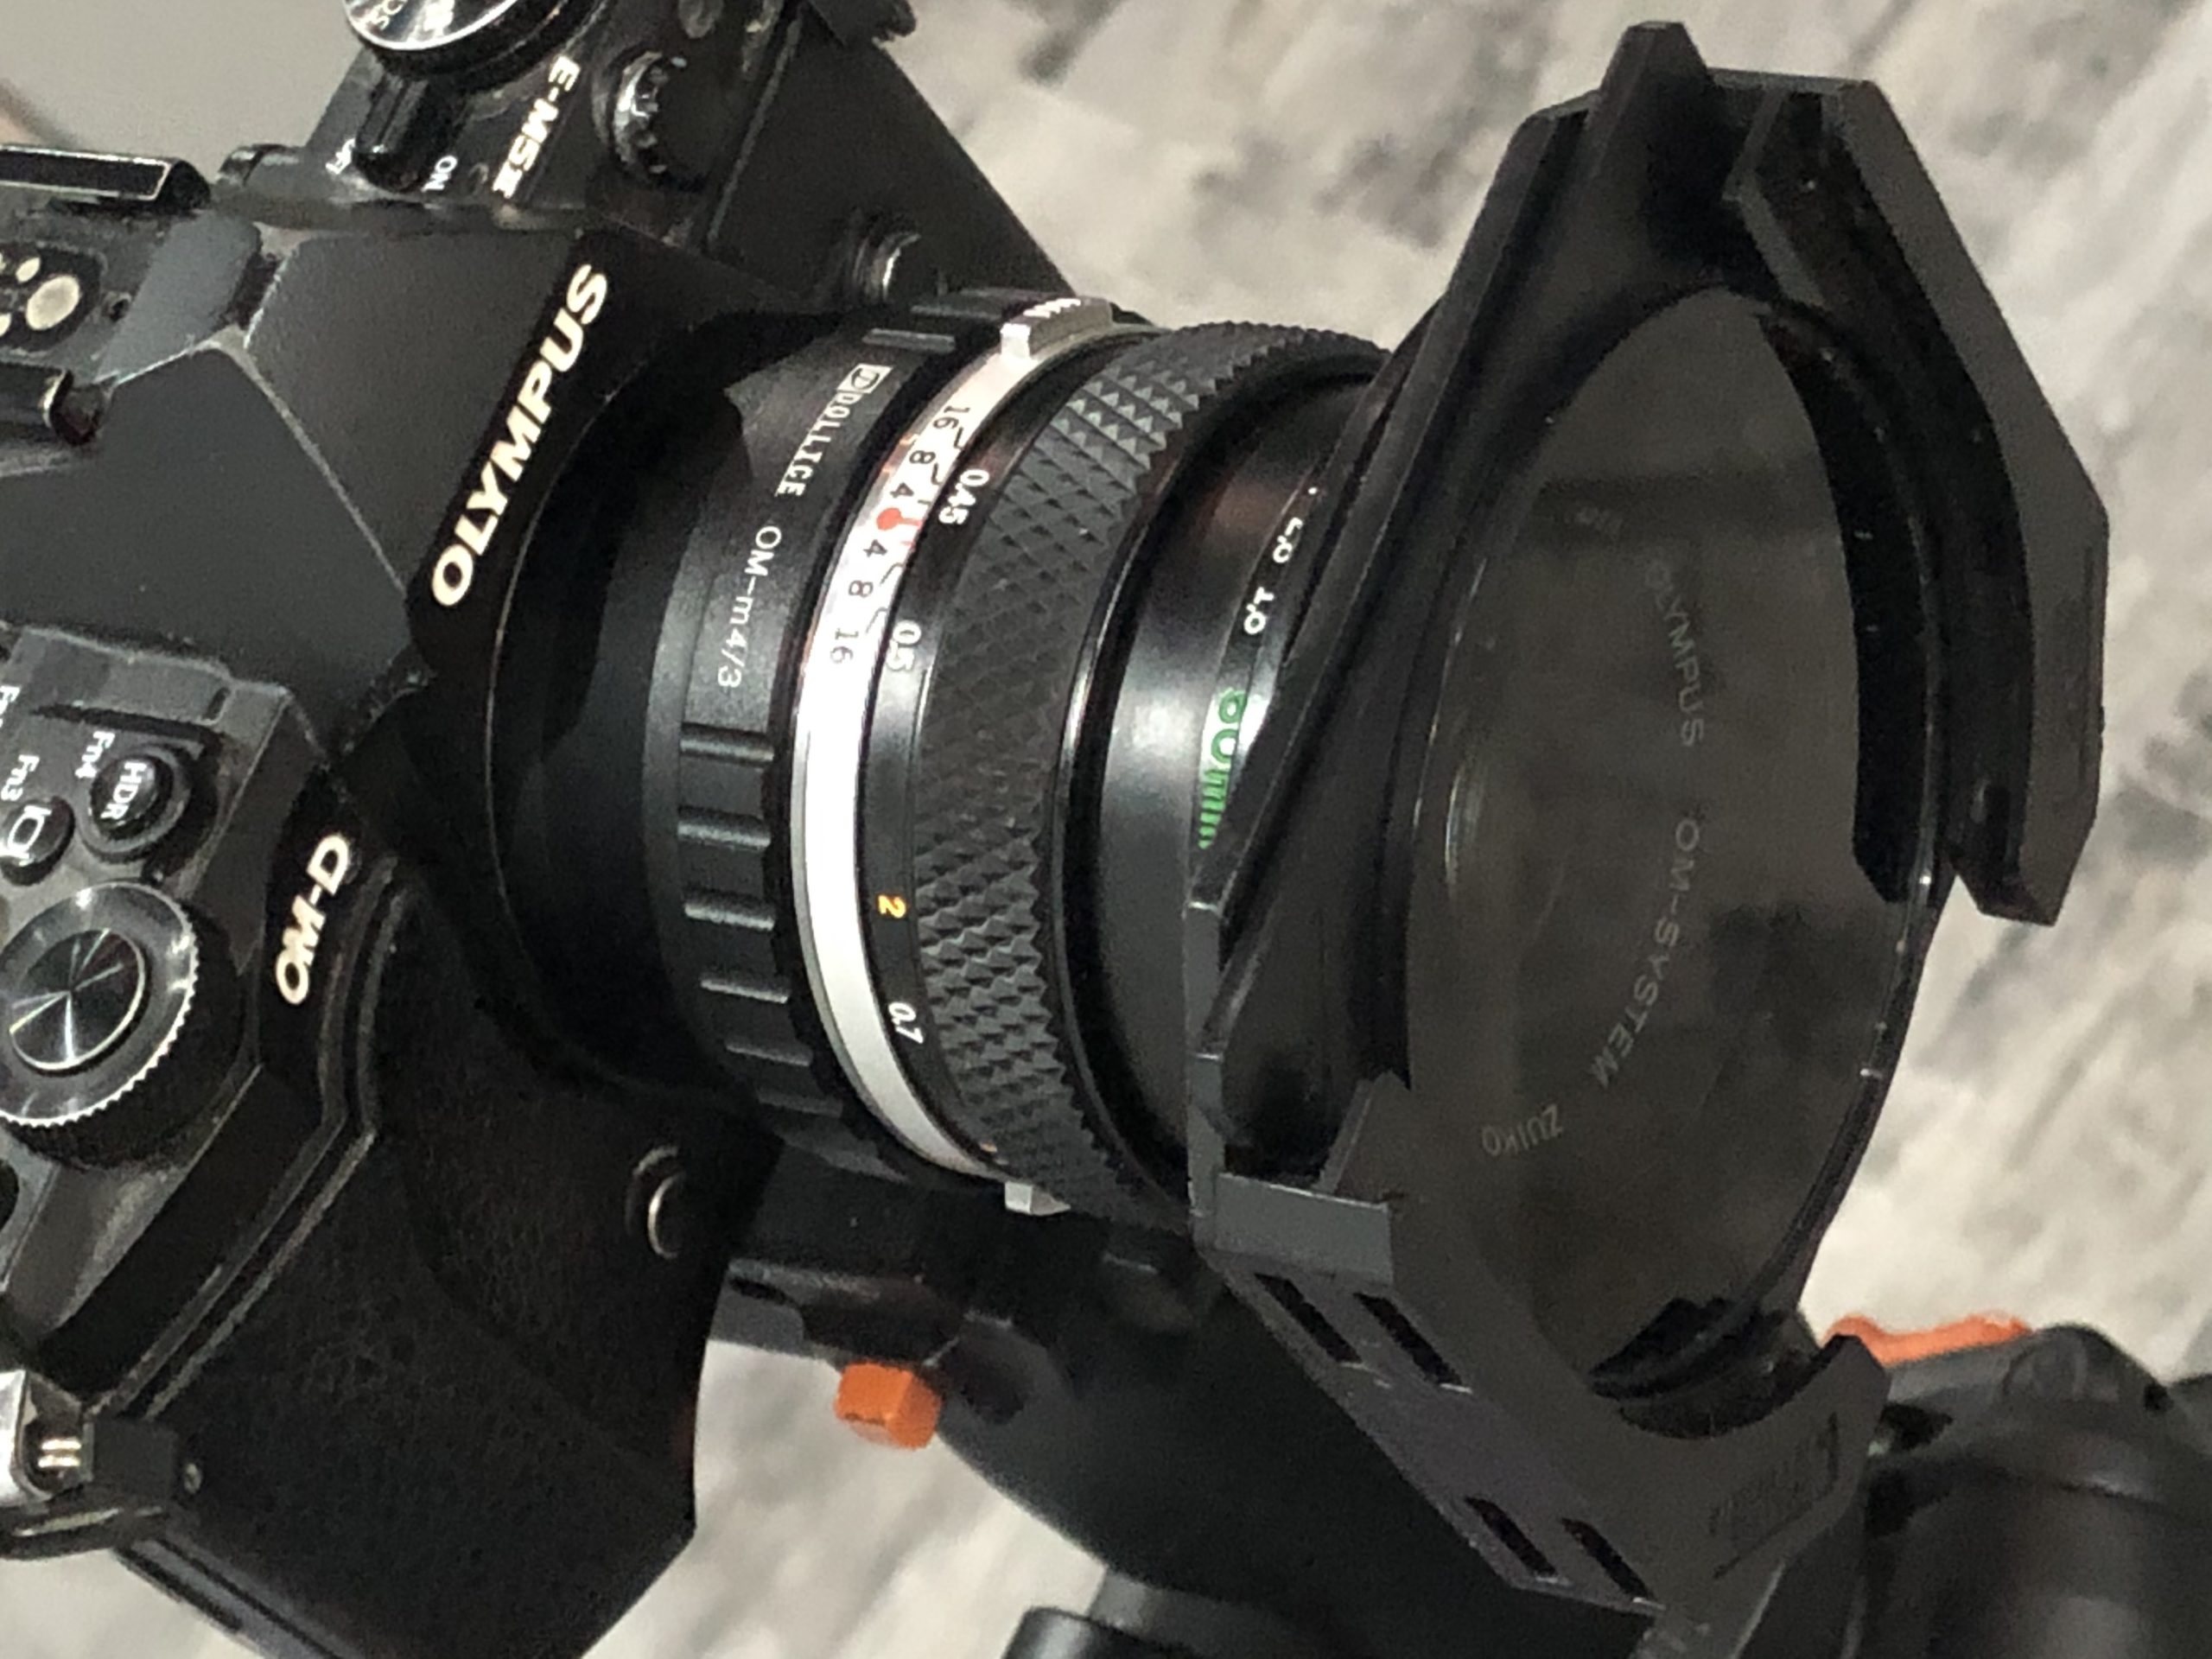


 If you