BPM Bellows were made way before 35mm autofocus and digital cameras came along with their newer more advanced electronic lens mounts. While Nikon and Pentax kept the same basic mount size and added electrical couplings, Canon, Minolta and Olympus changed completely so you wont find BPM adaptors for these cameras. That said many options have been reproduced in China and sell at low cost on eBay, and although the BPM system isn’t on their radar it is possible to cobble together an option that will allow your camers to fit BPM bellows.
Here are various options for the newer Canon, Minolta (also Sony) and Olympus (also Panasonic) camera mounts
How to attach a Canon EOS Lens to BPM Bellows:
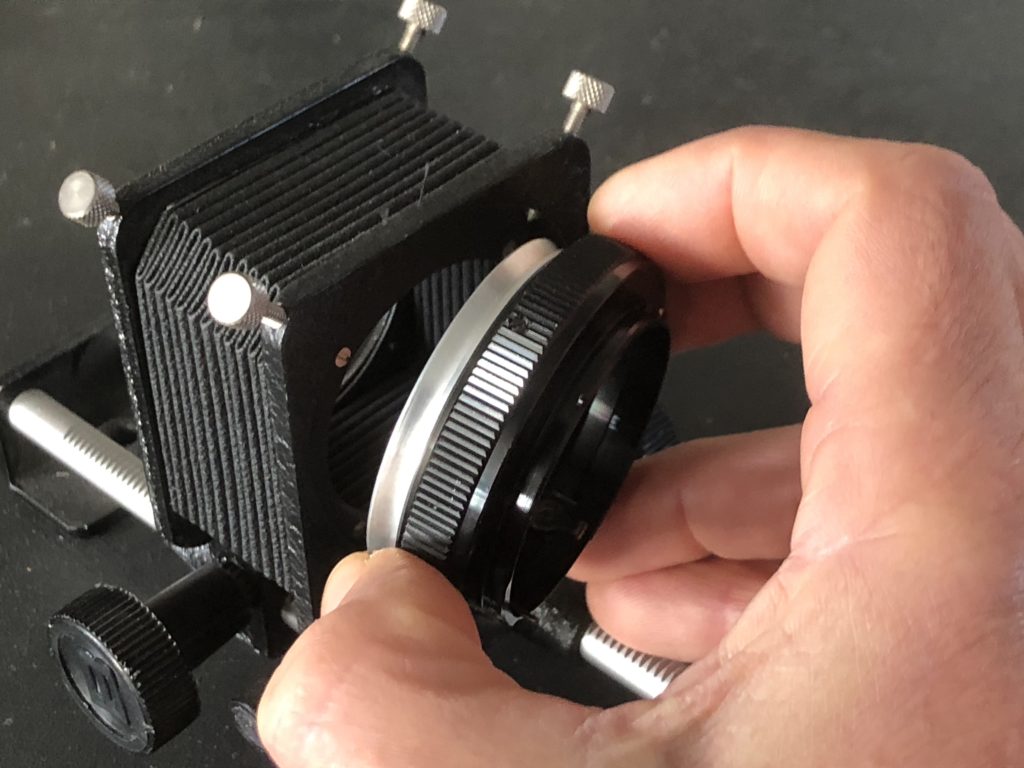
You could buy a cheap Canon EOS fit accessory such as an extension tube or 2x converter (or even a broken EOS SLR body) and strip back to the mount which you can then stick to any BPM mount with superglue. A small extension tube would be ideal as there’s no glass to remove. Alternatively cut the centre out of a plastic Canon EOS rear lens cap and glue it to any BPM mount. Care obviously needs to be taken to A) centre it and B) make sure it’s stuck well enough to support the weight of the lens. If this is all too much bother you can buy a cheap lens that BPM made mounts for and attach that to the front with the necessary BPM lens mount. The beauty of the BPM system is any lens can be added to the front. It doesnt have to be camera brand specific.
How to attach a Canon EOS Body to BPM Bellows:
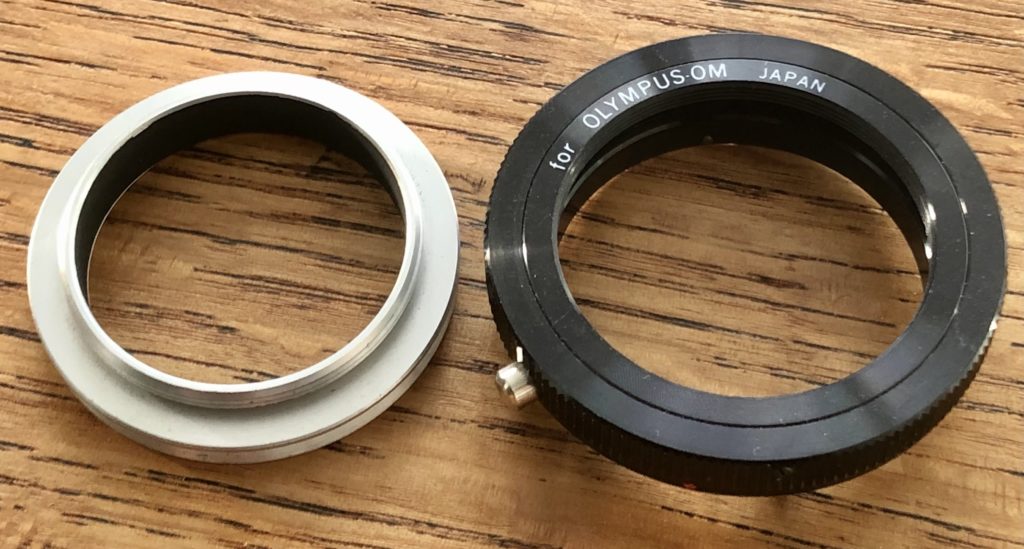
Same advice as above – using a mount from an existing EOS Canon item and glue to any BPM mount. If you got an extension tube or teleconverter, both sides can be utilised for body and lens fittings. Or there’s a Canon EOS T2 mount https://www.photographyattic.com/product-2984 that you can screw a BPM M42 screw mount adaptor to https://www.photographyattic.com/product-553. The T2 mount isnt exactly the same as M42 but it will screw in so far and be safe enough to use.
How to attach a Minolta Dynax / Sony Alpha Lens to BPM Bellows:
You could buy a cheap Minolta Dynax / Sony Alpha fit accessory such as an extension tube or 2x converter (or even a broken Minolta Dynax / Sony Alpha SLR body) and strip back to the mount which you can then stick to any BPM mount with superglue A small extension tube is ideal as there’s no glass to remove. Alternatively cut the centre out of a plastic Dynax/Alpha rear lens cap and glue it to any BPM mount. Care obviously needs to be taken to A) centre it and B) make sure it’s stuck well enough to support the weight of the lens. If this is all too much bother you can buy a cheap lens that BPM made mounts for and attach that to the front with the necessary BPM lens mount. The beauty of the BPM system is any lens can be added to the front. It doesnt have to be camera brand specific.
How to attach a Minolta Dynax / Sony Alpha body to BPM Bellows:
Same advice as before – using a mount from an existing Minolta Dynax / Sony Alpha item and glue to any BPM mount. If you got an extension tube or teleconverter, both sides could be used for body and lens fittings. Or there’s a Minolta Dynax T2 mount that you can screw a BPM M42 screw mount adaptor to https://www.photographyattic.com/product-553. The T2 mount isnt exactly the same as M42 but it will screw in so far and be safe enough to use. Or you can also buy a Minolta MD to Minolta AF adapter and use the BPM Minolta MD mount https://www.photographyattic.com/product-557 to attach the Minolta Dynax / Sony Alpha body BPM Bellows
How to attach an Olympus / Panasonic Micro 4/3 Lens to BPM Bellows:
You could buy a cheap Olympus / Panasonic Micro 4/3 fit accessory such as an extension tube or 2x converter (or even a broken Olympus / Panasonic Micro 4/3 body) and strip back to the mount which you can then stick to any BPM mount with superglue A small extension tube is ideal as there’s no glass to remove. Alternatively cut the centre out of a plastic Micro 4/3 rear lens cap and glue it to any BPM mount. Care obviously needs to be taken to A) centre it and B) make sure it’s stuck well enough to support the weight of the lens. If this is all too much bother you can buy a cheap lens that BPM made mounts for and attach that to the front with the necessary BPM lens mount. The beauty of the BPM system is any lens can be added to the front. It doesnt have to be camera brand specific.
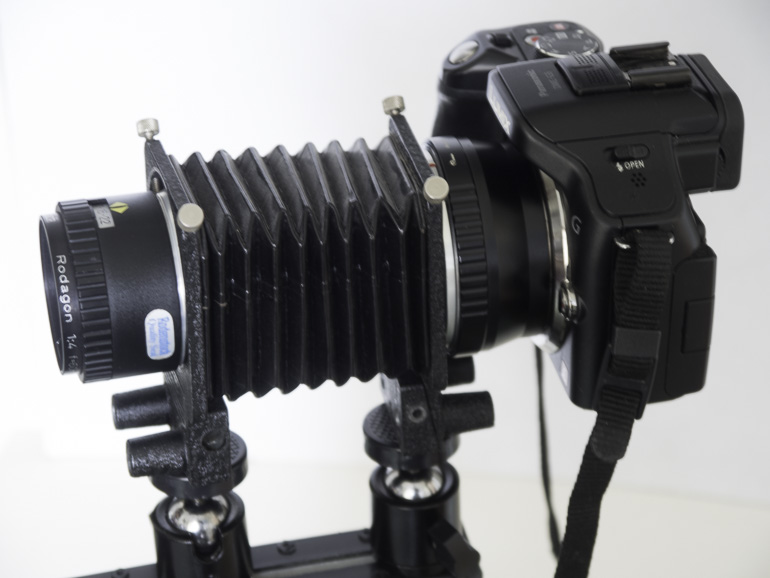 How to attach an Olympus / Panasonic Micro 4/3 Body to BPM Bellows:
Same advice as before – using a mount from an existing Olympus / Panasonic Micro 4/3 item and glue to any BPM mount. If you got an extension tube, both sides could be used for body and lens fittings. Or there’s a micro 4/3 to T2 mount https://www.photographyattic.com/product-1826– that you can screw a BPM M42 screw mount adaptor to https://www.photographyattic.com/product-553. The T2 mount isnt exactly the same as M42 but it will screw in so far and be safe enough to use.
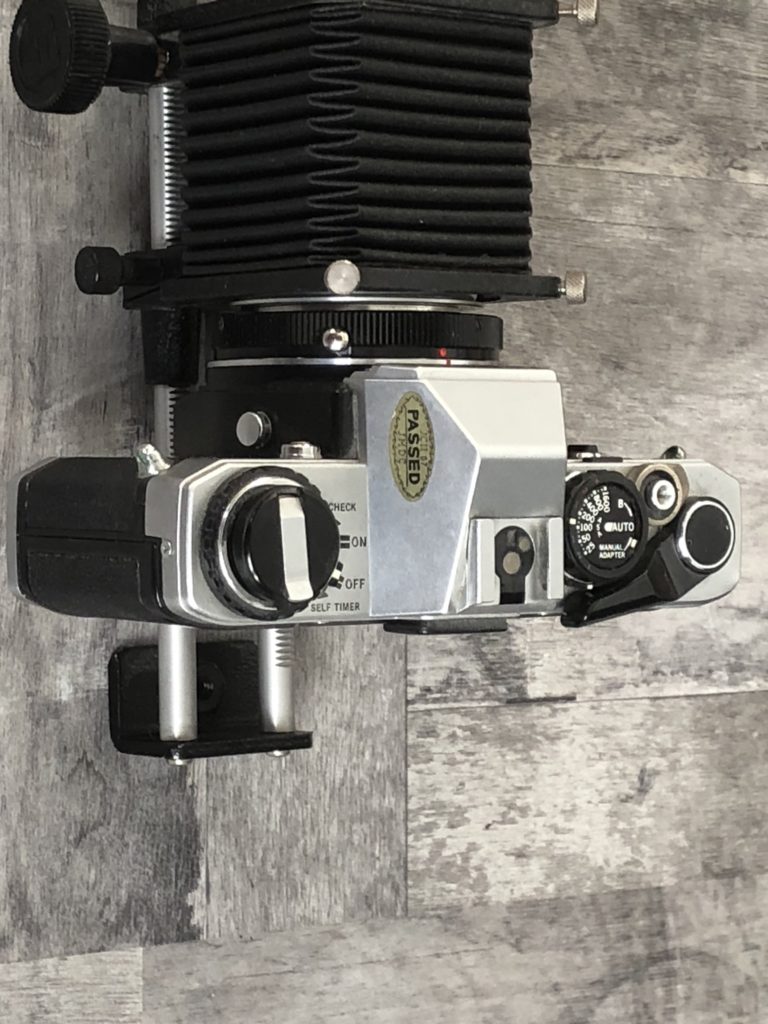
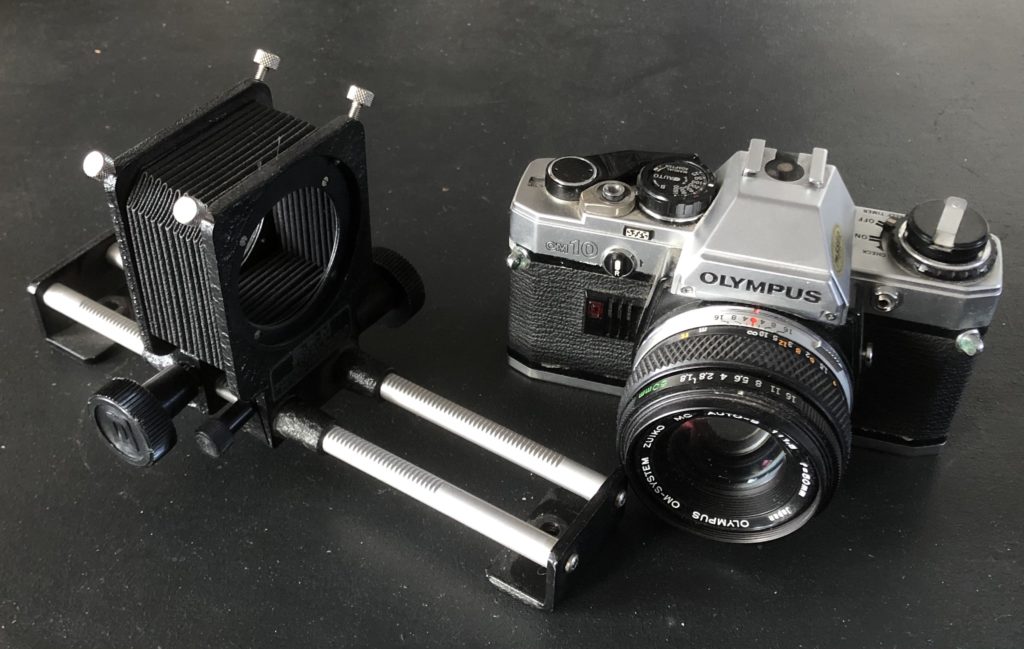
The camera and lens have to be used in manual with each of the options above, as there is no way to have electronic coupling with the BPM Bellows system.
If you have trouble finding what you need to use BPM bellows please get in touch and we will try and help.
 If you