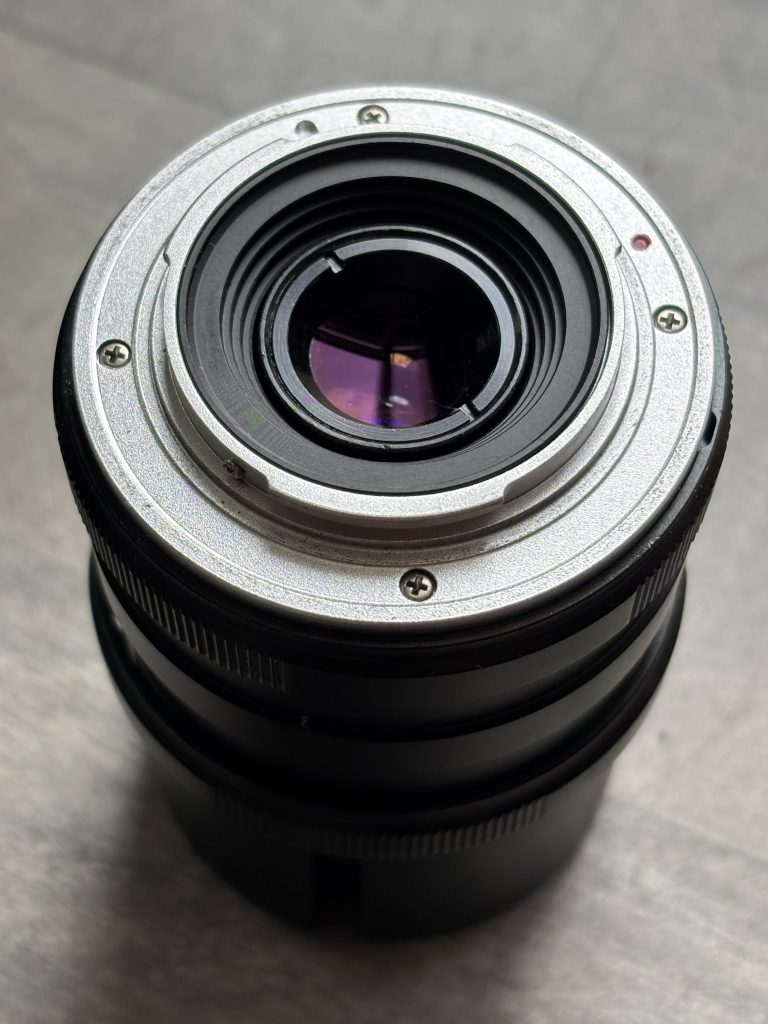
The Yasuhara Nanoha X5 is not a conventional macro lens. Most macro lenses provide a maximum reproduction ratio of 1:1 whereas the Nanoha operates at an extraordinary 4x to 5x magnification. At these levels, a subject measuring just 5mm across can completely fill the frame.
The lens allows photographers to capture intricate details in insects, flowers, minerals, electronic components, stamps, coins and countless other tiny subjects. It effectively bridges the gap between traditional macro photography and microscopy.
Key Specifications
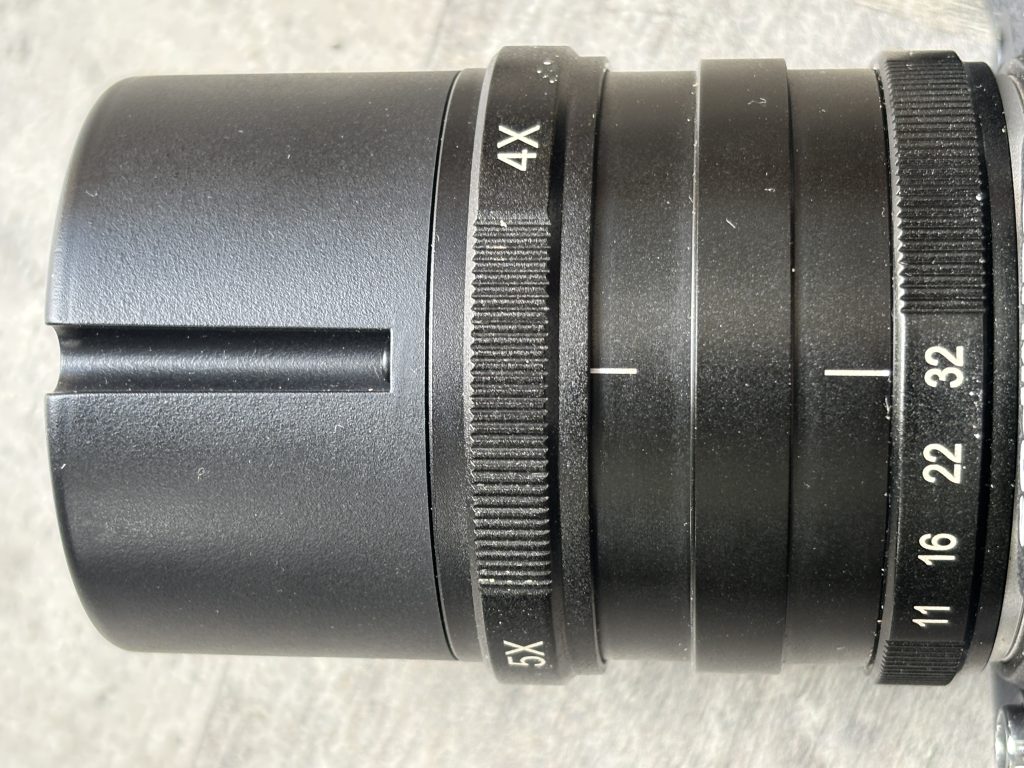
● Magnification range: 4:1 to 5:1
● Aperture range: f/11 to f/32
● Optical construction: 10 elements in 7 groups
● Manual focus only
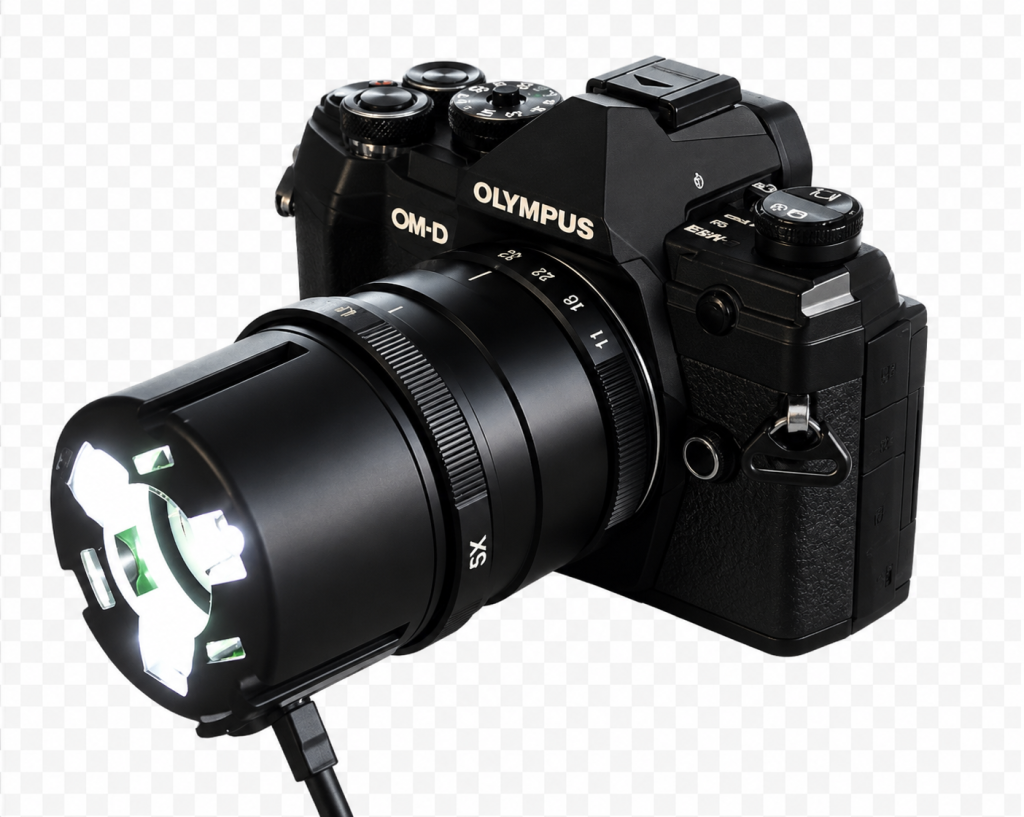
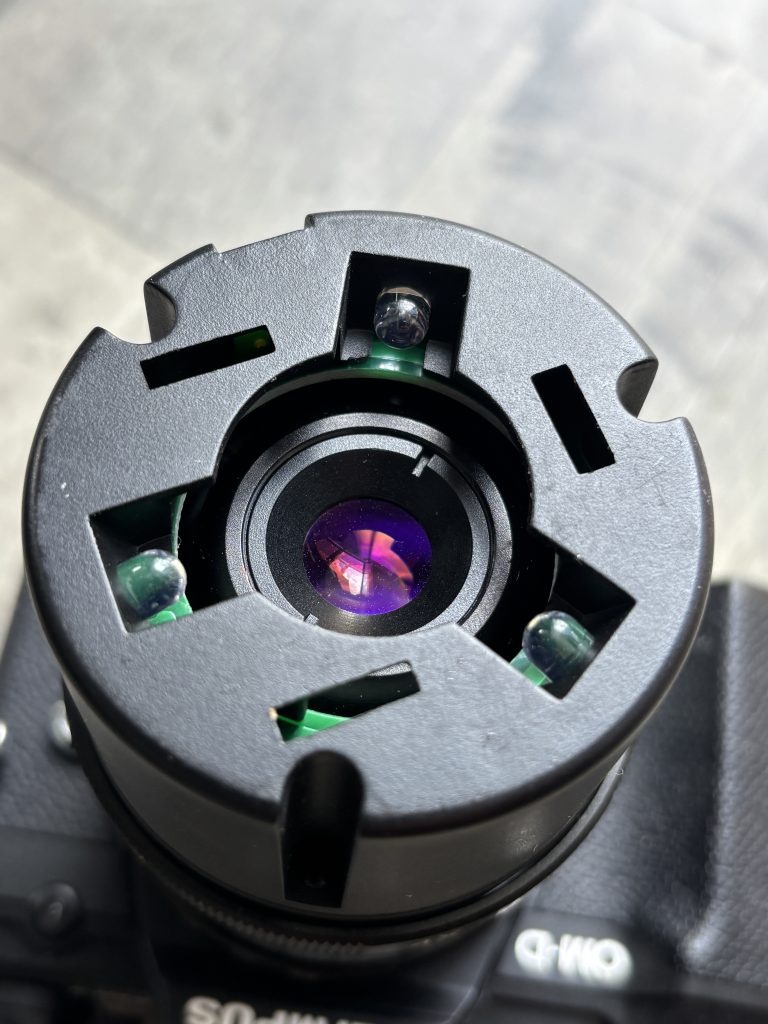
● Built-in LED illumination system
● Minimum working distance approximately 11–19mm
● Metal lens construction
● Weight approximately 310–360g depending on mount version
● Available for several mirrorless camera systems
Build Quality and Handling
The first impression of the Nanoha X5 is its solid construction with a predominantly metal body and precise controls.
There are only two main controls:
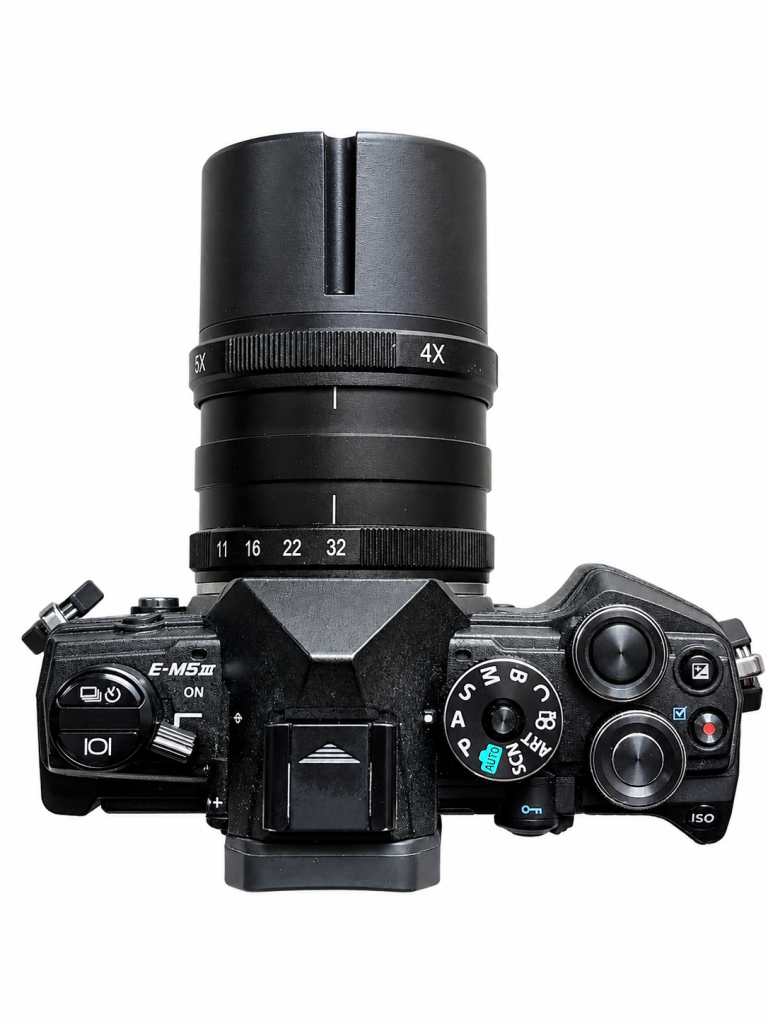
1. A magnification ring that changes reproduction ratio between 4x and 5x.
2. An aperture ring with settings from f/11 to f/32.
The lens is entirely manual. Autofocus would be virtually impossible at these magnifications, where depth of field is measured in fractions of a millimetre.
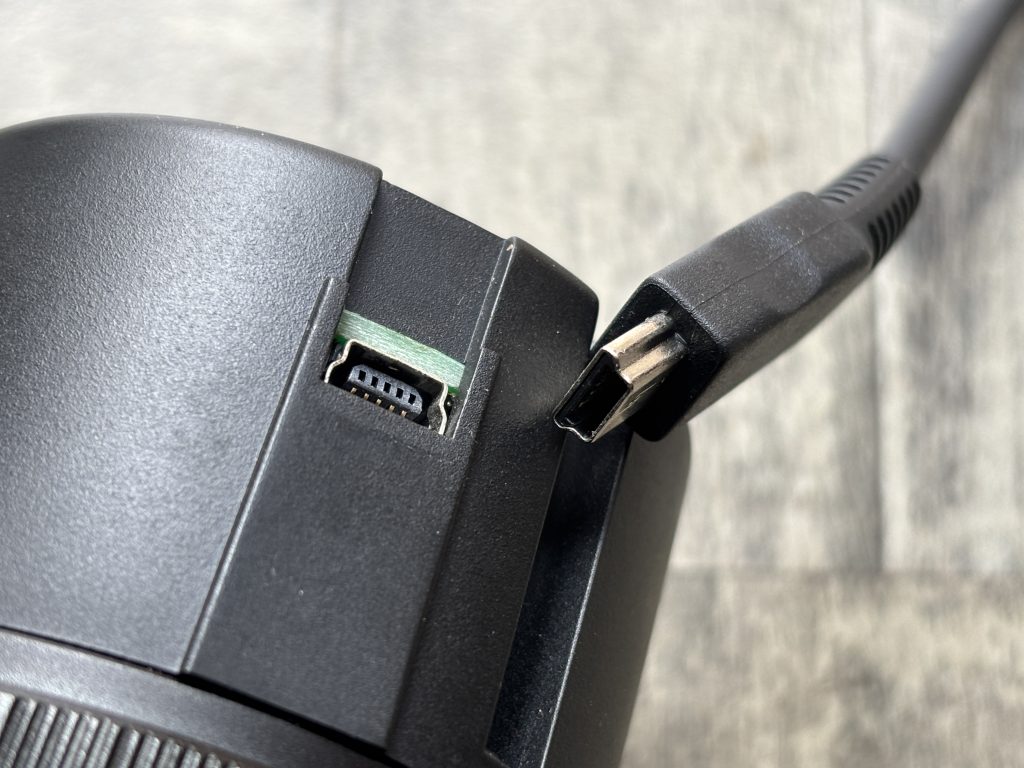
One of the lens’ most distinctive features is its LED lighting system. Three LEDs mounted around the front element provide illumination directly onto the subject powered via a USB cable. This is particularly useful because the lens must be positioned extremely close to the subject, often blocking ambient light.
Understanding 5x Magnification
To appreciate what 5x magnification means, consider a subject measuring 4mm across. At 5:1 reproduction, that tiny object is projected onto the camera sensor at approximately 20mm across.
This level of magnification reveals:
● Individual grains of pollen
● Insect eyes and mouthparts
● Fabric fibres
● Circuit board details
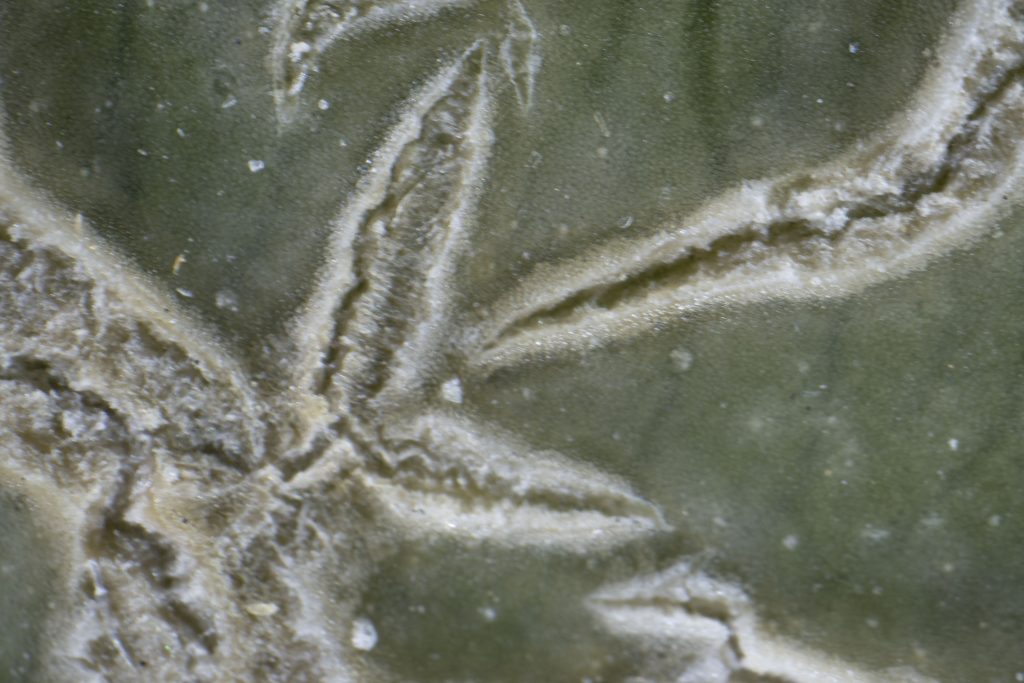
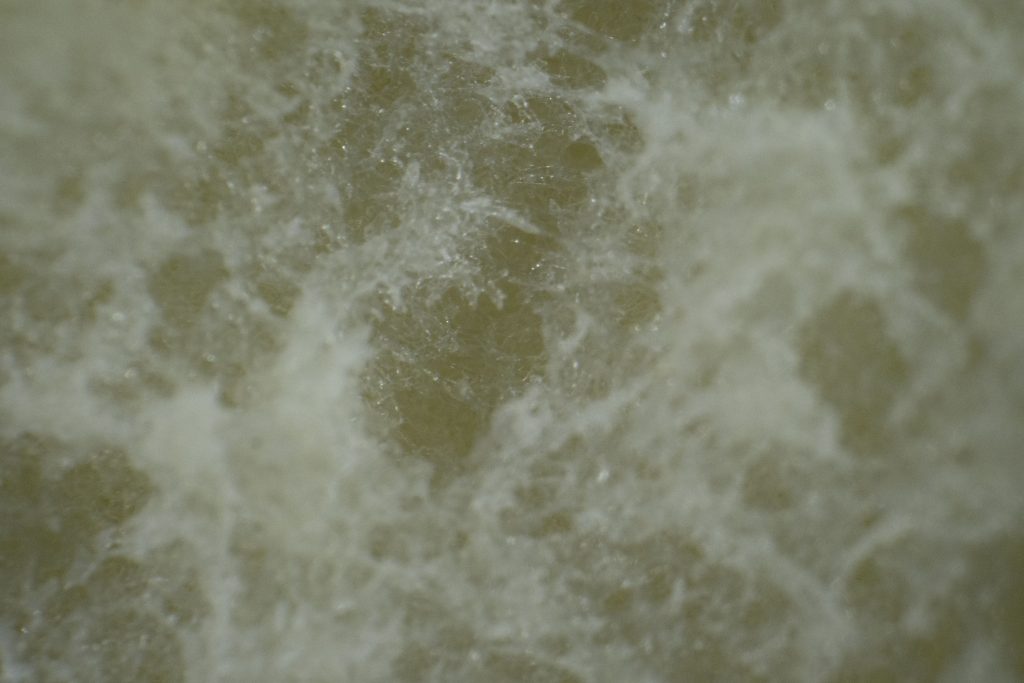
● Surface textures in minerals or, in the example below, the skin of a melon.
● Fine details in jewellery and watches
The effect is often more akin to scientific imaging than traditional photography.
Image Quality
Image quality is surprisingly good given the lens’ specialised purpose. Sharpness in the centre of the frame is excellent, and the lens is capable of resolving an impressive amount of detail to the edges of the frame.
The optics perform best when used carefully with a stable support system. Even the slightest movement can shift focus dramatically. Because the depth of field is so shallow, many photographers employ focus stacking techniques to create images with greater apparent sharpness from front to back.
At smaller apertures such as f/22 and f/32 diffraction begins to reduce overall crispness, but these settings are often necessary simply to gain enough depth of field for practical photography.
The Challenge of Working Distance
The Nanoha’s greatest strength is also its greatest limitation.
To achieve 4x–5x magnification, the front of the lens must be positioned extremely close to the subject. In practice, the working distance can be just a few millimetres from the front of the lens assembly.
This creates several challenges:
● Living insects may flee before the camera is close enough.
● Lighting can become difficult if you don’t use the built in LEDs.
● Wind movement becomes highly problematic outdoors.
● Camera vibration is greatly magnified.
For these reasons the lens is often best suited to static subjects photographed indoors using the built in LED lighting.
Best Subjects for the Nanoha X5
Coins and Stamps
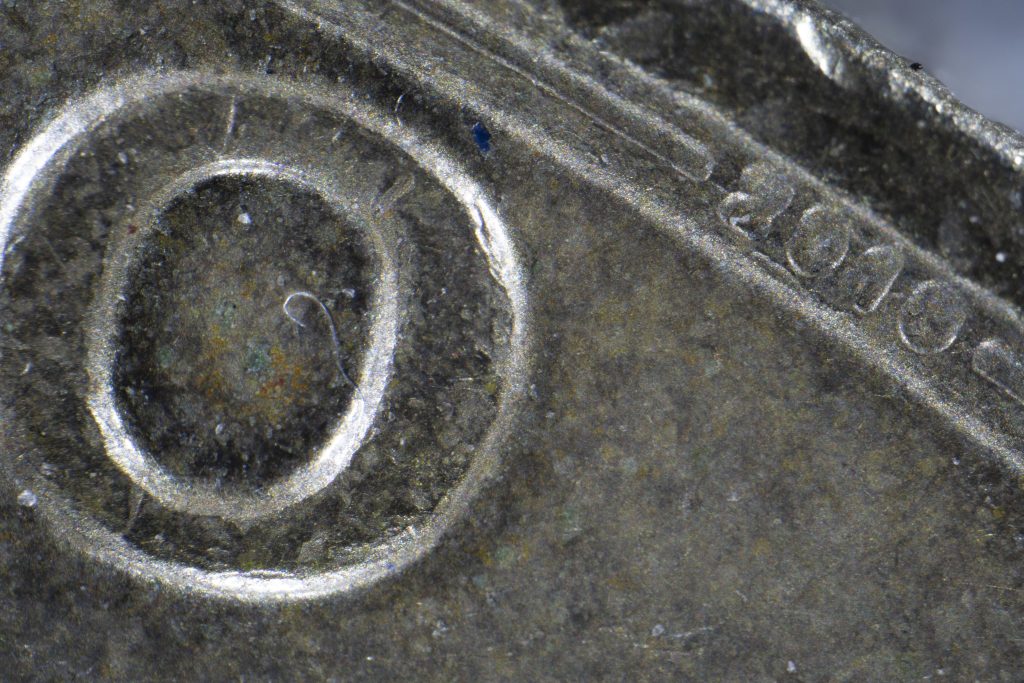
The lens reveals engraving detail, printing methods and wear patterns that are impossible to appreciate with the naked eye. The above photo is the full frame showing the O of One on a One Pound coin…notice the year of creation can be seen which is very hard to see with the naked eye.
Flowers and Plants
Pollen grains, stamens and petal textures become dramatic abstract landscapes.
Minerals and Crystals
Crystal formations and surface structures are rendered with exceptional detail. Below is the texture of the pith of an orange
Electronic Components
Ideal for documenting circuit boards, solder joints and micro-components.
Scientific and Educational Work
The Nanoha can serve as an affordable alternative to dedicated microscope camera systems for many applications.
Tips for Successful Results
Use a Tripod
Handholding is generally impractical. A sturdy tripod combined with a focusing rail greatly improves accuracy.
Use Live View Magnification
Magnified live view helps identify the precise focus point.
Shoot in Still Air
Even tiny movements can ruin an image.
Experiment with Focus Stacking
Multiple images focused at different distances can be combined to overcome the extremely shallow depth of field.
Use Additional Lighting
The built-in LEDs are useful, but external LED panels or flash systems can provide more control.
Comparison with the Canon MP-E 65mm
The Nanoha X5 is often compared with the legendary Canon MP-E 65mm f/2.8.
Advantages of the Nanoha:
● Smaller and lighter
● Built-in LED illumination
● Lower cost
● Designed for mirrorless systems
Advantages of the Canon:
● Wider magnification range (1x–5x)
● Much longer working distance
● Greater flexibility in the field
The Nanoha is the more specialised tool, while the Canon remains the more versatile option.
Verdict
The Yasuhara Nanoha X5 is one of the most unusual photographic lenses ever produced. It transforms a mirrorless camera into a powerful close-up imaging system capable of revealing a hidden microscopic world.
Its extremely short working distance and razor-thin depth of field mean it is not a lens for casual users. However, photographers with patience and an interest in extreme macro work will discover creative opportunities unavailable with ordinary macro lenses.
For collectors, natural history enthusiasts, product photographers and anyone fascinated by miniature detail, the Nanoha X5 remains a unique and highly capable specialist lens. It may not be a lens you use every day, but when nothing less than 5x magnification will do, few alternatives can match its combination of image quality, portability and affordability.
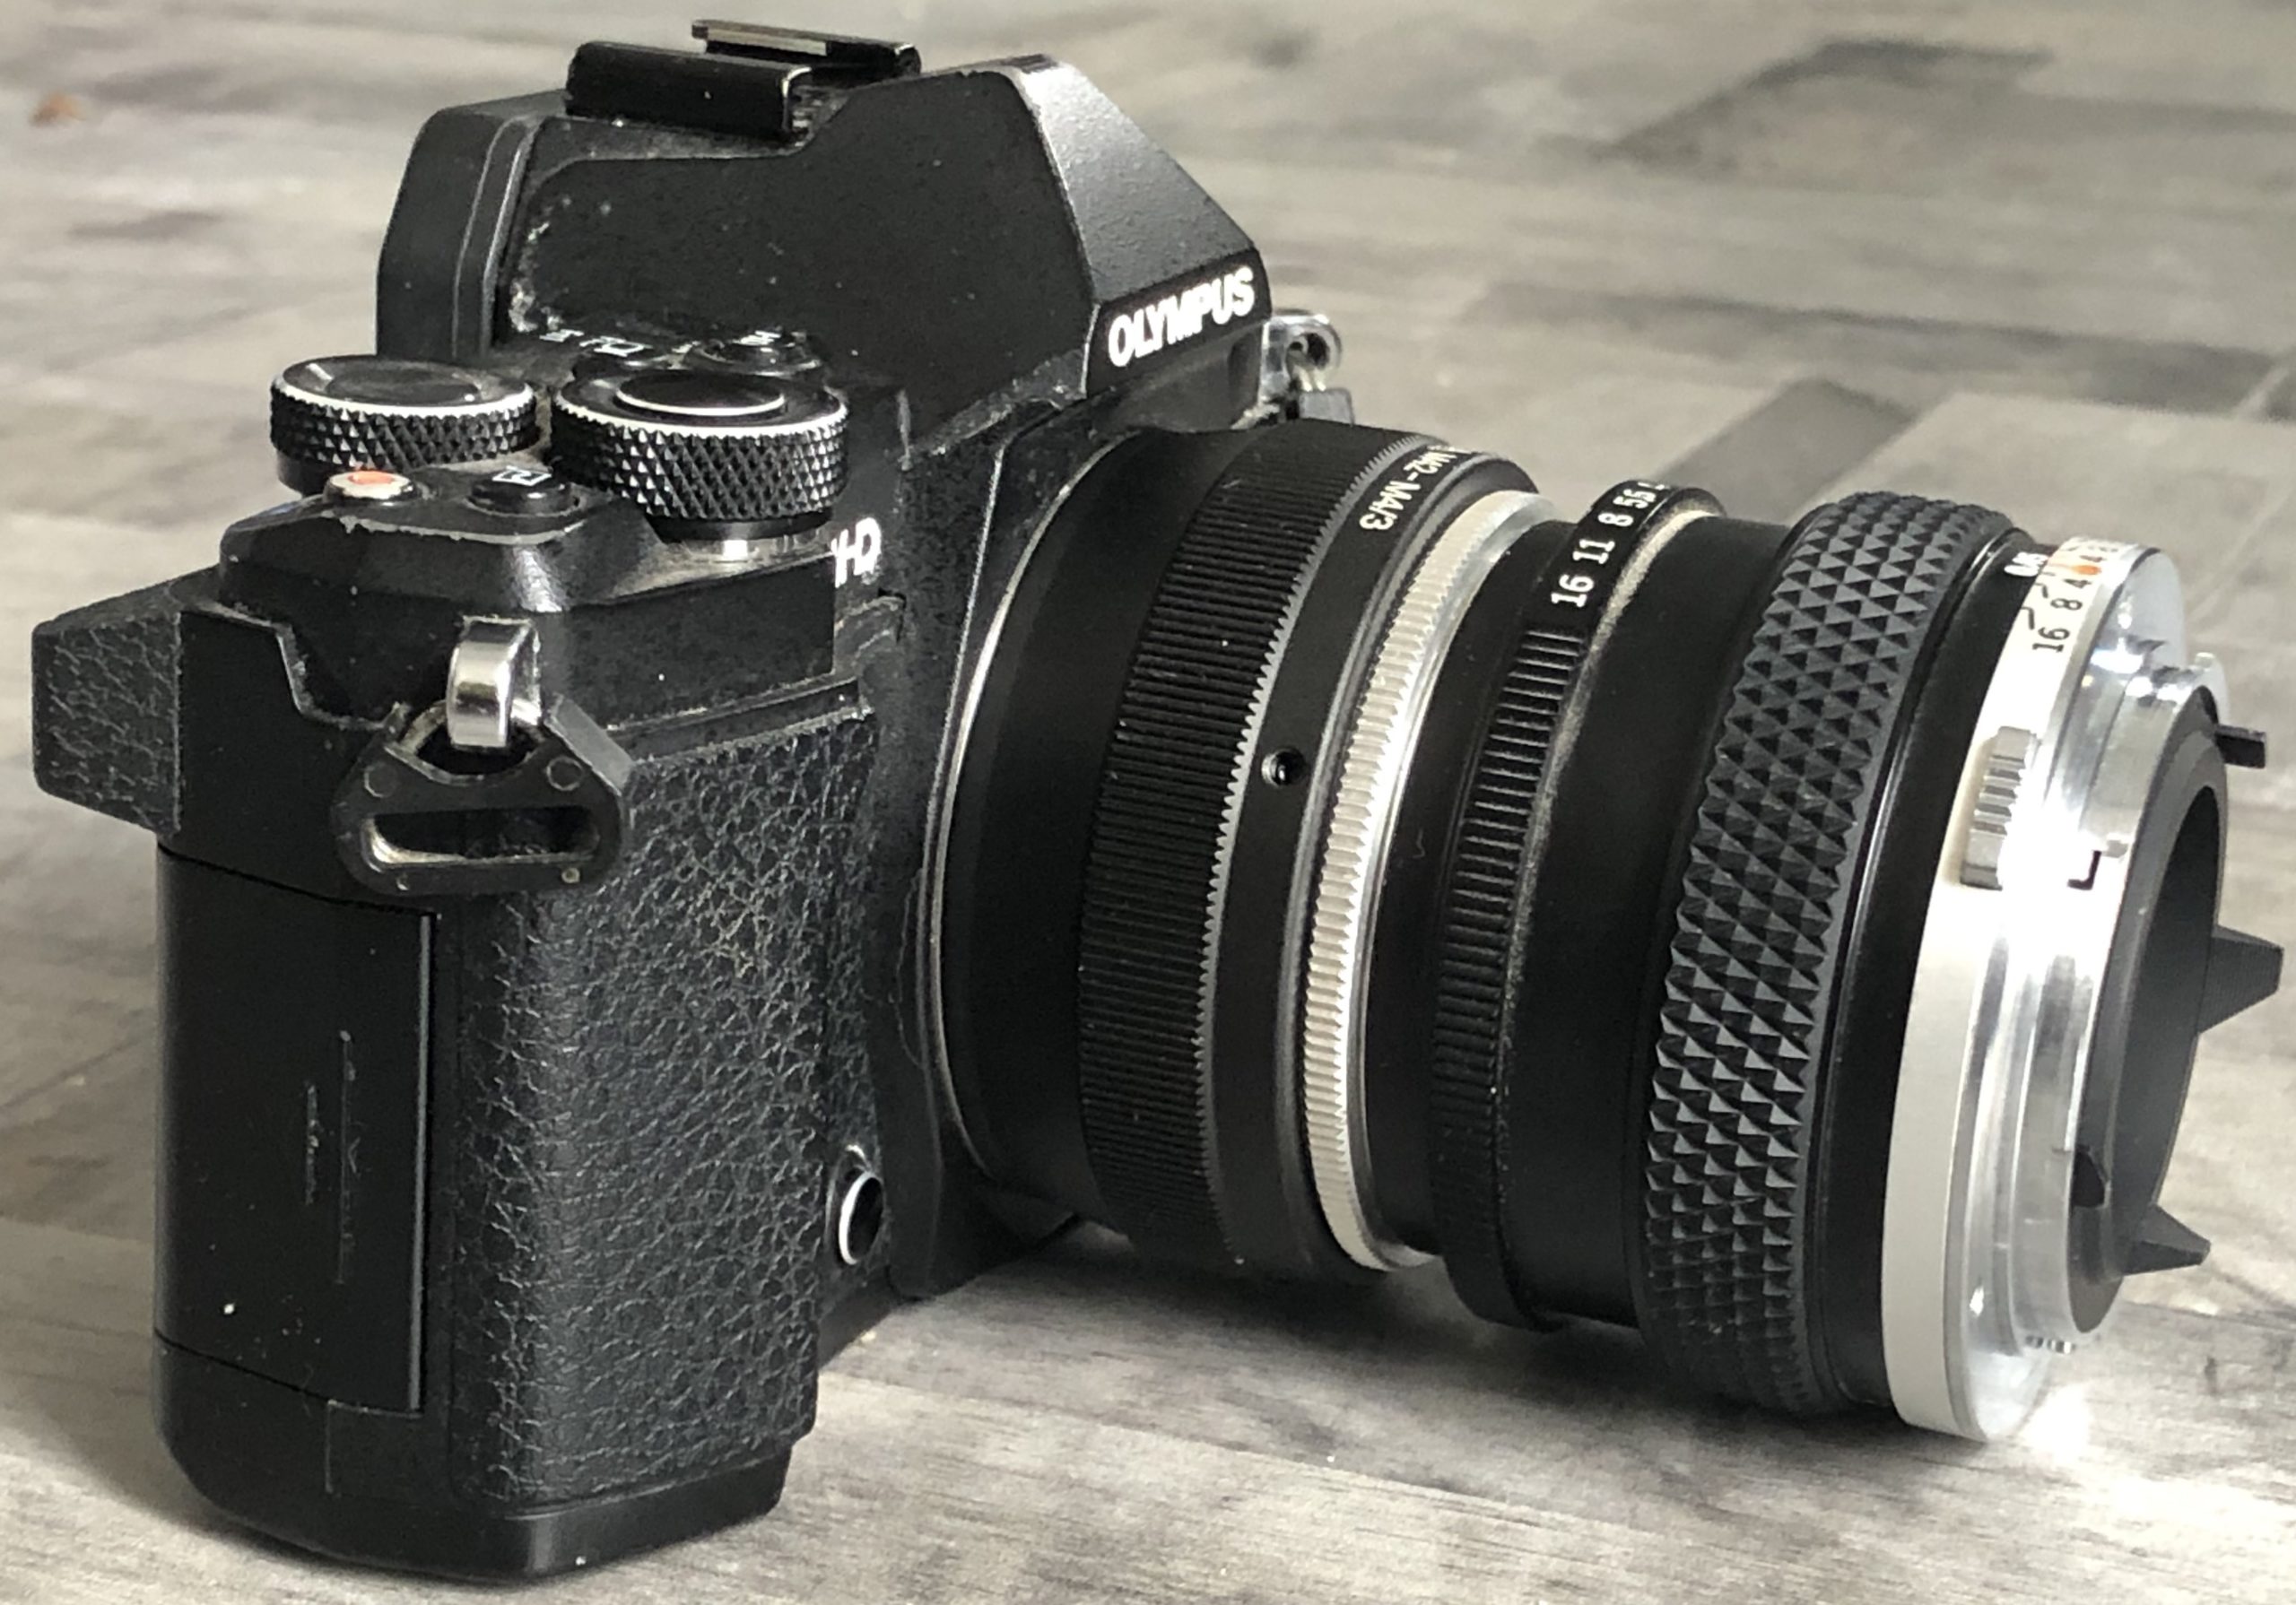
A reversing ring reverses an interchangeable lens on the camera body. One side has a camera body mount, the other side has a diameter the same size as the lens’ filter thread you intend to reverse. A “Nikon AI to 55mm reversing ring” for example would allow a Nikon lens with a 55mm thread to be reversed on a Nikon body with an AI mount.
Reversing a lens makes it perform like a macro lens at a fraction of the cost.
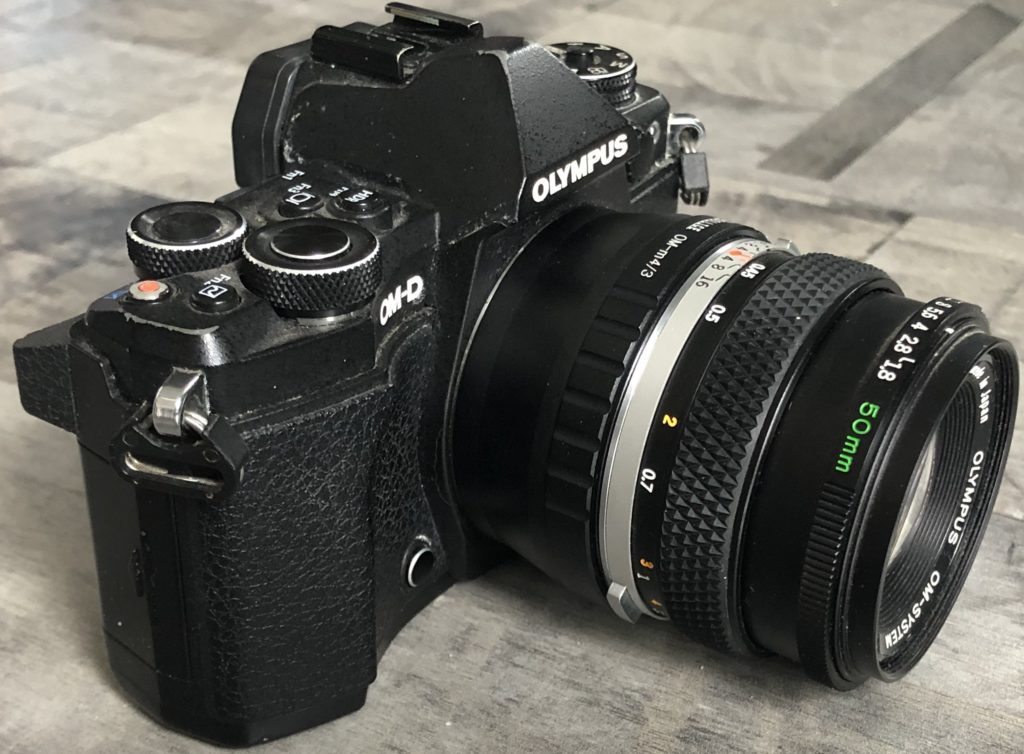
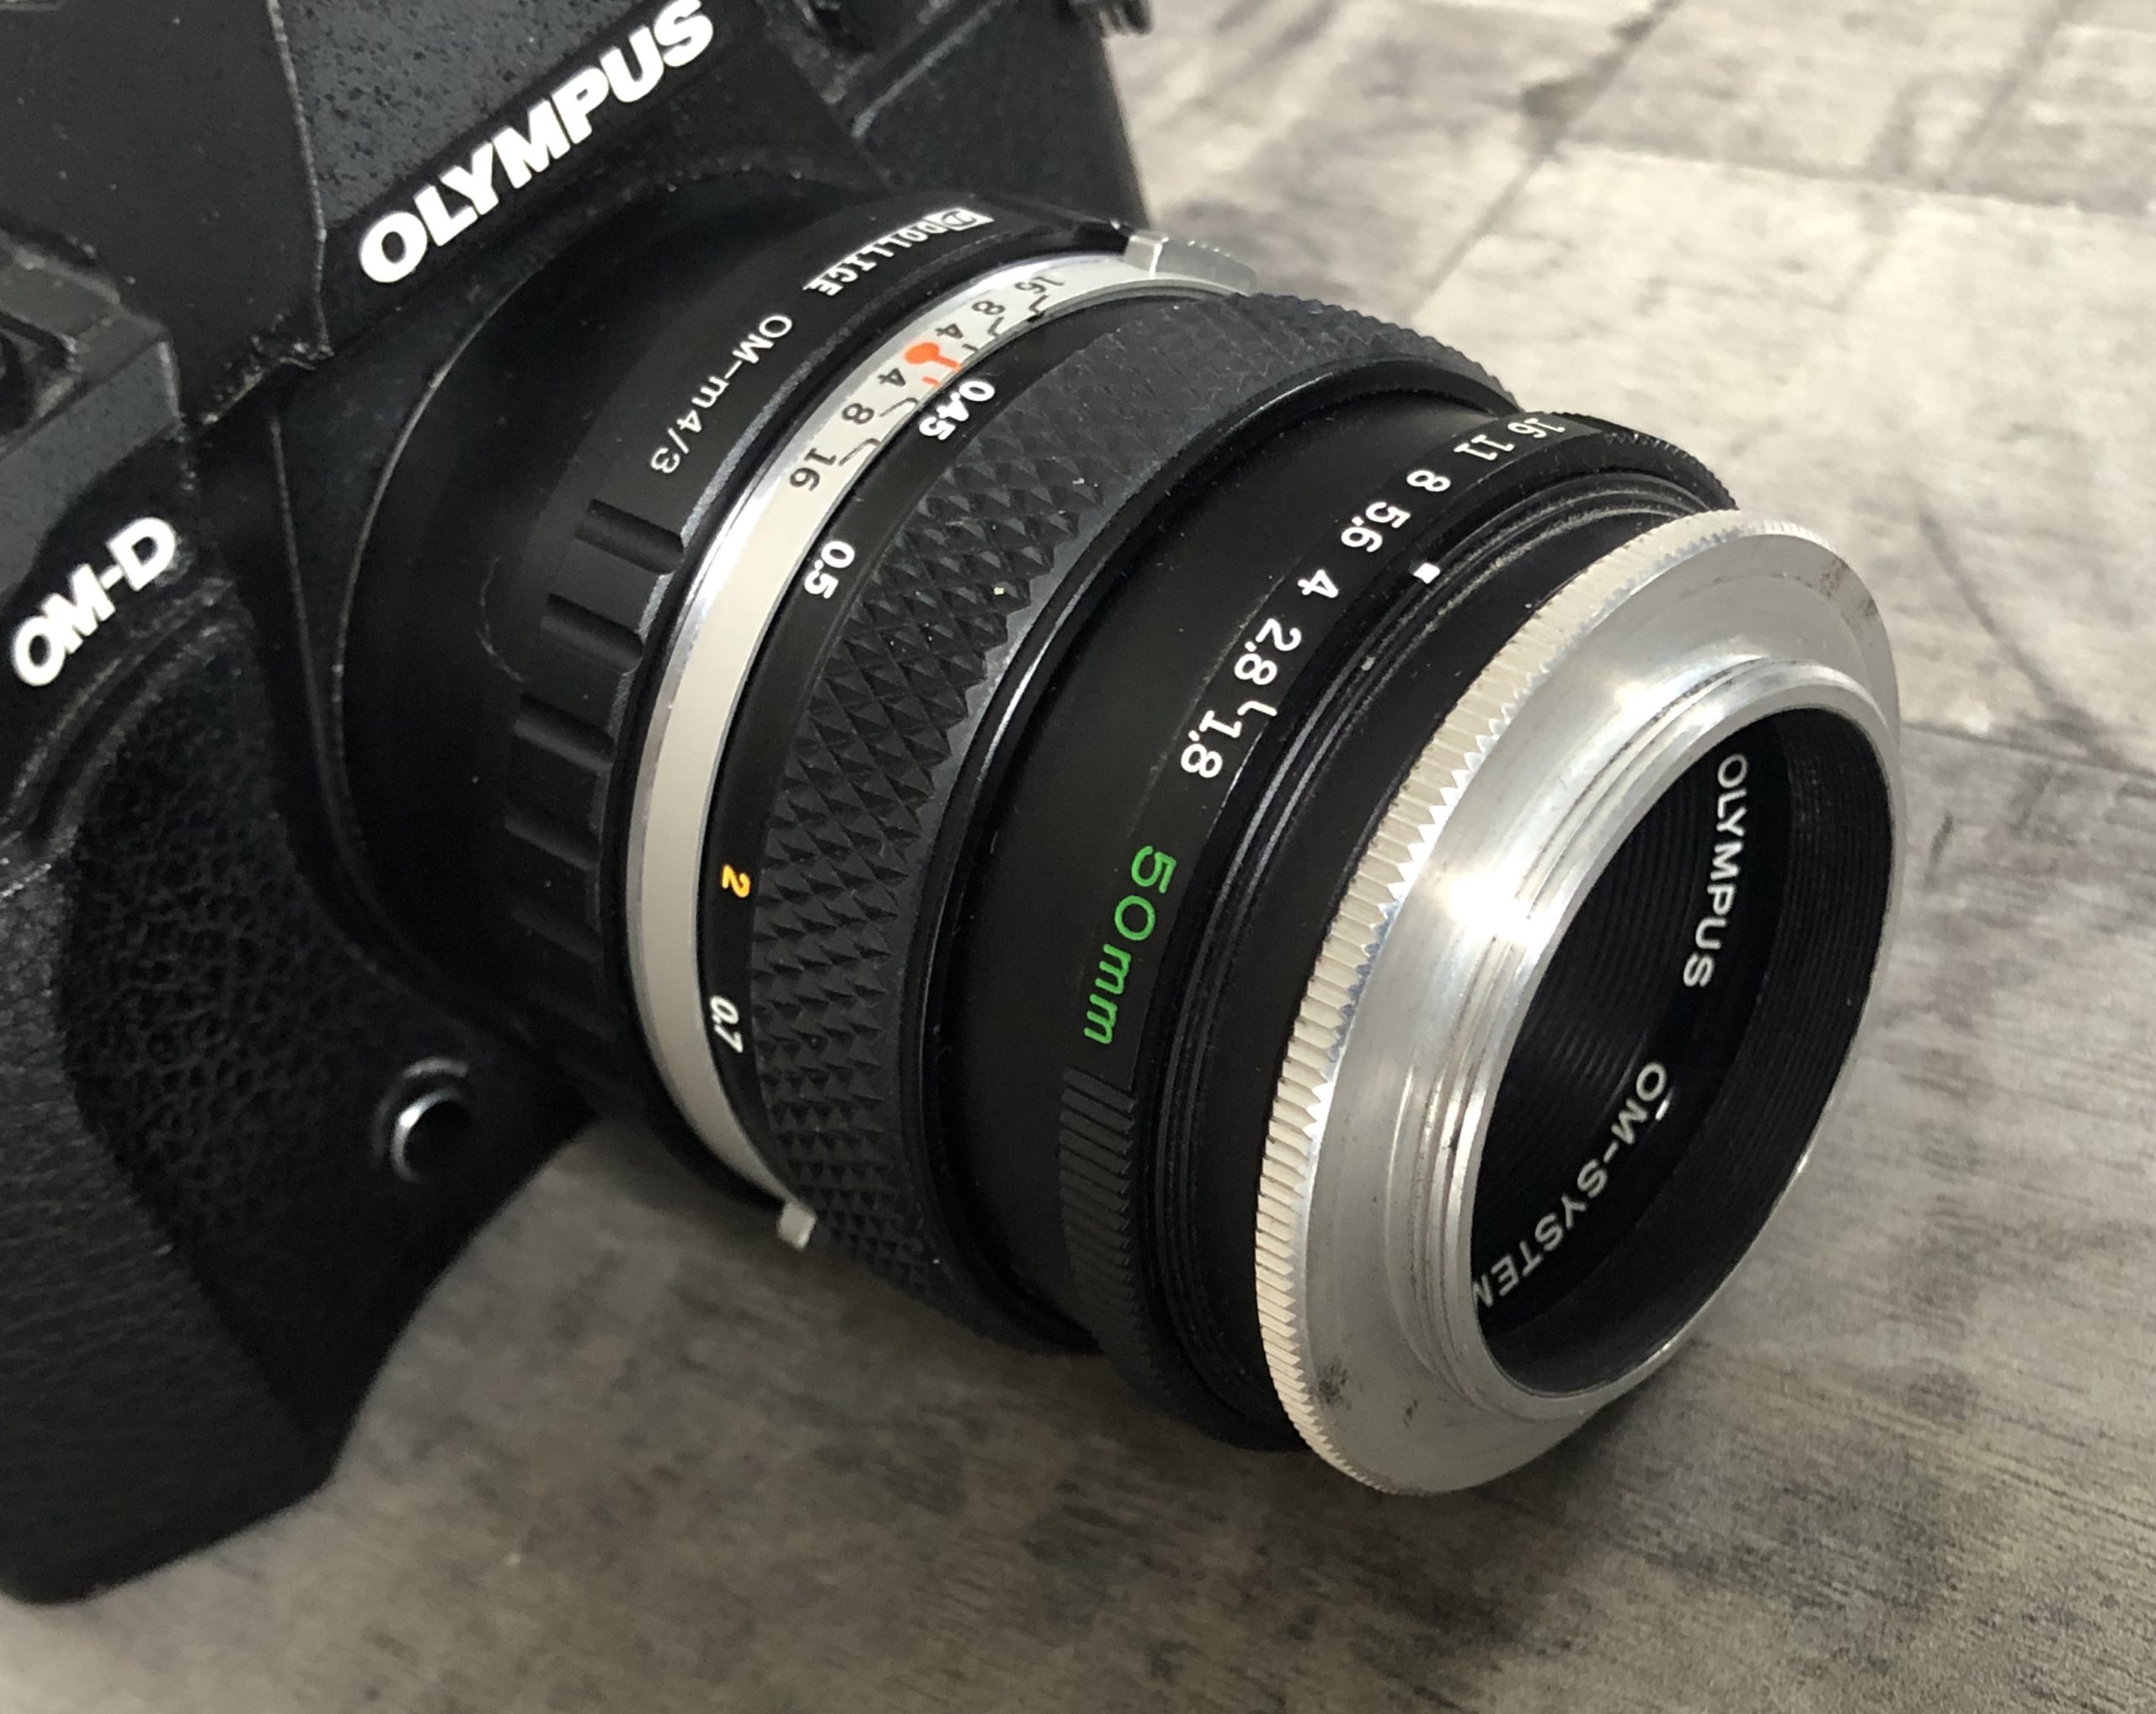
To show the difference I mounted an Olympus 50mm Zuiko on an Olympus Micro 4/3 camera.
I then attached a reverse ring to the front of the lens
and turned it around to fit to the camera backwards.
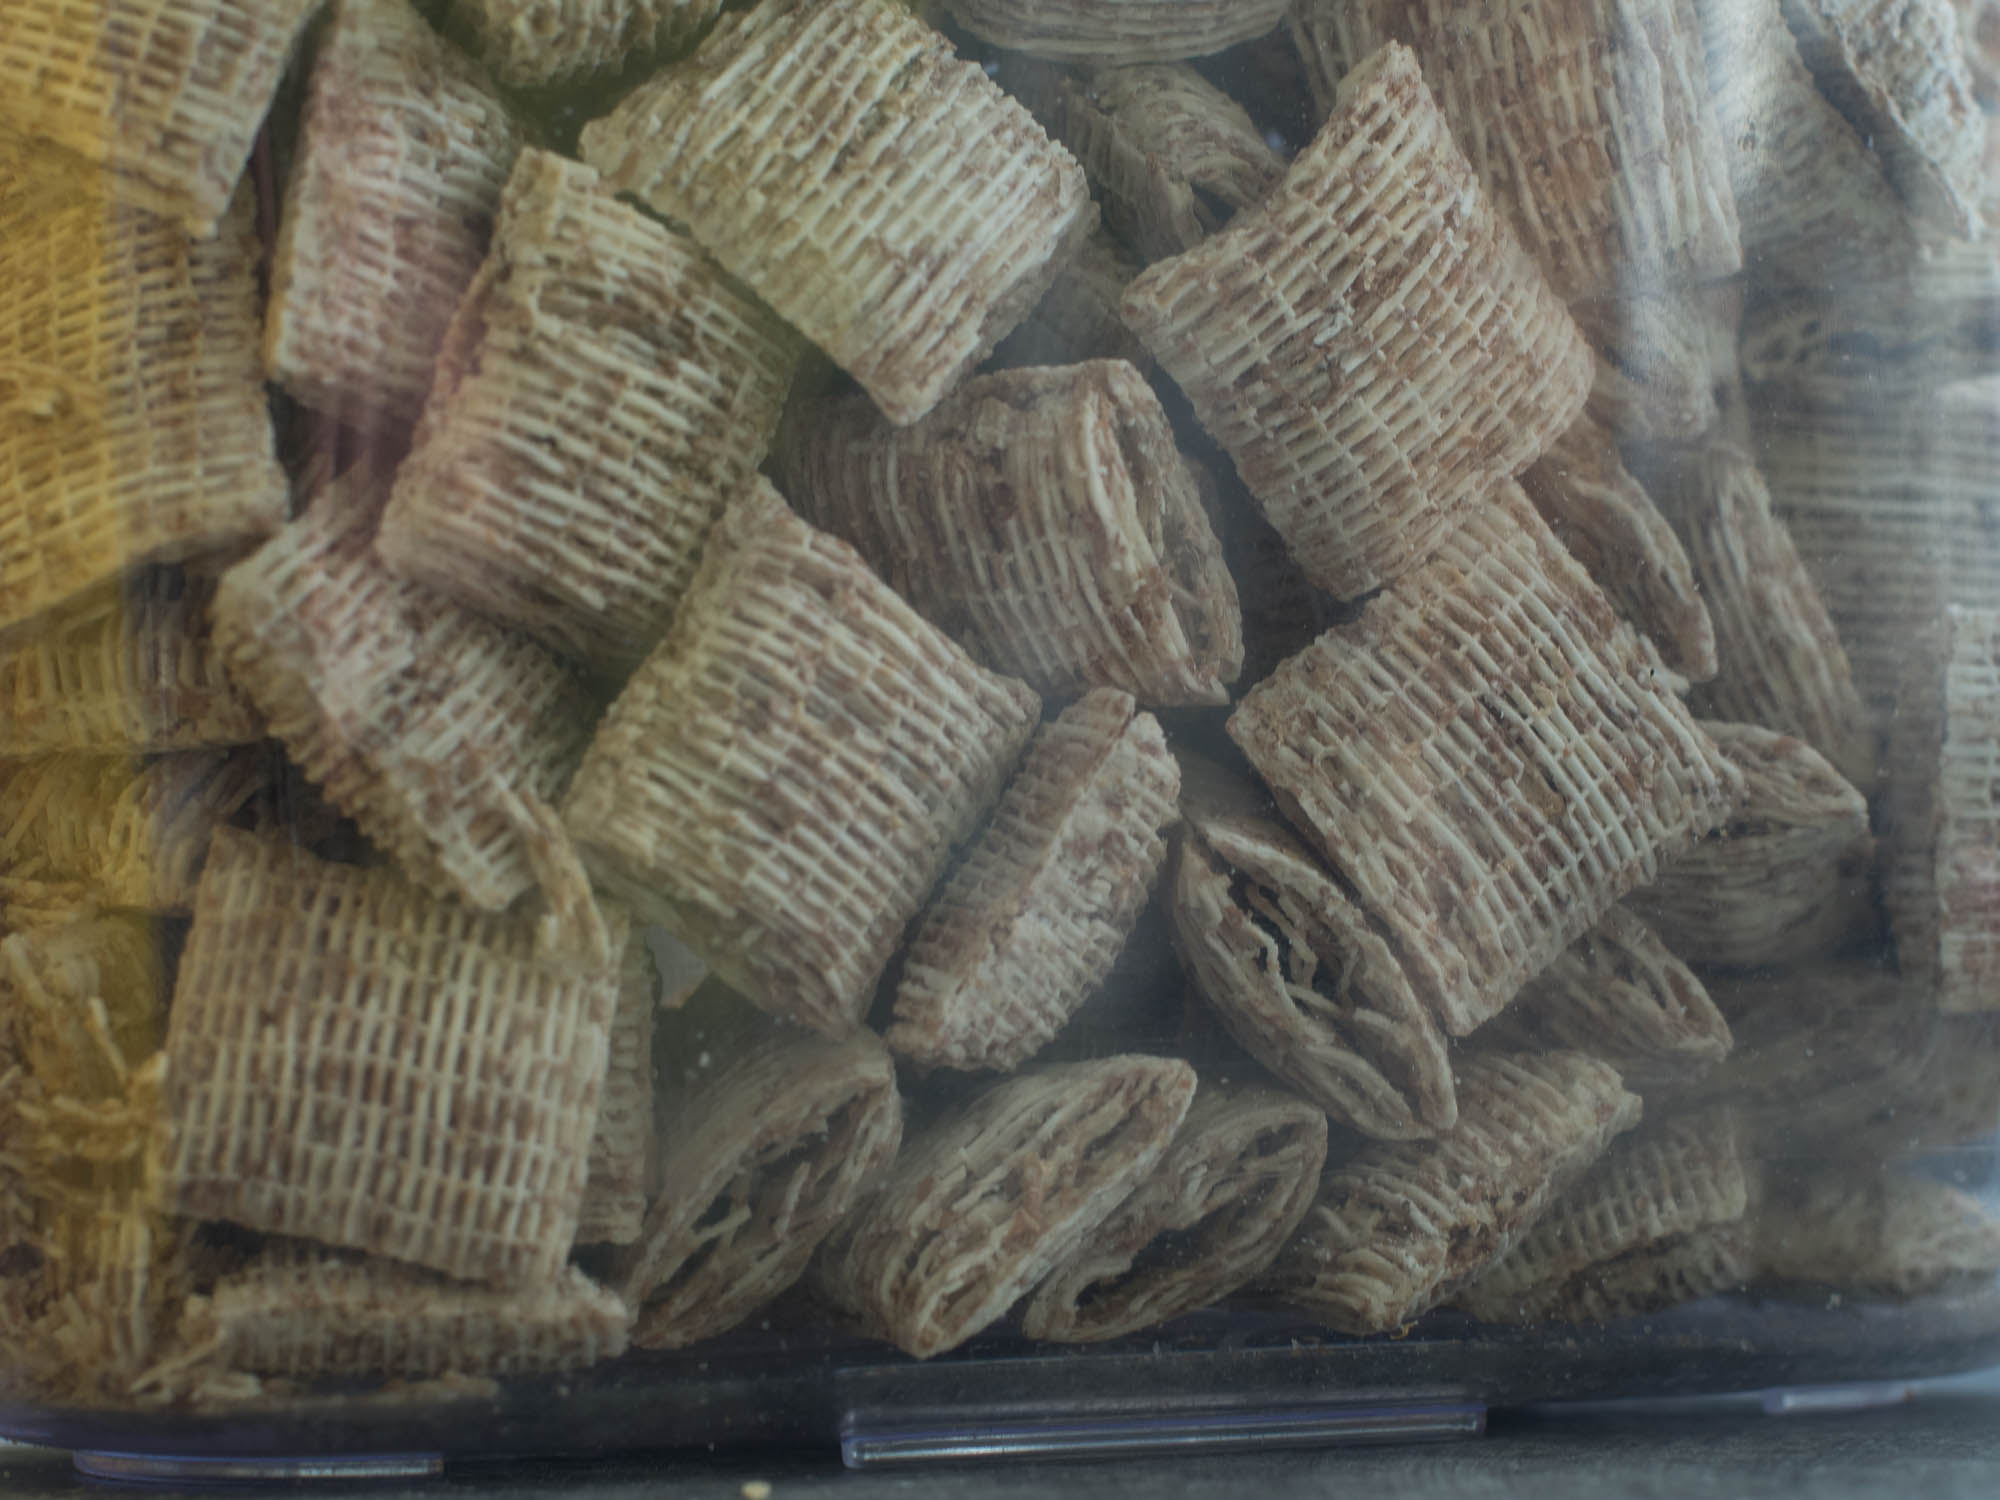
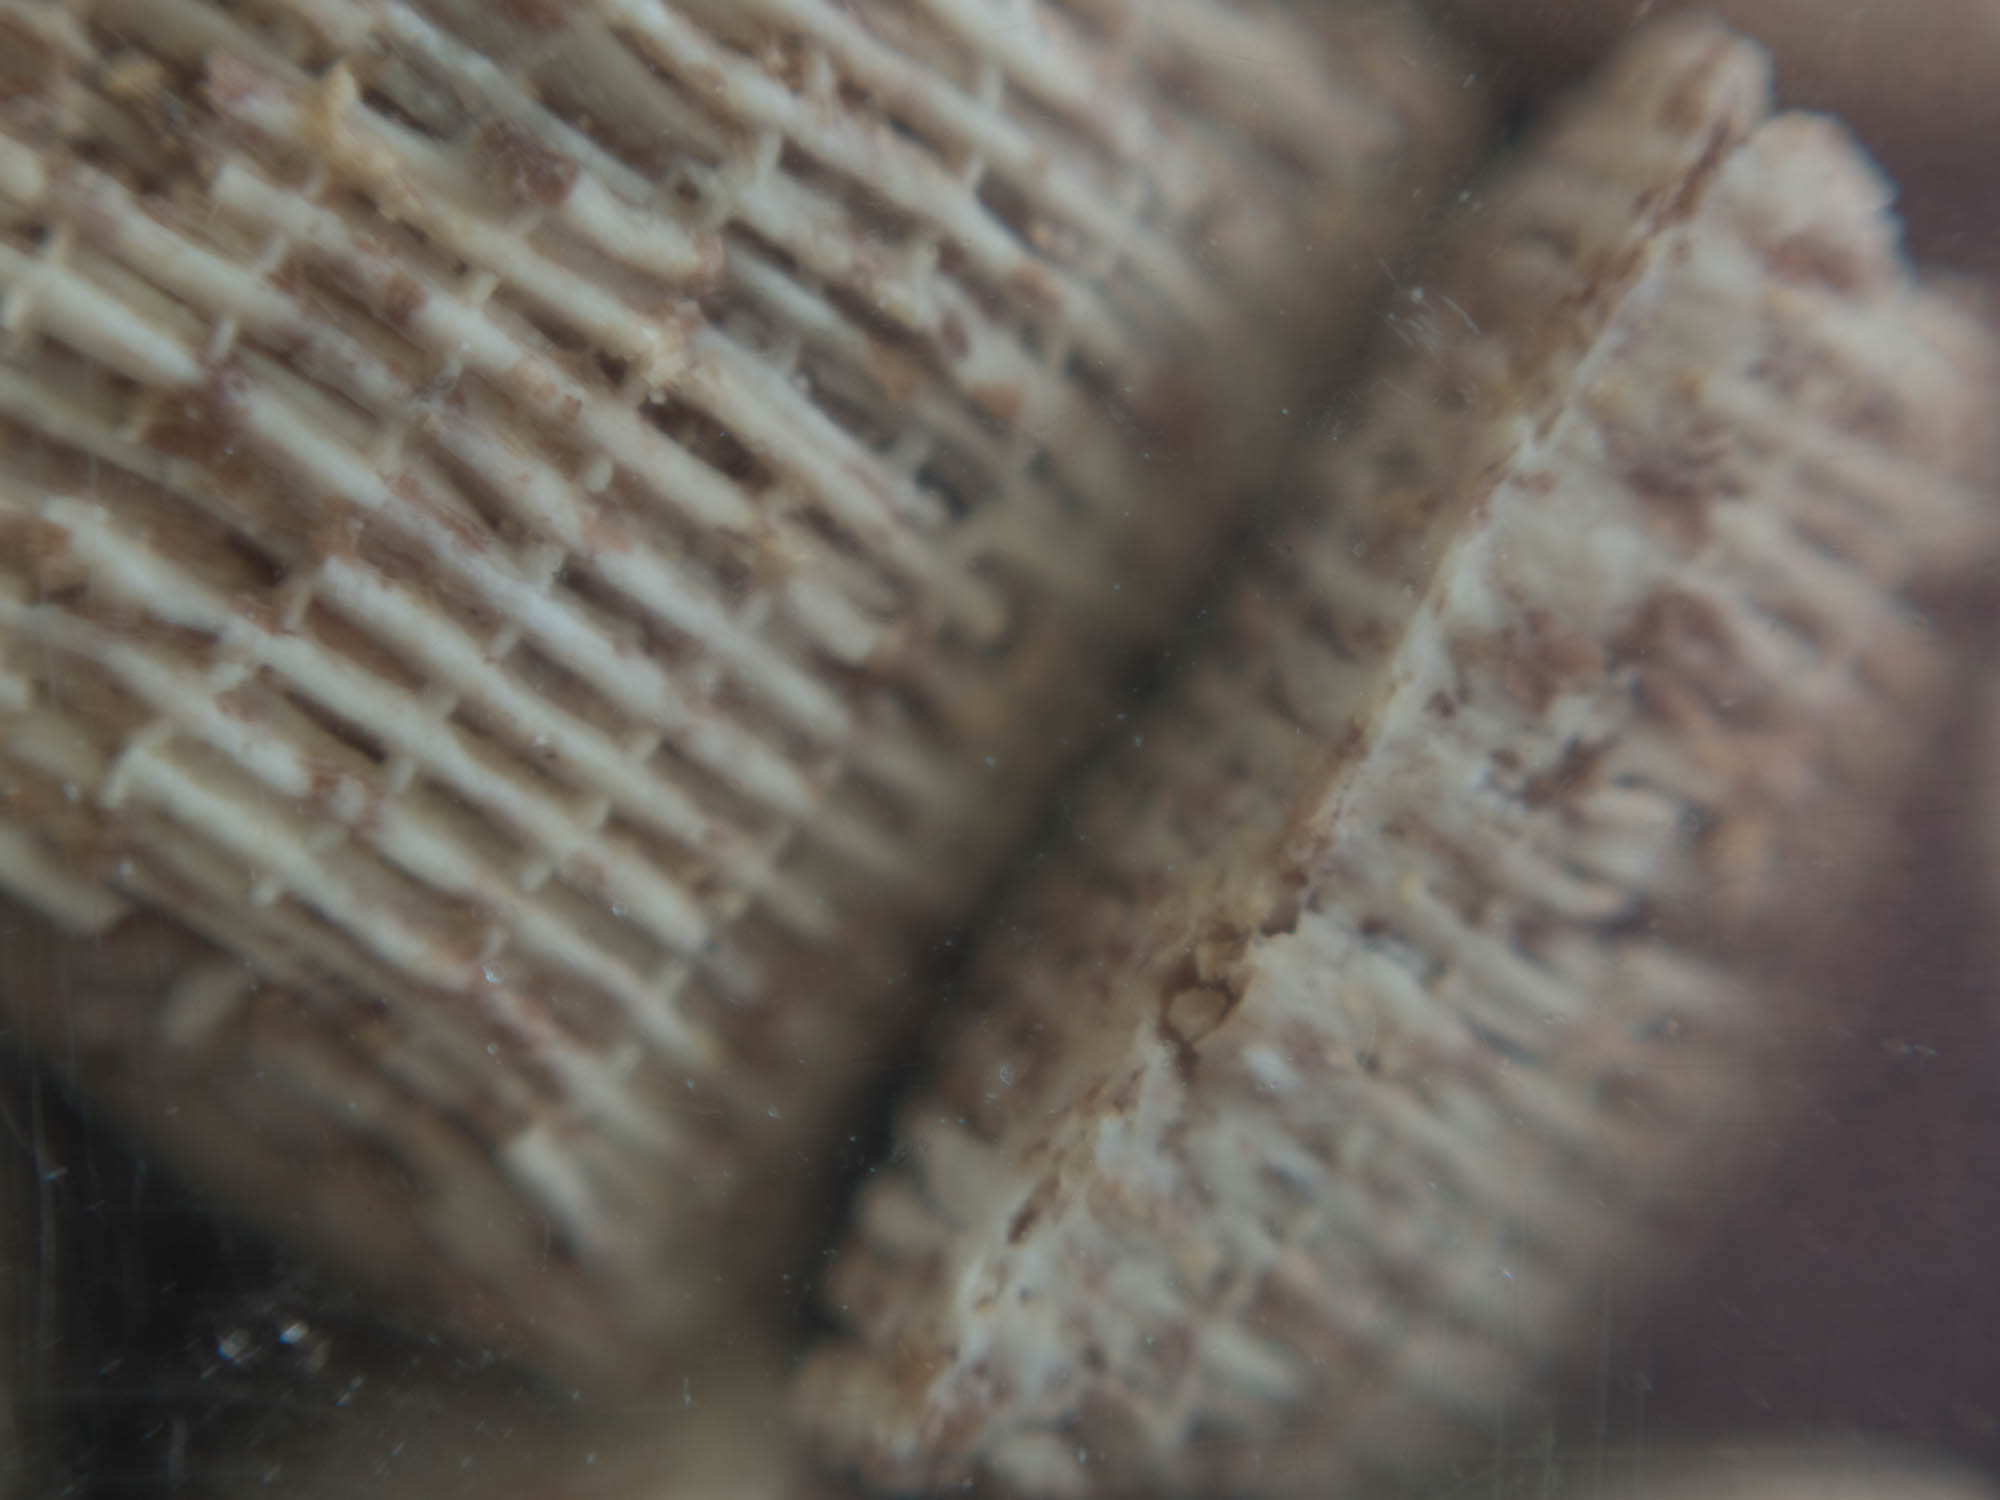
I took a photo of breakfast cereal inside a plastic container with the lens in both the forward position
and the reversed position.
The lens was set to its closest setting of 0.45m for both photos. As you can see reversing the lens with a lens reverse ring allows much closer photographs to be taken.
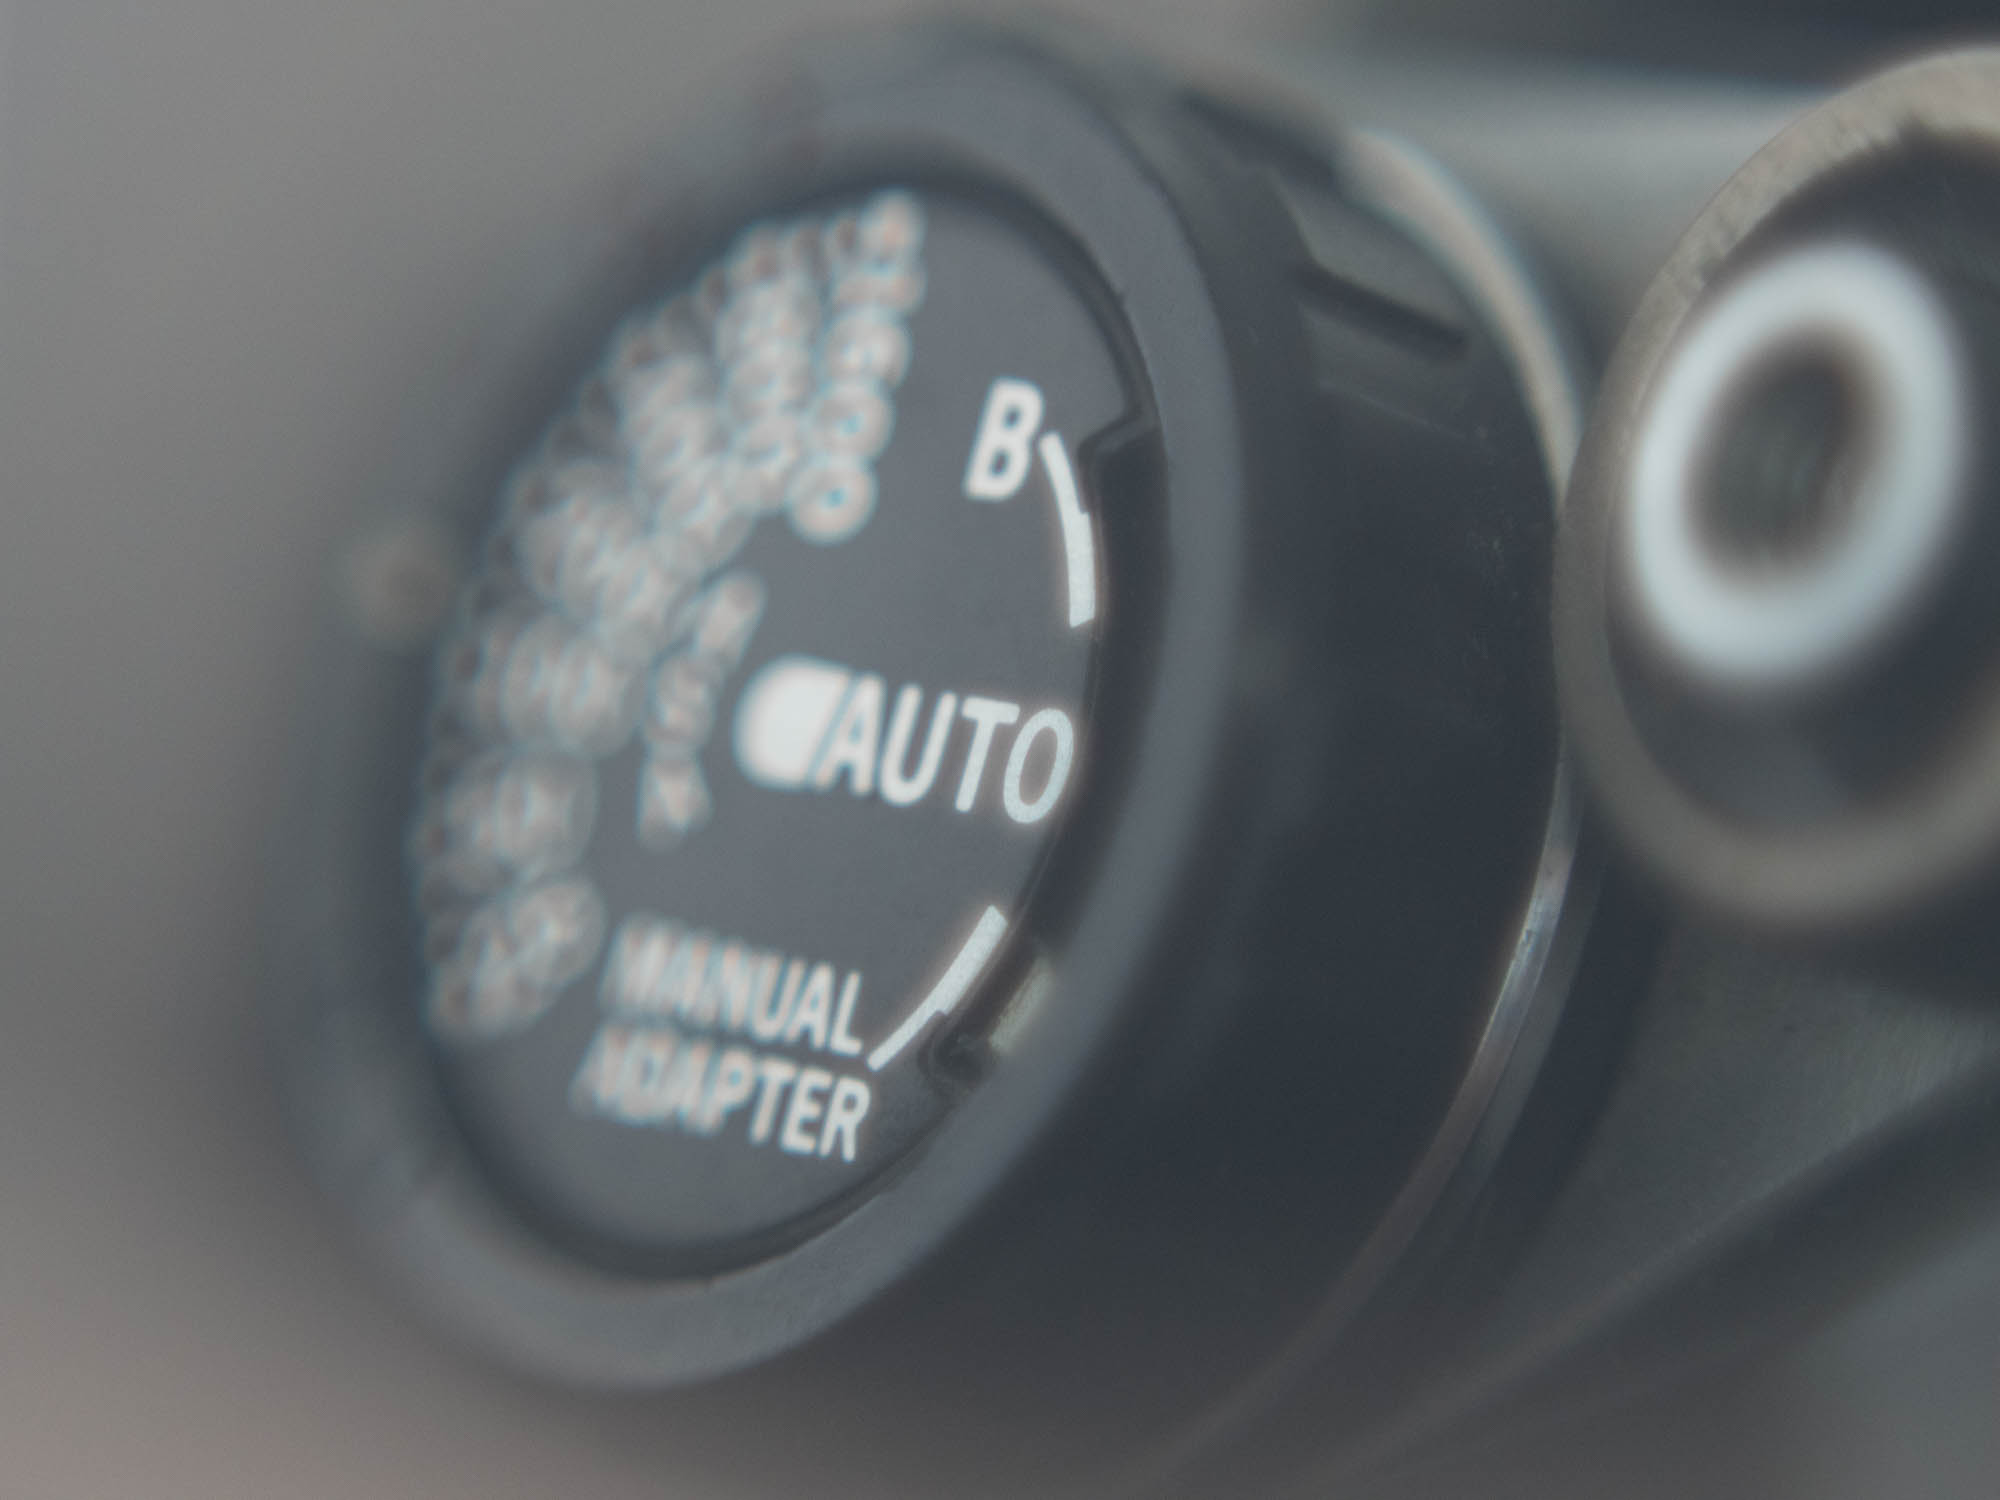
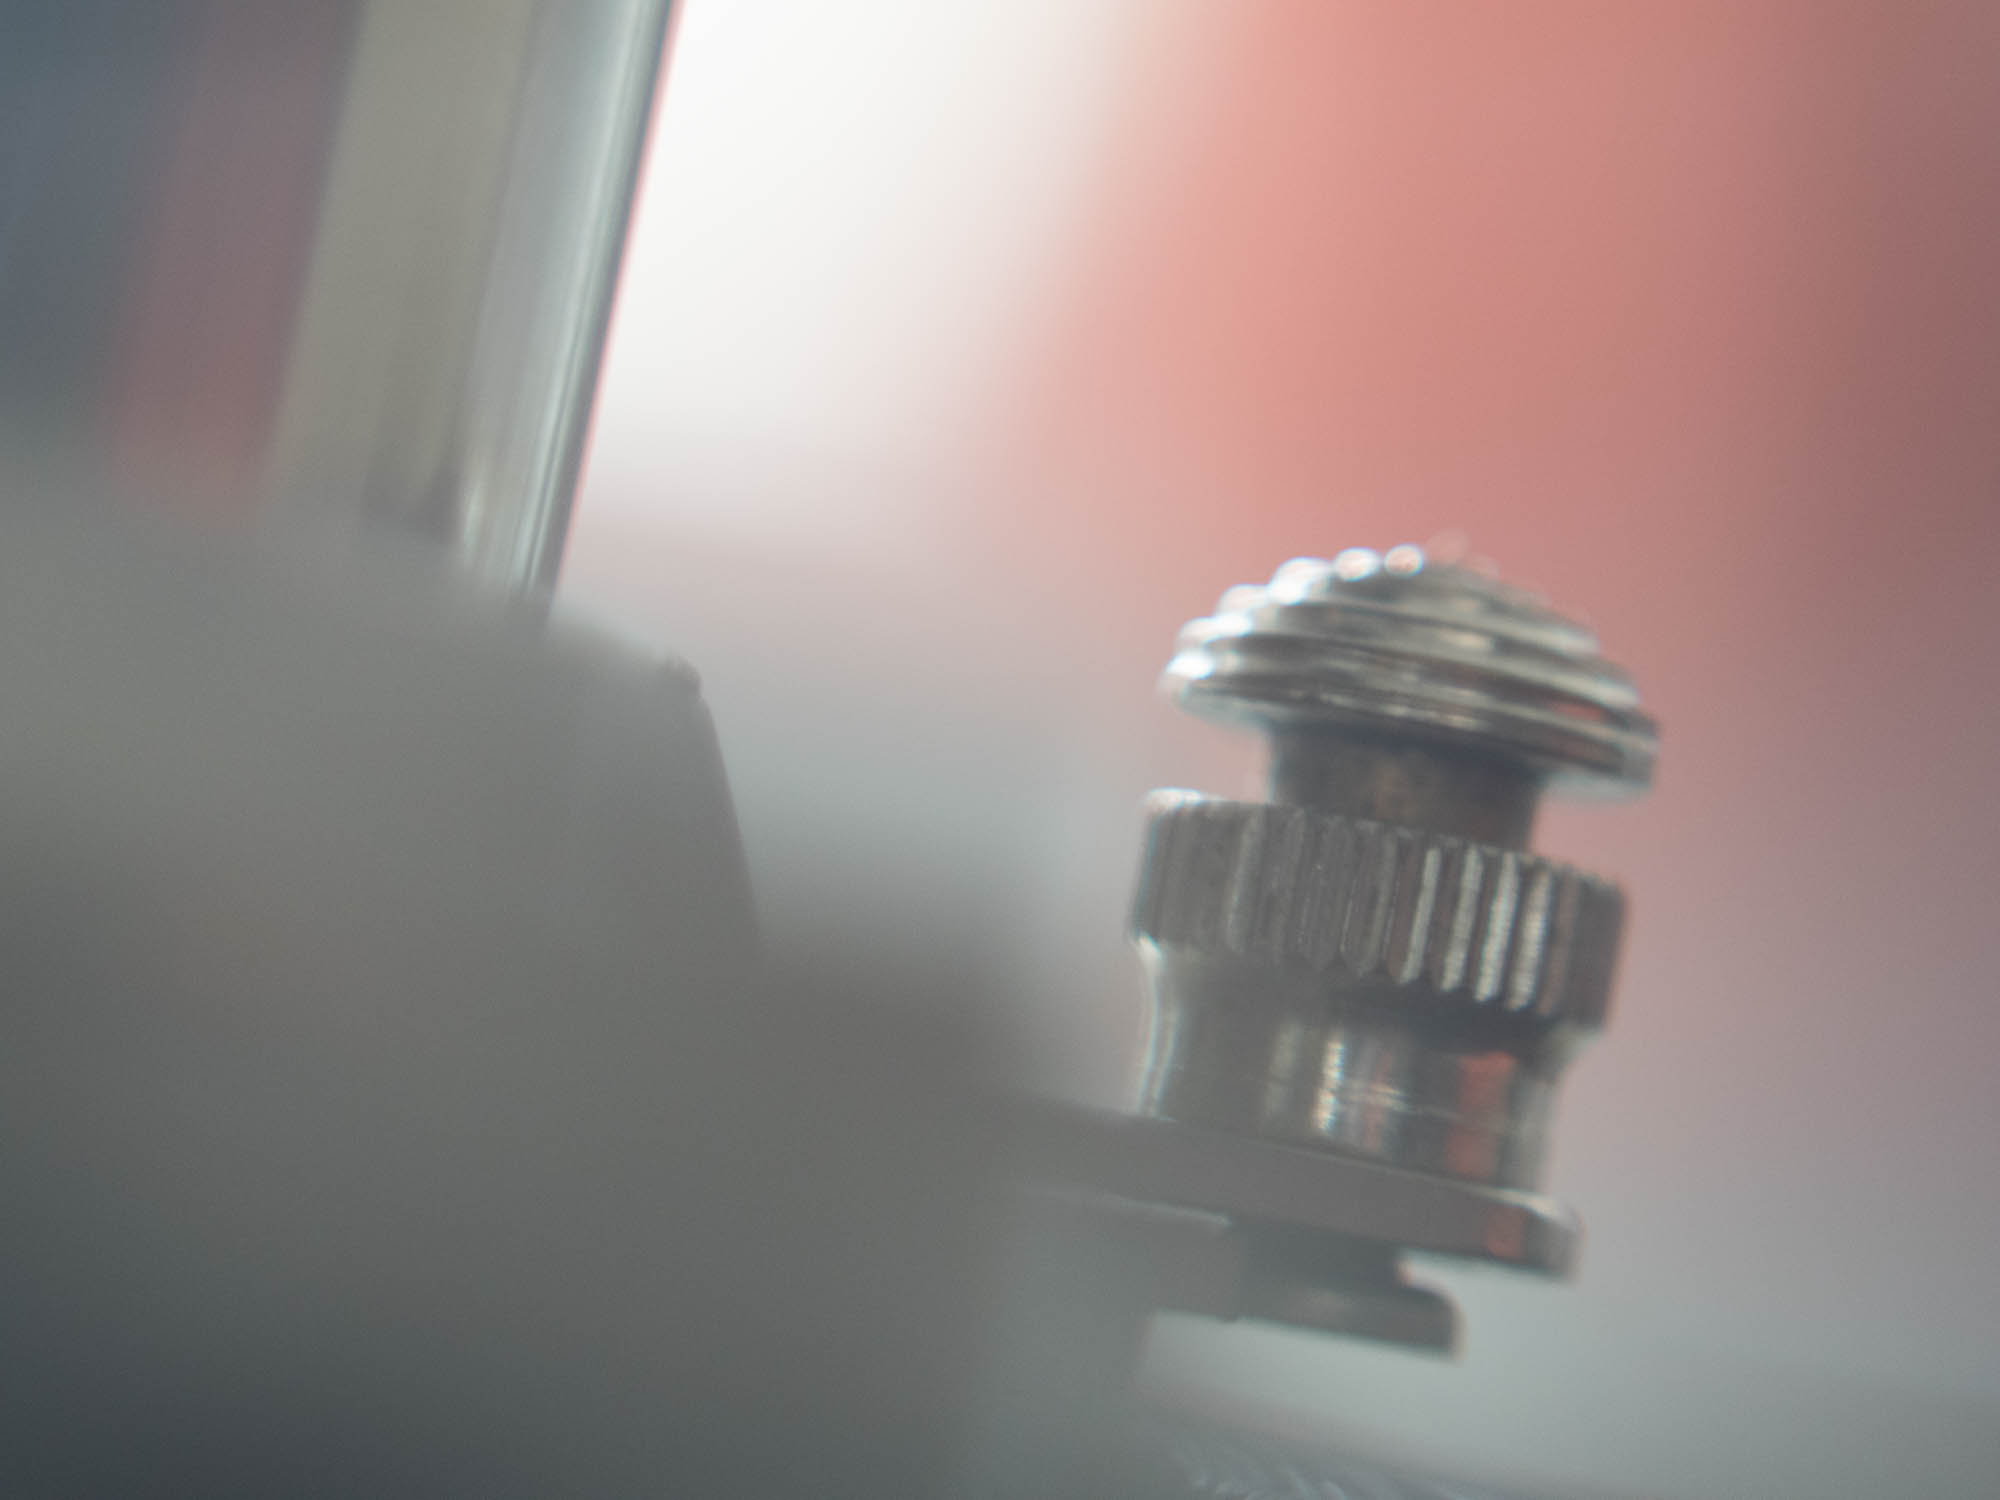
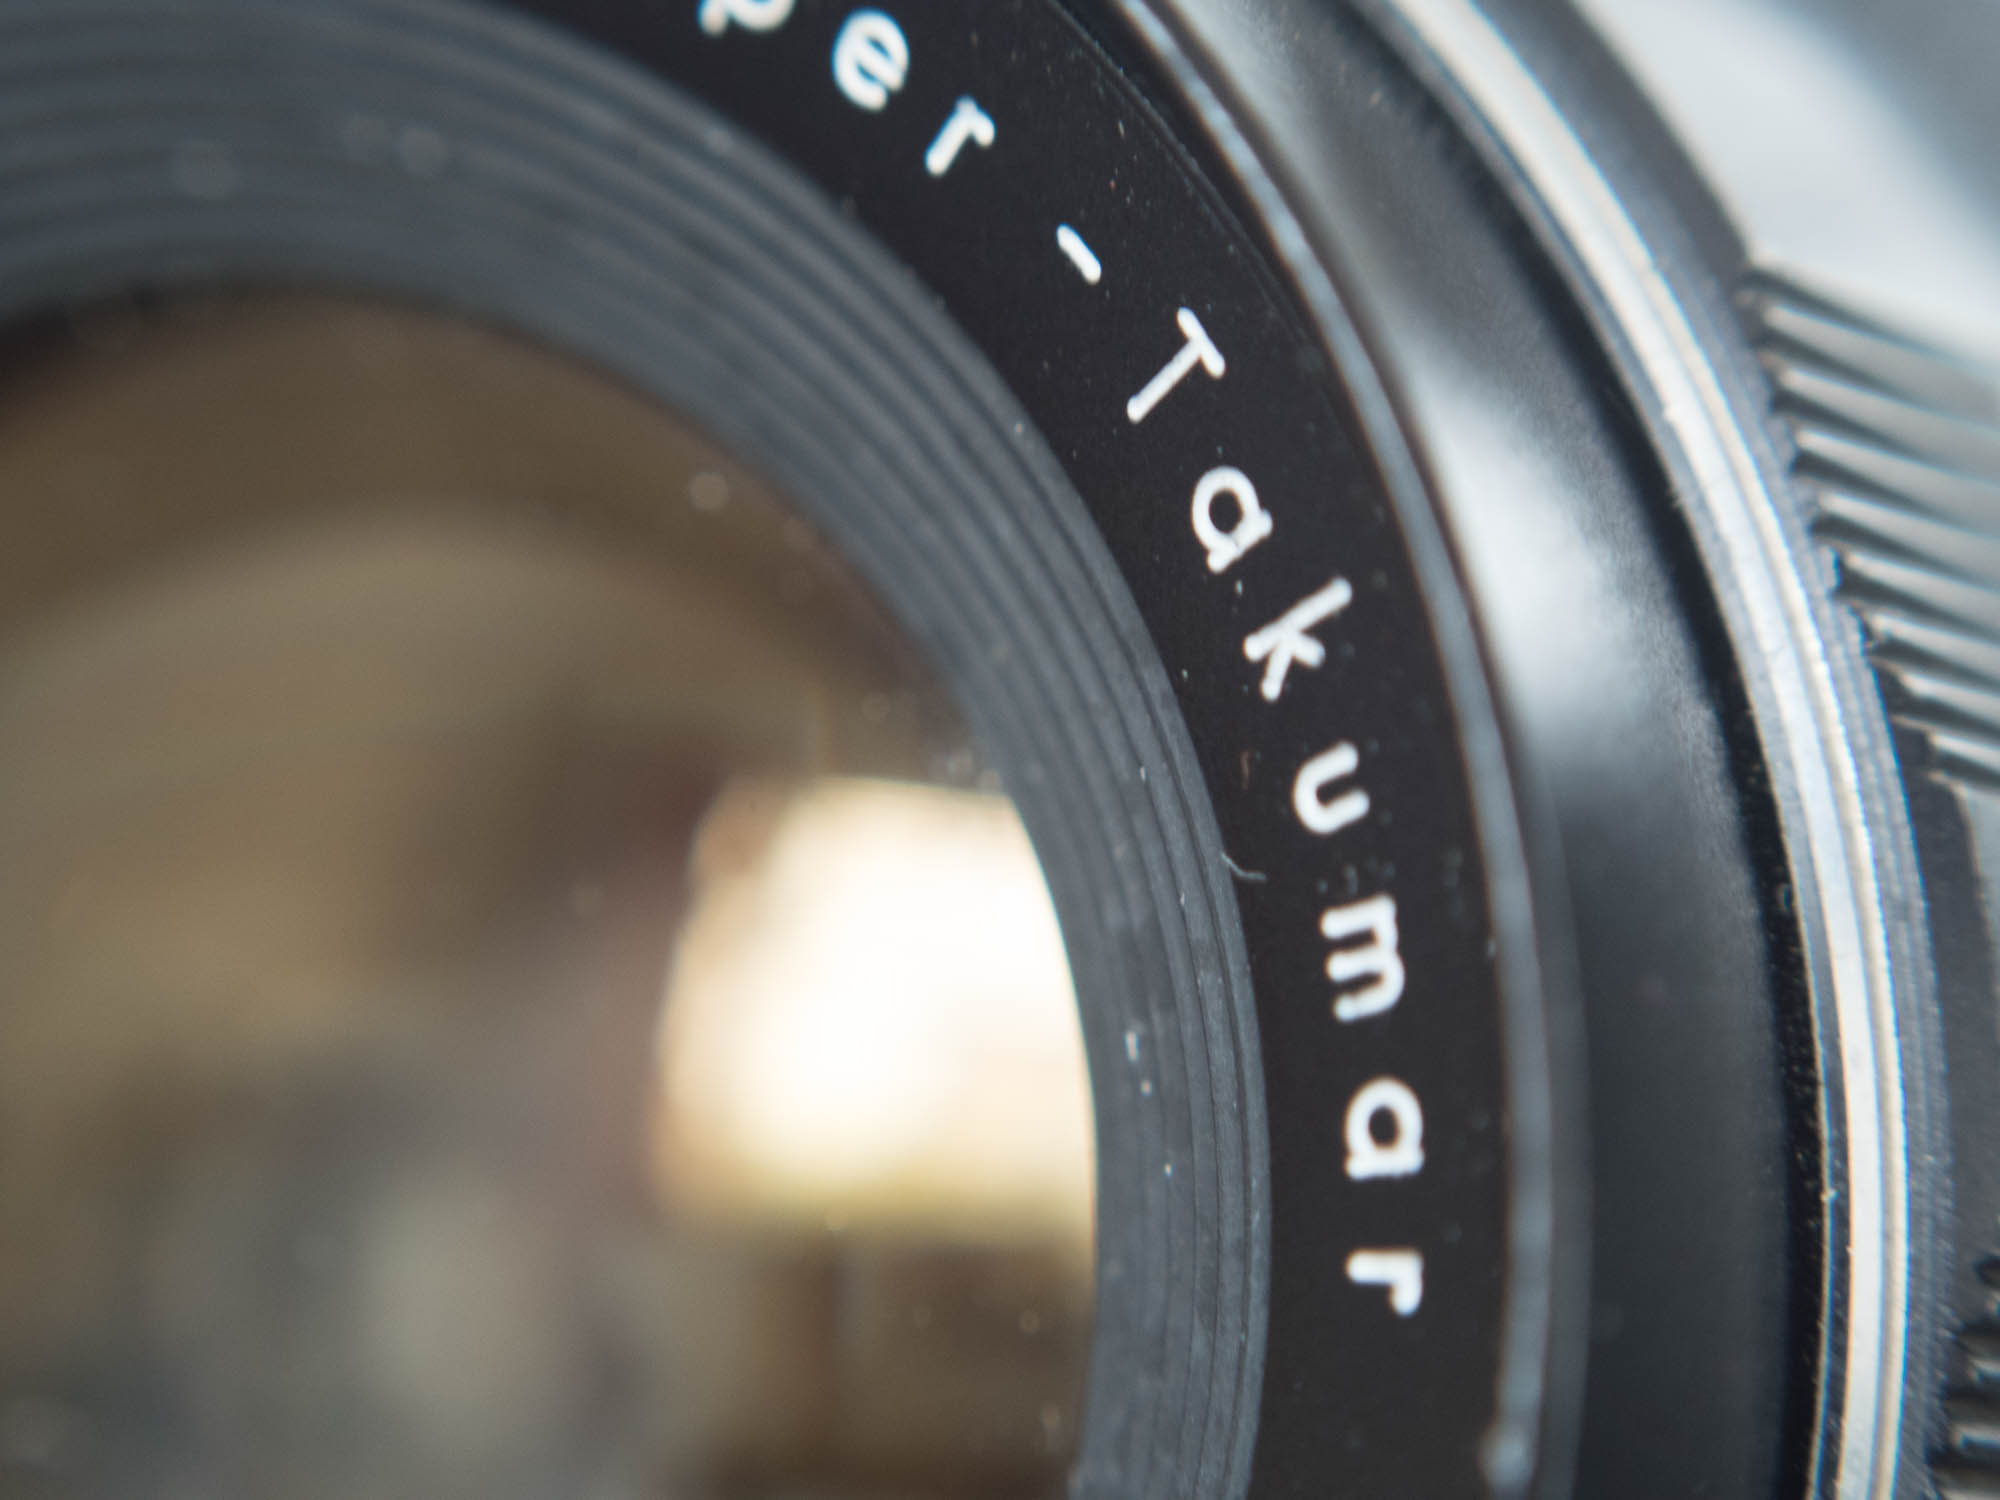
I then took a series of photos with the lens reversed to show the type of photos you can take. Most of these are with the lens at maximum aperture so it gives a more creative effect with minimal sharp zone and lots of nice blurry backgrounds, like what you would achieve using a Lens baby .
Close up of OM-10 exposure dial with shallow depth of field.
Backlit photo of pens caps taken into the light to give the dreamy low contrast result.
Leica camera control taken at f1.8 to ensure shallow focus.
Takumar lens front taken with lens stopped down to f/5.6 to ensure a decent level of sharpness.
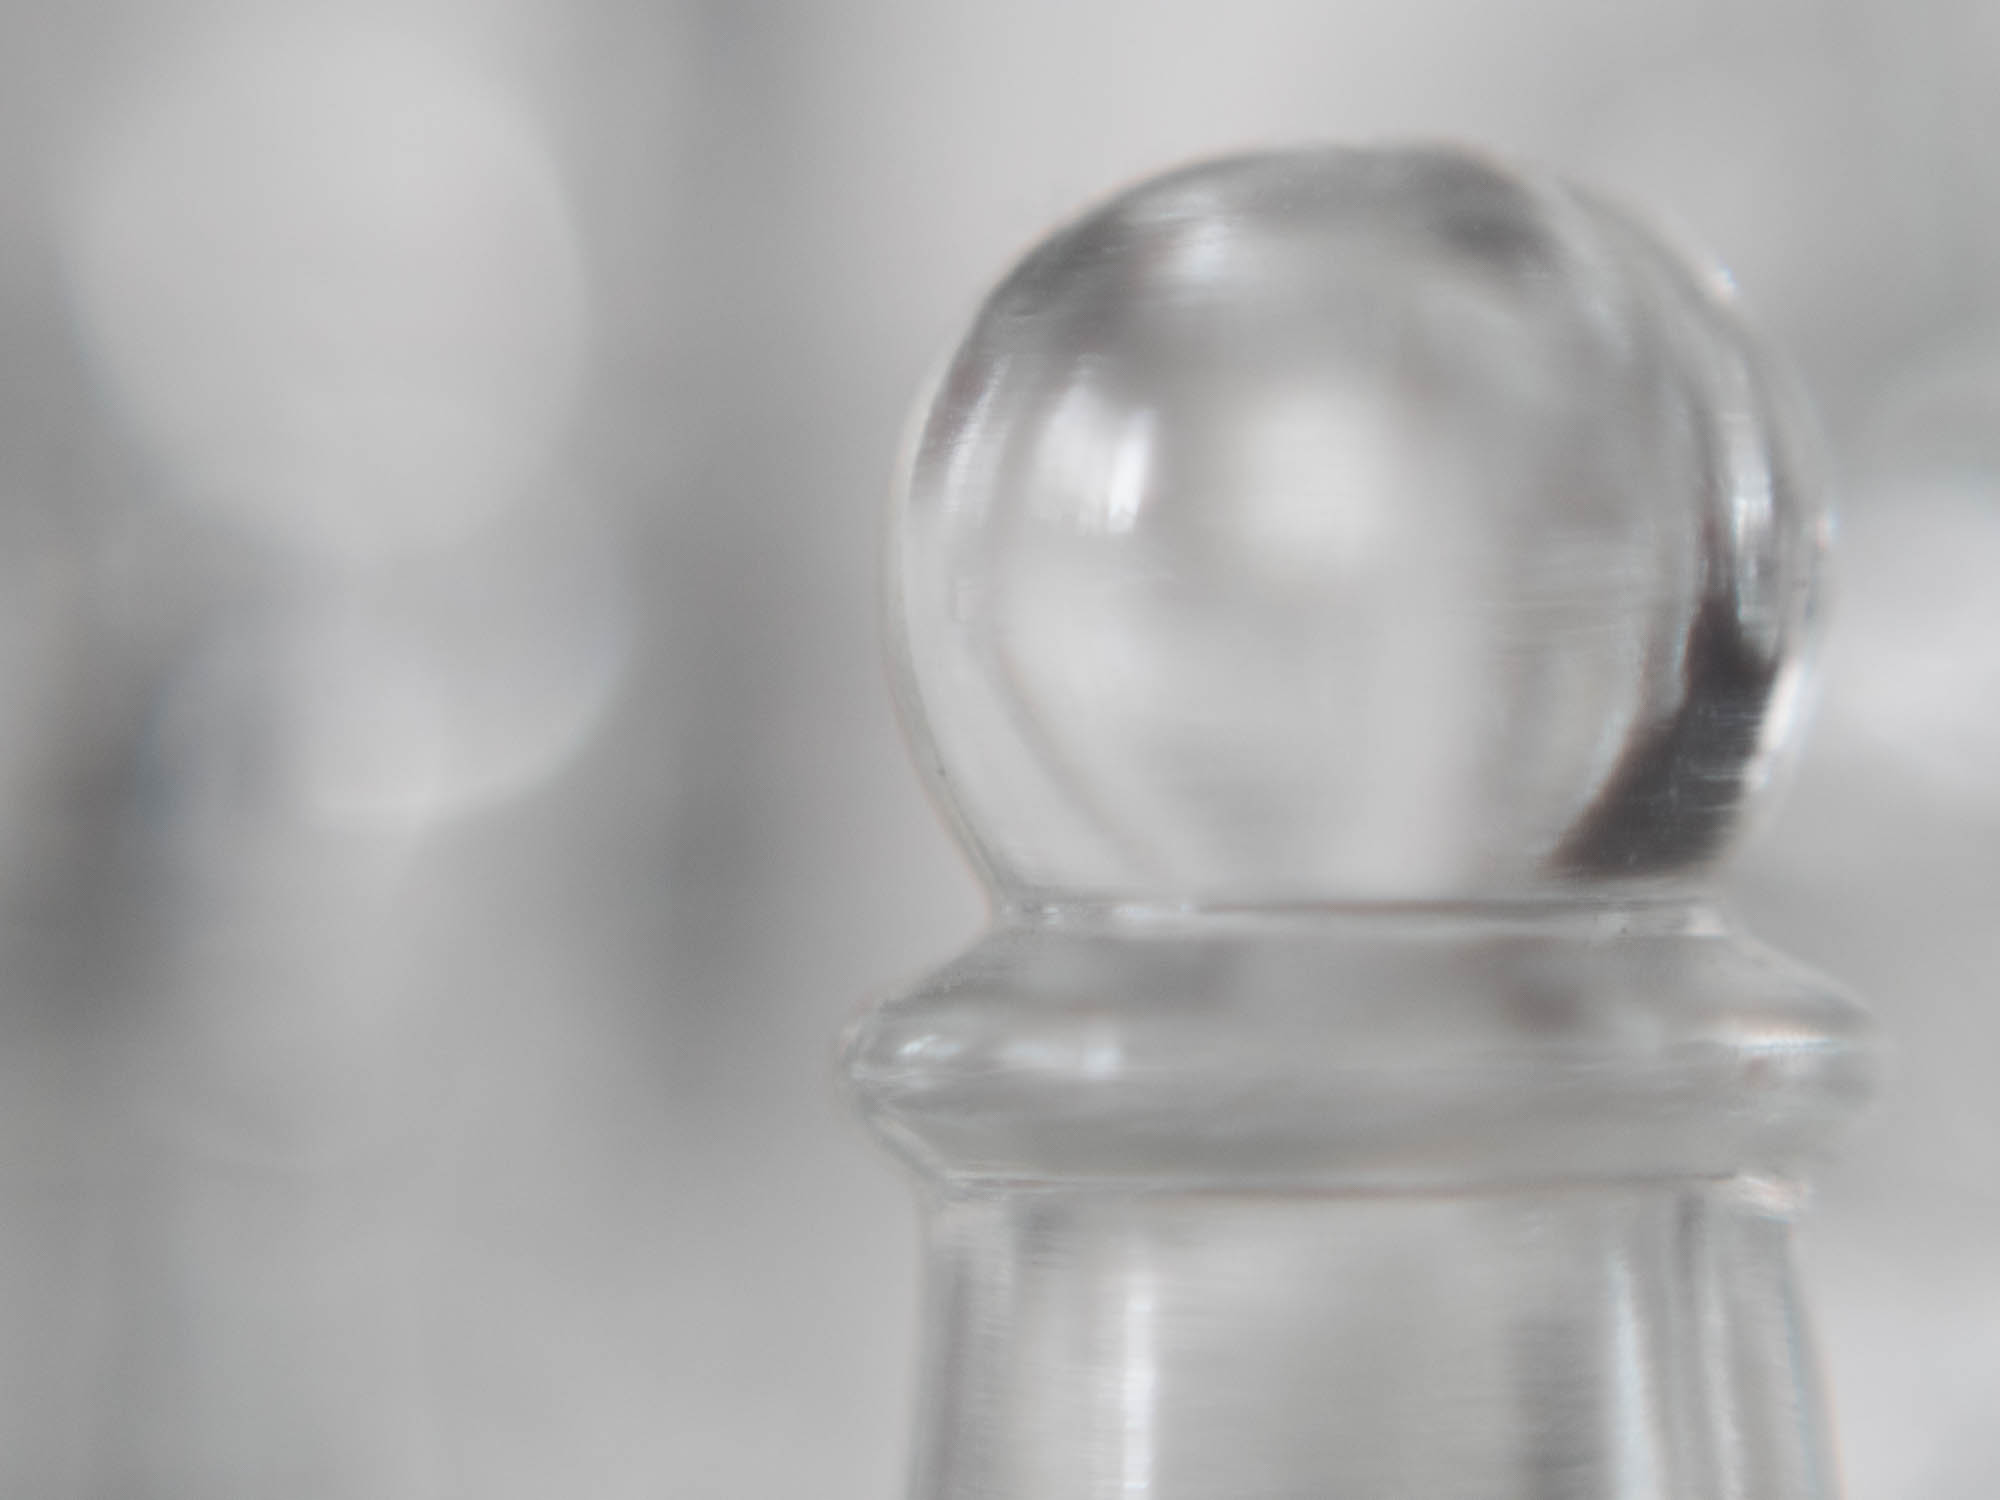
A glass chess piece with others in the background to give nice bokeh.
As you can see reversing a lens is a creative way to add options to your camera kit for low cost.
We have a number of reversing rings for sale at photographyattic.com check out this tag page. Lens reversing ring
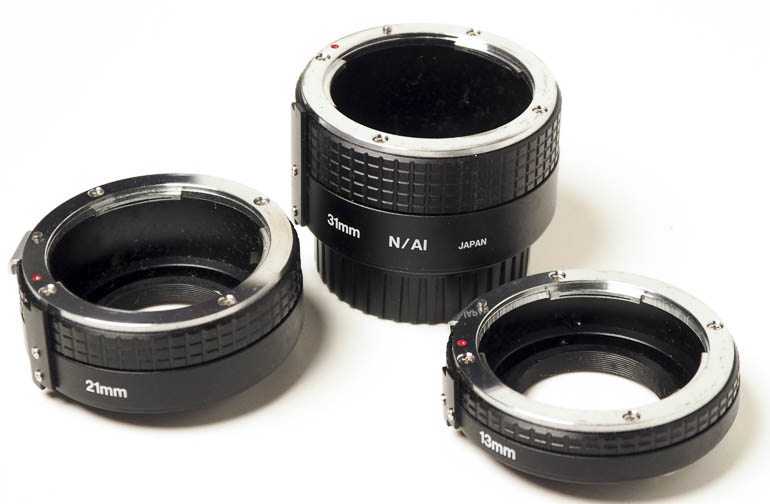
Extension tubes are tubes without any optical elements that you place between the camera and lens of an interchangeable lens camera. They extend the lens so it can focus closer, giving the lens macro capabilities. Some have full automatic couplings so the camera can continue to be used in all its auto and program exposure and focus modes. Some lower priced ones have no couplings, so the camera needs to be used in manual.
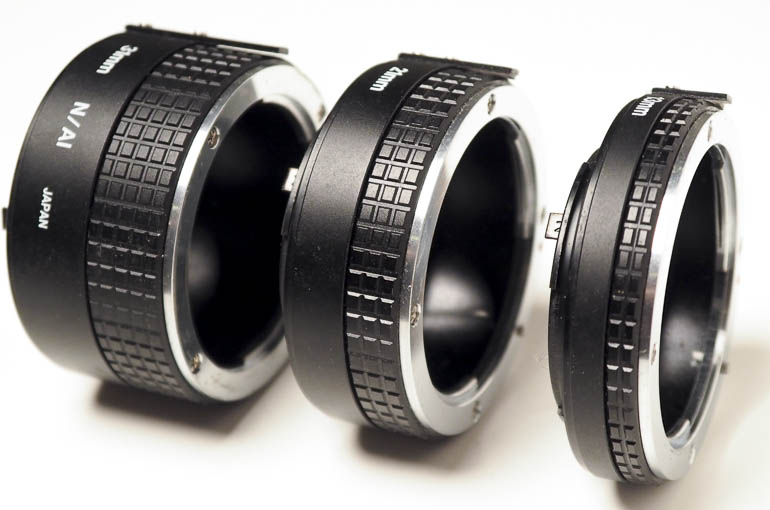
Tubes are often sold in sets of three. The set illustrated above has 13mm, 21mm and 31mm extensions, and these can be attached in any combination giving a total of seven different extensions:
13mm
21mm
31mm
34mm (13mm+21mm)
44mm (13mm+31mm)
52mm (21mm+31mm)
65mm (13mm+21mm+31mm)
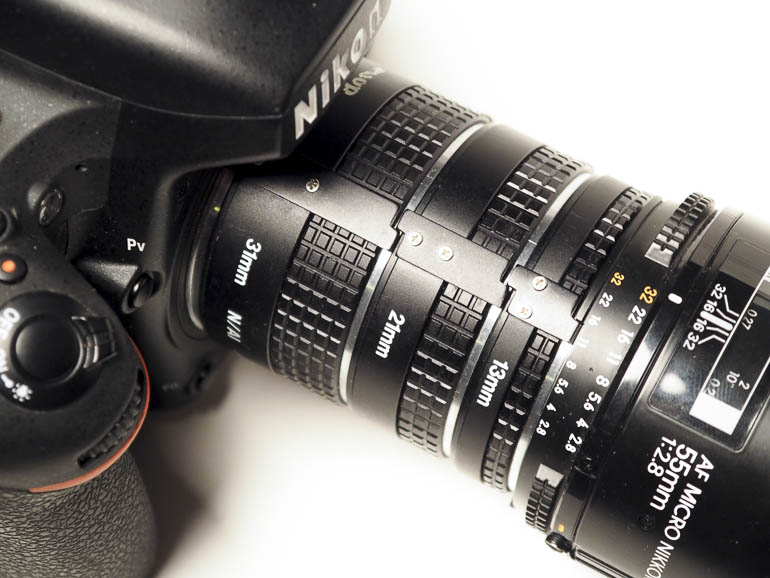
Here a set of three tubes can be seen attached to a Nikon digital SLR camera.
This photograph of a British one pound coin was taken using a nikon camera with a 55mm lens set to infinity and an extension tube added. The smaller coin on the left is with the 13mm and the coin on the right is with the three tubes attached giving 65mm extension. The lens was at f/2.8 to show how shallow depth of field is. When using tubes you either need to use a very small aperture or shoot the subject parallel to the CCD or film plane. Here the coin was at an angle so only a shallow strip across the centre is sharp.
Advantages of using Extension Tubes
Low cost macro
No optical degradation
Compact
Disadvantages of using Extension Tubes
Limited magnification variations
Fiddly changing between magnifications
Taking lens off increases risk of dust intrusion
Many of us have a need to photograph small objects for inclusion with auction posts on sites like eBay, or on shops such as Etsy, or to show your products on you own web site. There are also many who have an interest in photography of insects and other close up subjects from an artistic perspective.
Often the available light isn’t good enough in such situations so you resort to the built in flash of your DSLR, or slide the hotshoe mounted one to the camera. And that’s where you may find you have a problem.
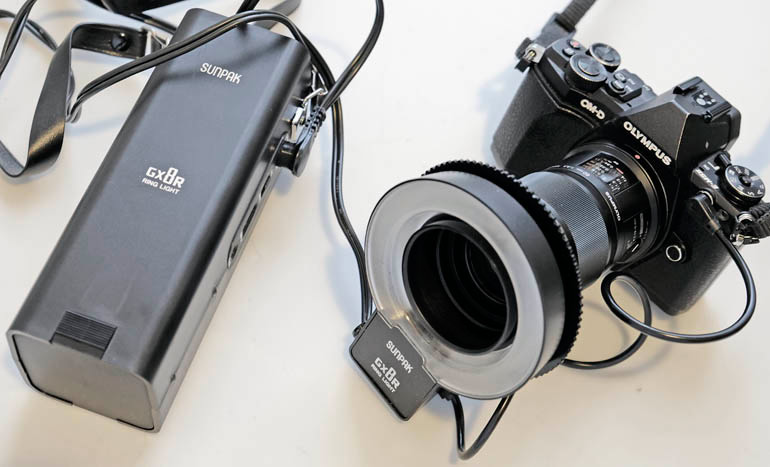
When shooting close ups the lens is often so close to the subject that it obstructs the flash and results in a shadow of the lens cast over the subject. A ring flash is attached onto the lens. It provides a circular light that results in shadowless illumination. This is ideal for small items, and the light wraps around 3D items so you get a more even tone.
You can buy ones made by your camera’s manufacturer, but these tend to be very expensive so it’s worth looking around for an independent model, and some great older ones can be picked up for much less money. The manufacturers’ ones and some of the more expensive independents have TTL (through-the-lens) exposure so they adjust the flash output and compensate automatically for close up extensions and filters. But as most cameras used now are digital it’s easy enough to use an older manual ringflash and check the result on the LCD display.
At PhotographyAttic we have a small selection of used models and really like the Sunpak GX-8r because, unlike others, the batteries are in a separate power pack…and that means the flash unit attached to the lens is much lighter. This is an important consideration as it puts less strain on the lens mechanism. There’s a review of the Sunpak GX8r here
For those on a budget, check out the Centon MR20. It does have batteries in the flash, but just two AAs so its not too heavy. This flash unit was also made for the Vivitar, Starblitz and Cobra brands too. Doi also made an interesting unit for those who don’t have a flash sync socket on their camera, this one had the battery pack that slides onto the camera’s hot shoe.
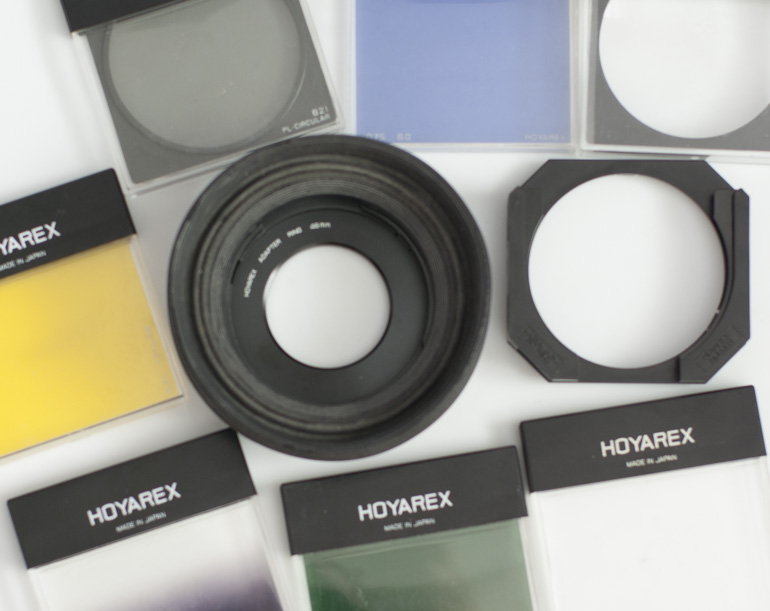
Hoyarex filters were arguably the best filter system made. Optically superb, several made from glass, solid filter holder, brilliant adjustable rubber hood for wide or super telephoto, and a useful range of filters.
Hoyarex was a filter system developed by Hoya. Hoya was the big name in optical filters and then French manufacturer Cokin appeared with a system that would revolutionise the filter world.
Hoya reacted fast but not fast enough. Cokin had soon taken hold of the filter market with serious and special effect filters. Photographers were no longer buying one or two filters they were investing in cases full.
The Hoyarex system emulated what Cokin had done, but in our opinion did it better, some filters were glass, others had frames around them so handling was better. The holder was more flexible and had a more versatile lens hood. The filters slotted in more comfortably and the adaptors clipped in easier.
But they were too late and Cokin won the battle. Hoyarex disappeared as quick as they came.
You can still find remnants of the system sold in the second-hand sections of various photographic retailers, and there are many here on PhotographyAttic.
The illustration above shows the filter holder with an adaptor ring (available in sizes from 43mm up to 77mm) and the wonderful rubber Pro hood that clipped on the holder and had a variable extension.
Two filter holder can be clipped together and rotated when special effect filters were inserted.
Here in numeric order is the entire range with links to buy individual used filters at photographyattic.com
Unless you’re lucky enough to have chosen a camera with a tilting /hinged screen taking photos from ground level can be very uncomfortable or awkward. The titling screen feature on certain digital cameras allows you to view and compose from a height by looking down on the screen that is angled upwards.
This makes the camera easy to use when shooting flowers and fungi or other similar subjects from ground level.
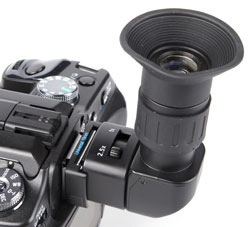
Many of us don’t have such luxury feature, but there is an option available if your camera has a viewfinder with a slide in eye cup frame. The right angle finder slips over the viewfinder in place of the eye cup and provides an optical path set at 90 degrees. so you look down into the viewfinder. It still means you have to bend down to see, but at least it’s from a more convenient angle.
Many right angle finders also have built in diopter correction so they’re prefect for those of us with glasses. And some even have a built in magnifier going from standard 1x view to a cropped 2x or even 2.5x view. This is great focusing aid as you can be sure your subject is in perfect focus.
Finders are usually sold by the camera manufacturer, but there are also several available from accessory manufacturers. They’re not quite as popular as they used to be but there’s plenty around on eBay and we have several on PhotographyAttic – Right Angle Finders and Viewfinder attachments. You need to choose one that fits your camera’s viewfinder as each brand can be slightly different. Check before buying.


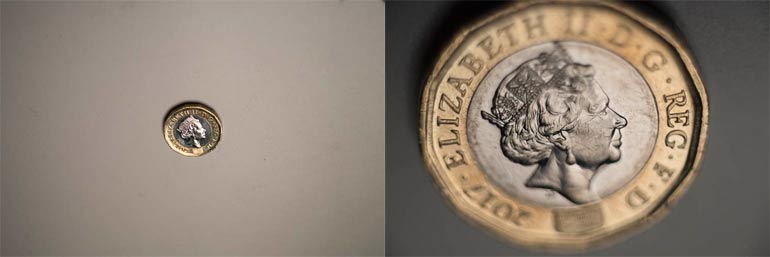 This photograph of a British one pound coin was taken using a nikon camera with a 55mm lens set to infinity and an extension tube added. The smaller coin on the left is with the 13mm and the coin on the right is with the three tubes attached giving 65mm extension. The lens was at f/2.8 to show how shallow depth of field is. When using tubes you either need to use a very small aperture or shoot the subject parallel to the CCD or film plane. Here the coin was at an angle so only a shallow strip across the centre is sharp.