Filters are an essential part of photography and cinematography, helping control the look, tone, and accuracy of captured images. Among the many available, the 81A series filter stands out as one of the most useful warming filters for both film and digital shooters.
What Is the 81A Filter?
The 81A filter belongs to a family of warming filters designed to subtly shift the color balance of an image. Specifically, the 81A introduces a mild amber cast that counteracts overly cool or blue tones.
Filter factor: Typically around 1.2× (requiring about 1/3 stop exposure compensation).
Color temperature adjustment: Raises the effective color temperature by approximately 200 Kelvin. For example, it can correct daylight film (balanced for 5500K) when shooting in shade (around 6000–6500K).
Material: Usually made of optical glass or high-quality resin, coated to reduce reflections and flare.
In short, it gently warms up the scene without making colors appear unnatural.
Why Use the 81A Filter?
Correcting Cool Light Outdoor photography often results in cooler images, especially under open shade, overcast skies, or at high altitudes. The 81A reduces this bluish tint for a more natural, balanced look.
Enhancing Skin Tones Human skin can look washed out or pale in cool lighting. The subtle warming effect of the 81A filter adds life and warmth to skin tones, making portraits appear healthier and more flattering.
Improving Landscapes In scenic photography, the filter can make foliage appear richer and skies less stark. It gives a sense of warmth that makes landscapes feel more inviting.
Film and Digital Versatility While originally designed for film, the 81A remains relevant for digital shooters who want to achieve an in-camera look rather than relying on post-processing.
How to Use the 81A Filter
Choose the Right Size The filter comes in different diameters (e.g., 52mm, 58mm, 77mm) to fit your lens. Make sure you match the filter thread size, or use a step-up ring if needed.
Mounting the Filter Simply screw the filter onto the front of your lens. Because the 81A is subtle, it can be left on the lens as a protective cover without drastically altering your images.
Exposure Compensation Since the filter factor is low (about +0.3 stops), most modern cameras automatically adjust exposure. For manual film cameras, you may need to open up the aperture slightly or slow down the shutter speed.
Combining Filters The 81A can be used alongside polarizers, neutral density filters, or other creative filters. Just be mindful of stacking too many, as this can introduce vignetting or reduce image sharpness.
Practical Scenarios
Portraits outdoors: Adds a healthy glow to skin tones.
Mountain or seaside photography: Corrects excessive blue tones.
Travel photography: Provides a consistent warmth across varied lighting conditions.
81A vs. Other Warming Filters
81B and 81C: Slightly stronger warming effects than the 81A, useful in colder light or when a more pronounced warmth is desired.
Skylight (1A) filter: Similar in concept but less warming than the 81A, often used just for lens protection.
Conclusion
The 81A series filter may seem subtle, but its effect is powerful in the right situations. By gently warming tones, it improves color balance, enhances skin, and gives outdoor shots a natural vibrancy. Whether you’re a film purist or a digital photographer looking for an in-camera aesthetic, the 81A remains a classic, reliable tool in the filter kit.
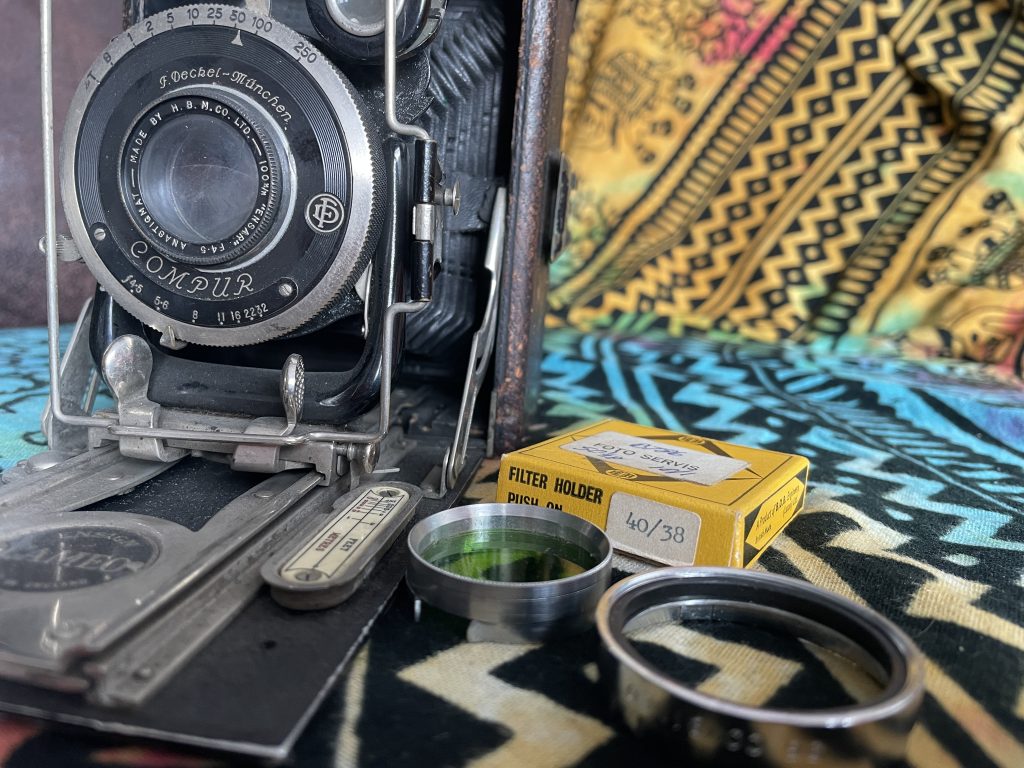
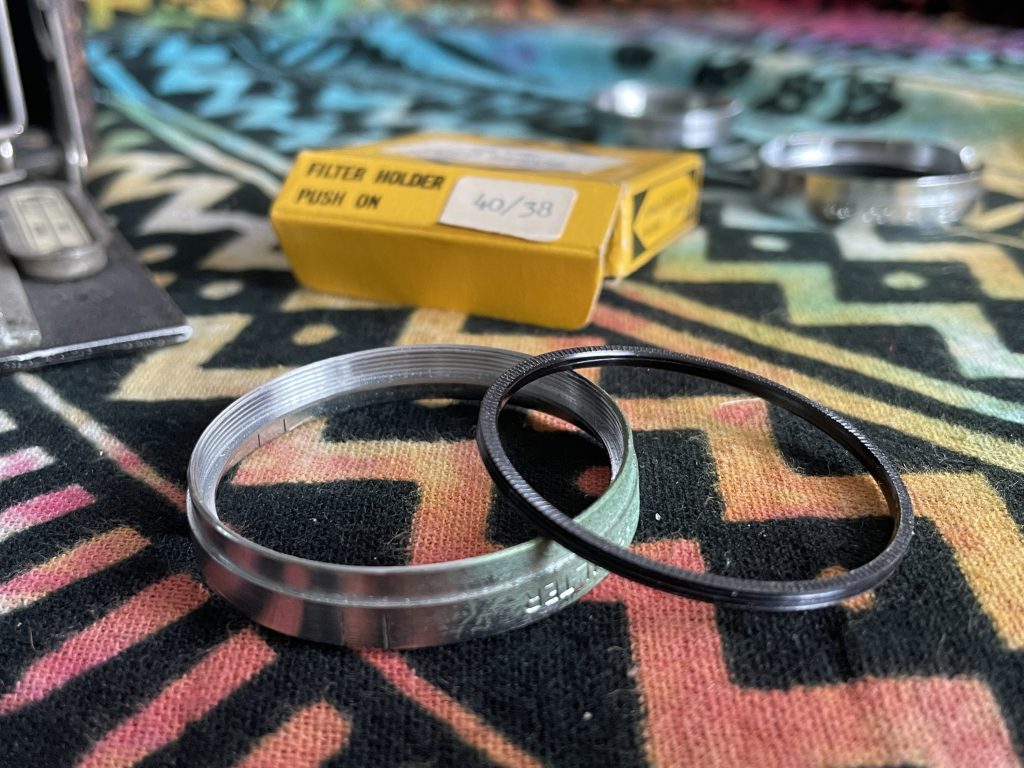
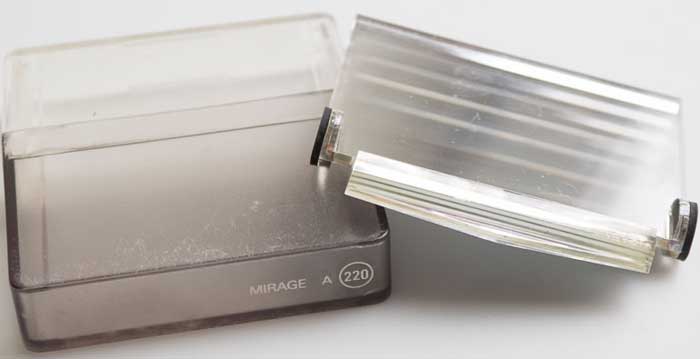
Many vintage cameras had a lens without a filter thread. Manufacturers such as BDB, Leech and Actina created push-on filters for users of that type of camera.
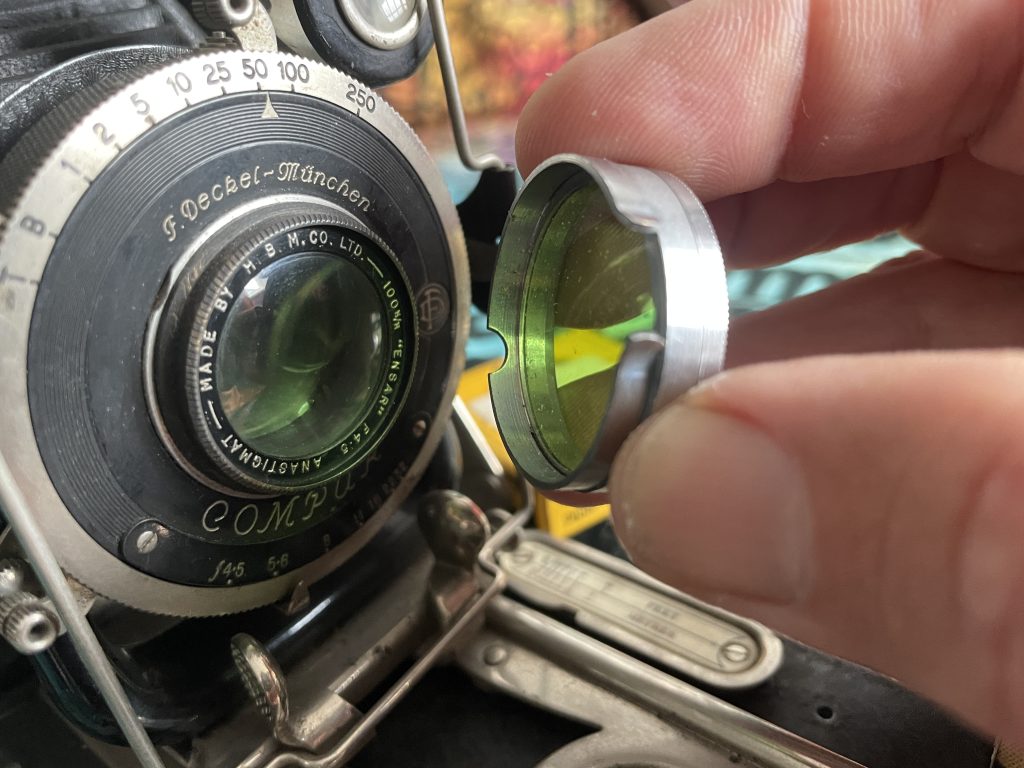
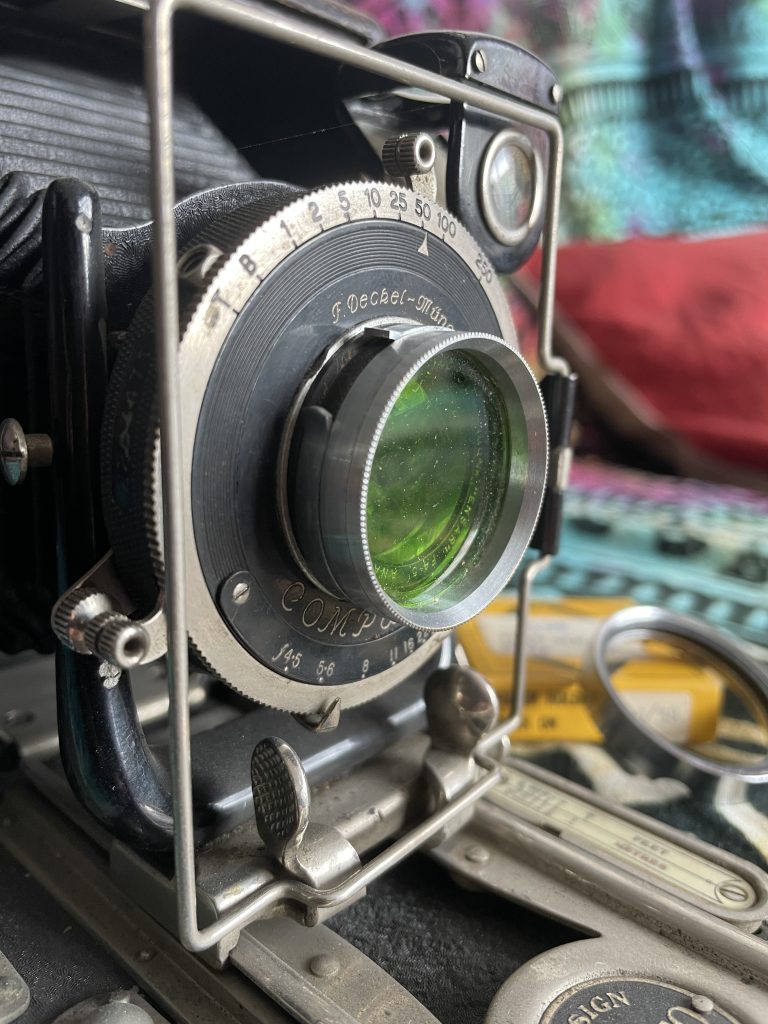
These filters, typical with an aluminium mount, push over the lens and hold in place with a small spring clip.
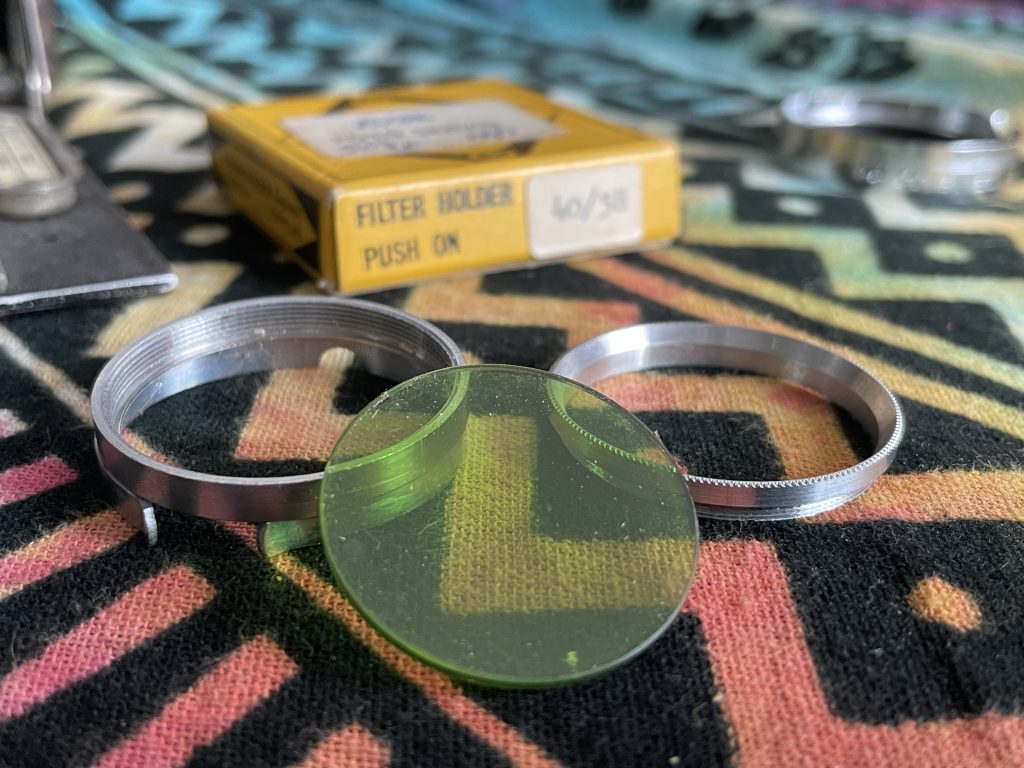
They came without a glass filter and had either a plastic or an aluminium retaining ring to hold the glass or resin circular filter in place.
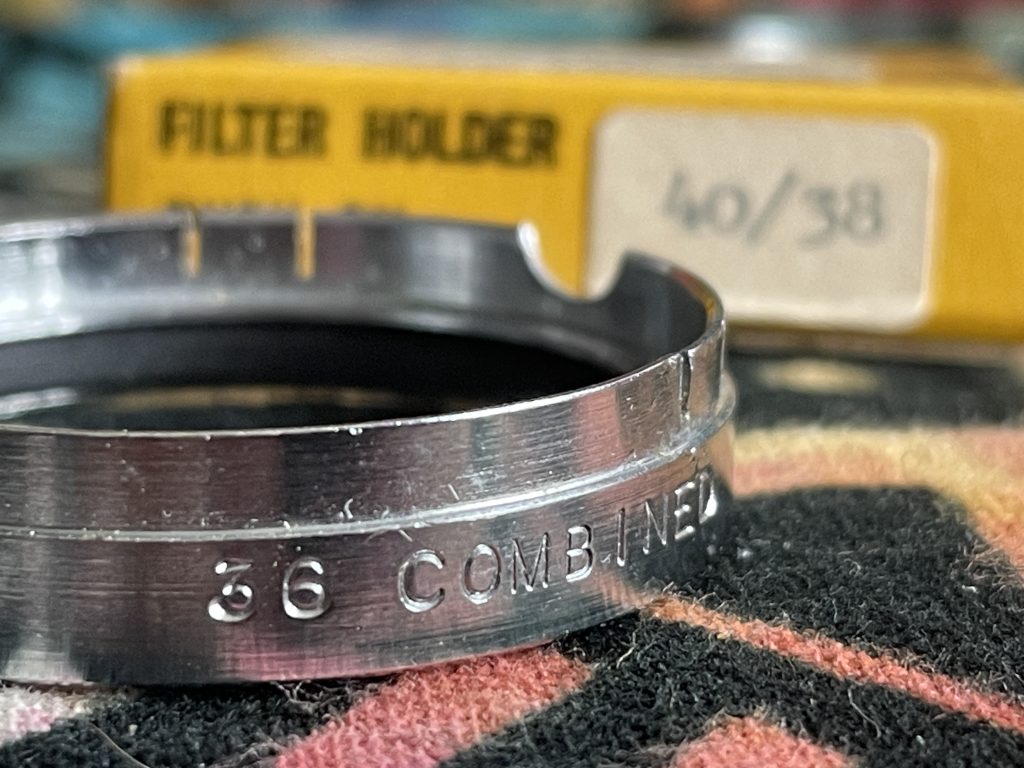
They’re sold with two measurements in millimetres. The first number is the lens diameter, and the second is the added filter diameter. Usually just the push on size was engraved on the rim of the holder while both numbers appear on the box – eg 40/38.
There used to be a wide variety of glass filters that can still be found in second hand camera shops or auction sites and resin or gel ones can be easily cut to size from cokin or Kodak Wratten style filters so there’s many options to hand.
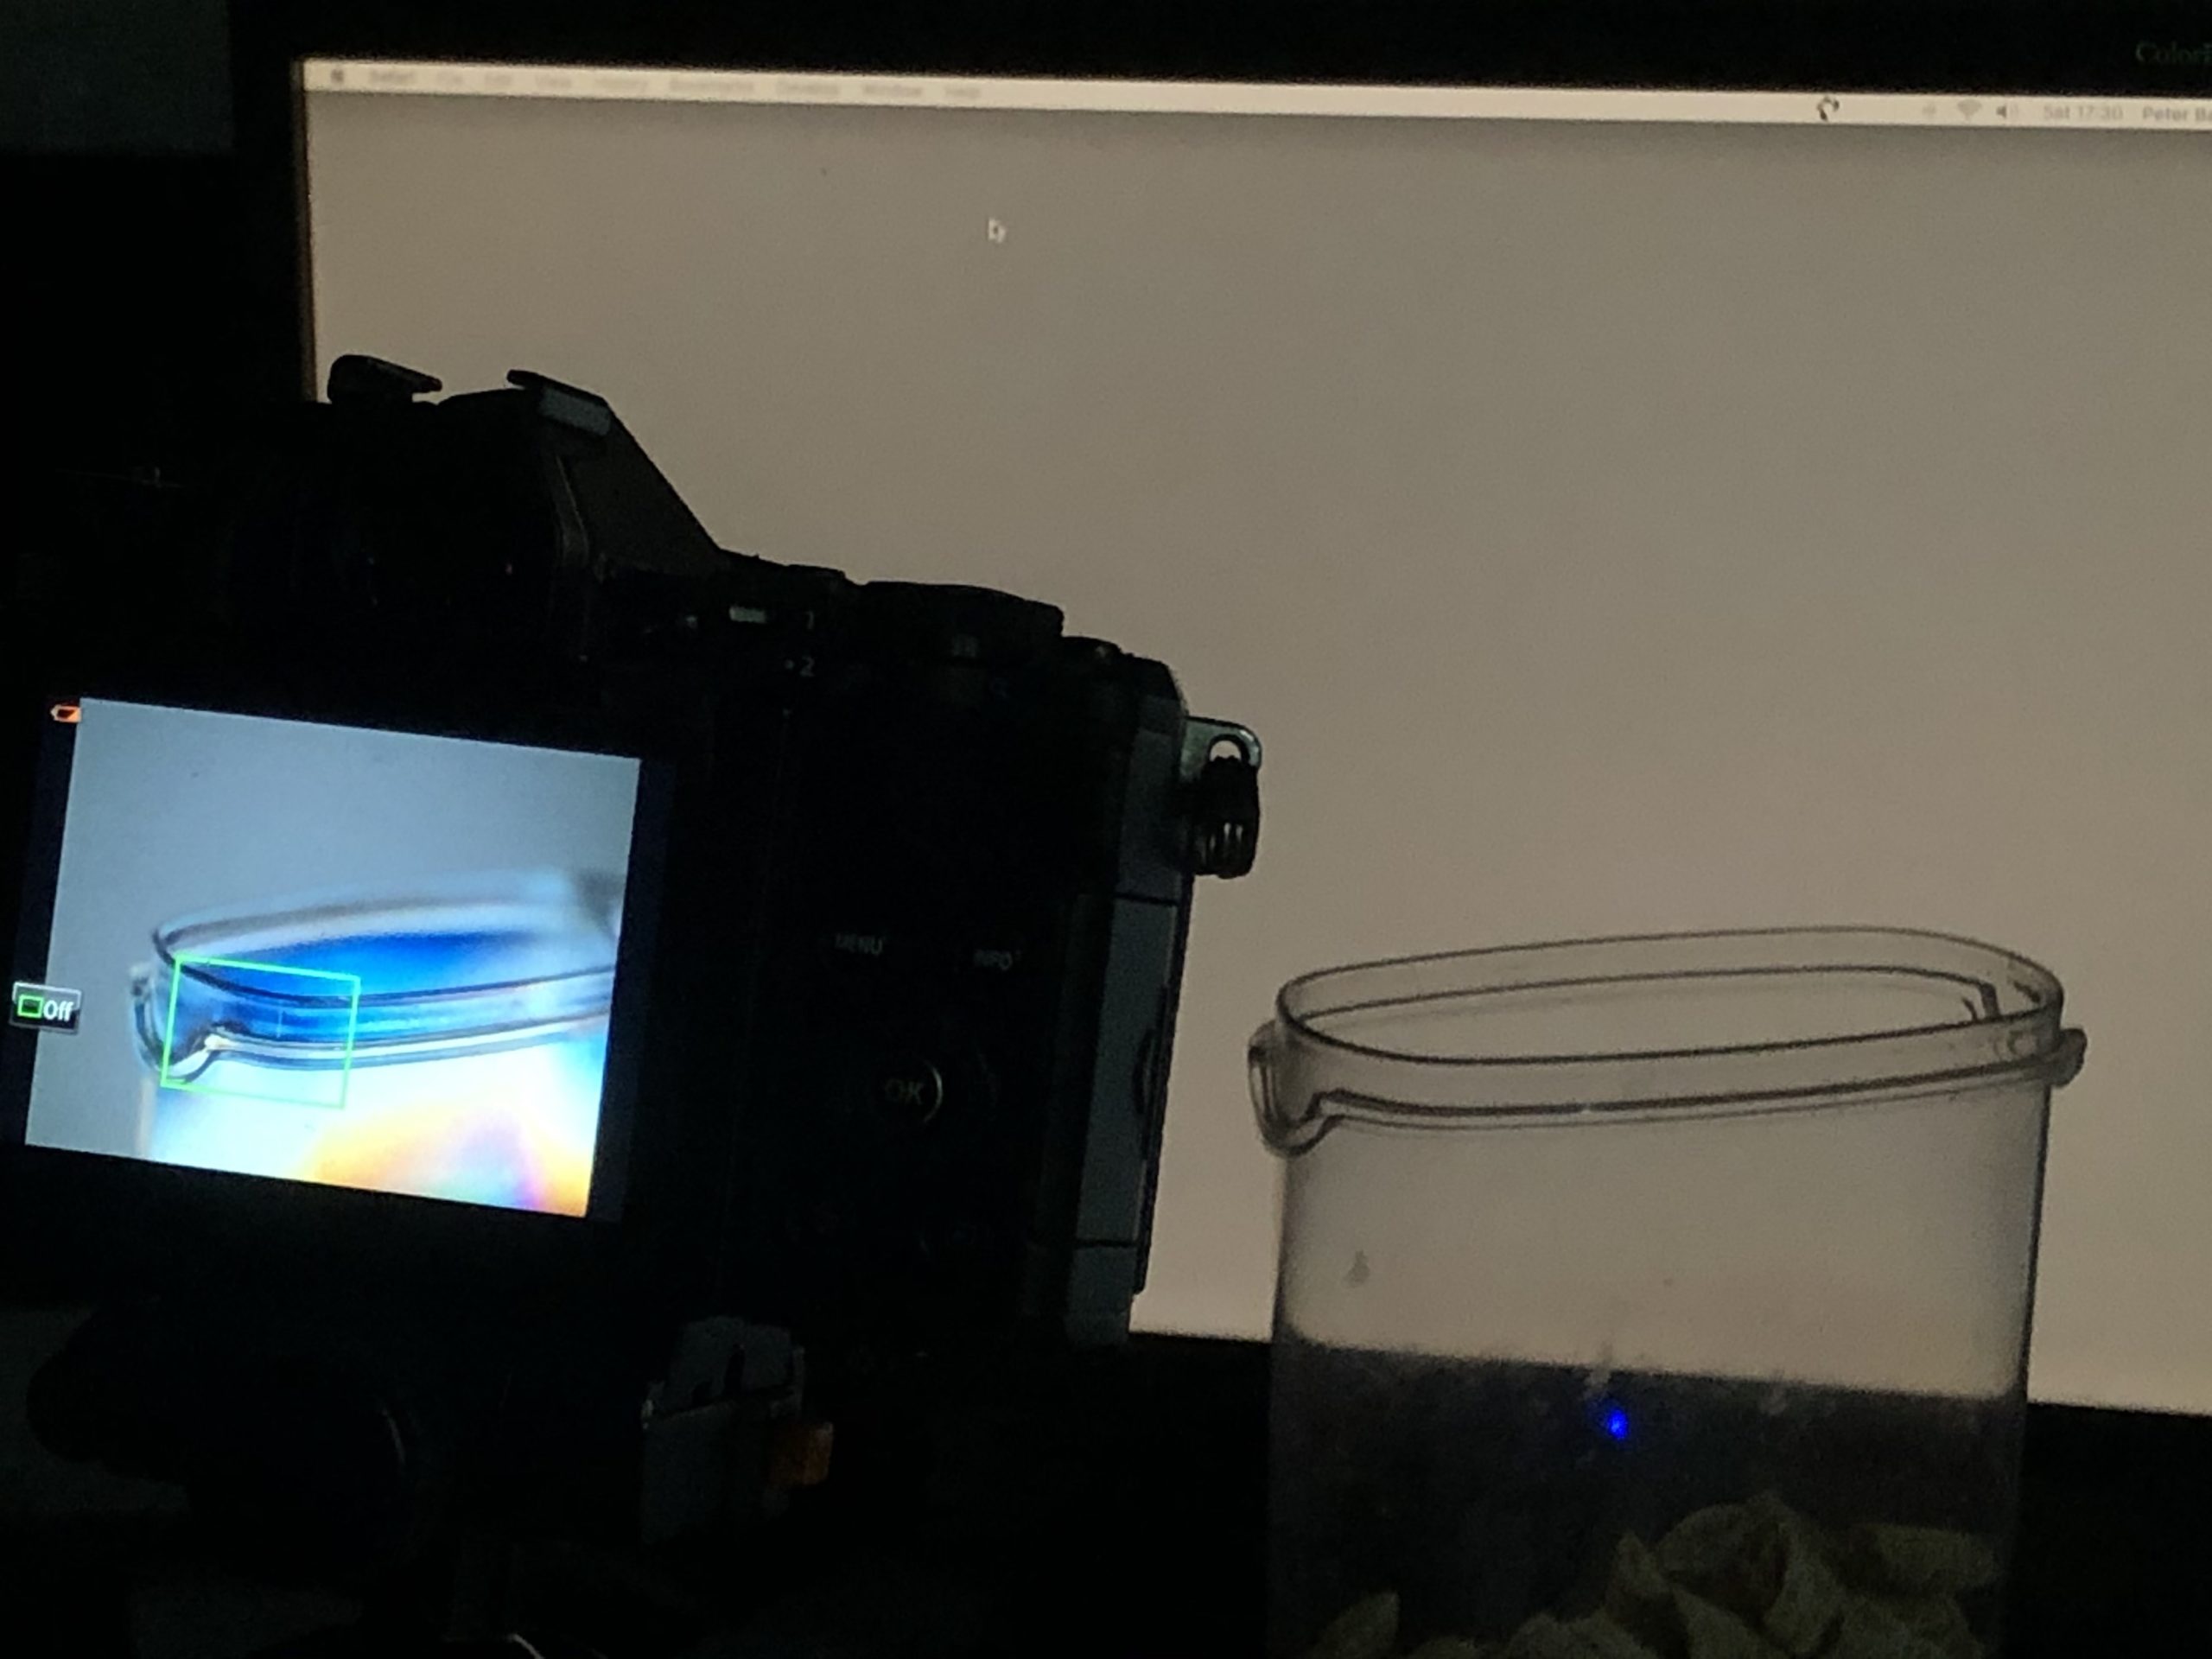
The cross polarising techniques is a simple one to create. Just place a polarising filter in front of the lens and photograph a stiff plastic object in front of an LCD computer screen. To illustrate the tip I attached a Hoyarex Linear Polarising filter* to the front of a digital camera.
I then positioned a plastic cereal container in front of my computer monitor (make sure the background is neutral grey and not a screen saver ) and mounted the camera on a tripod. You can hand hold if there’s enough light to get a camera shake free photo.
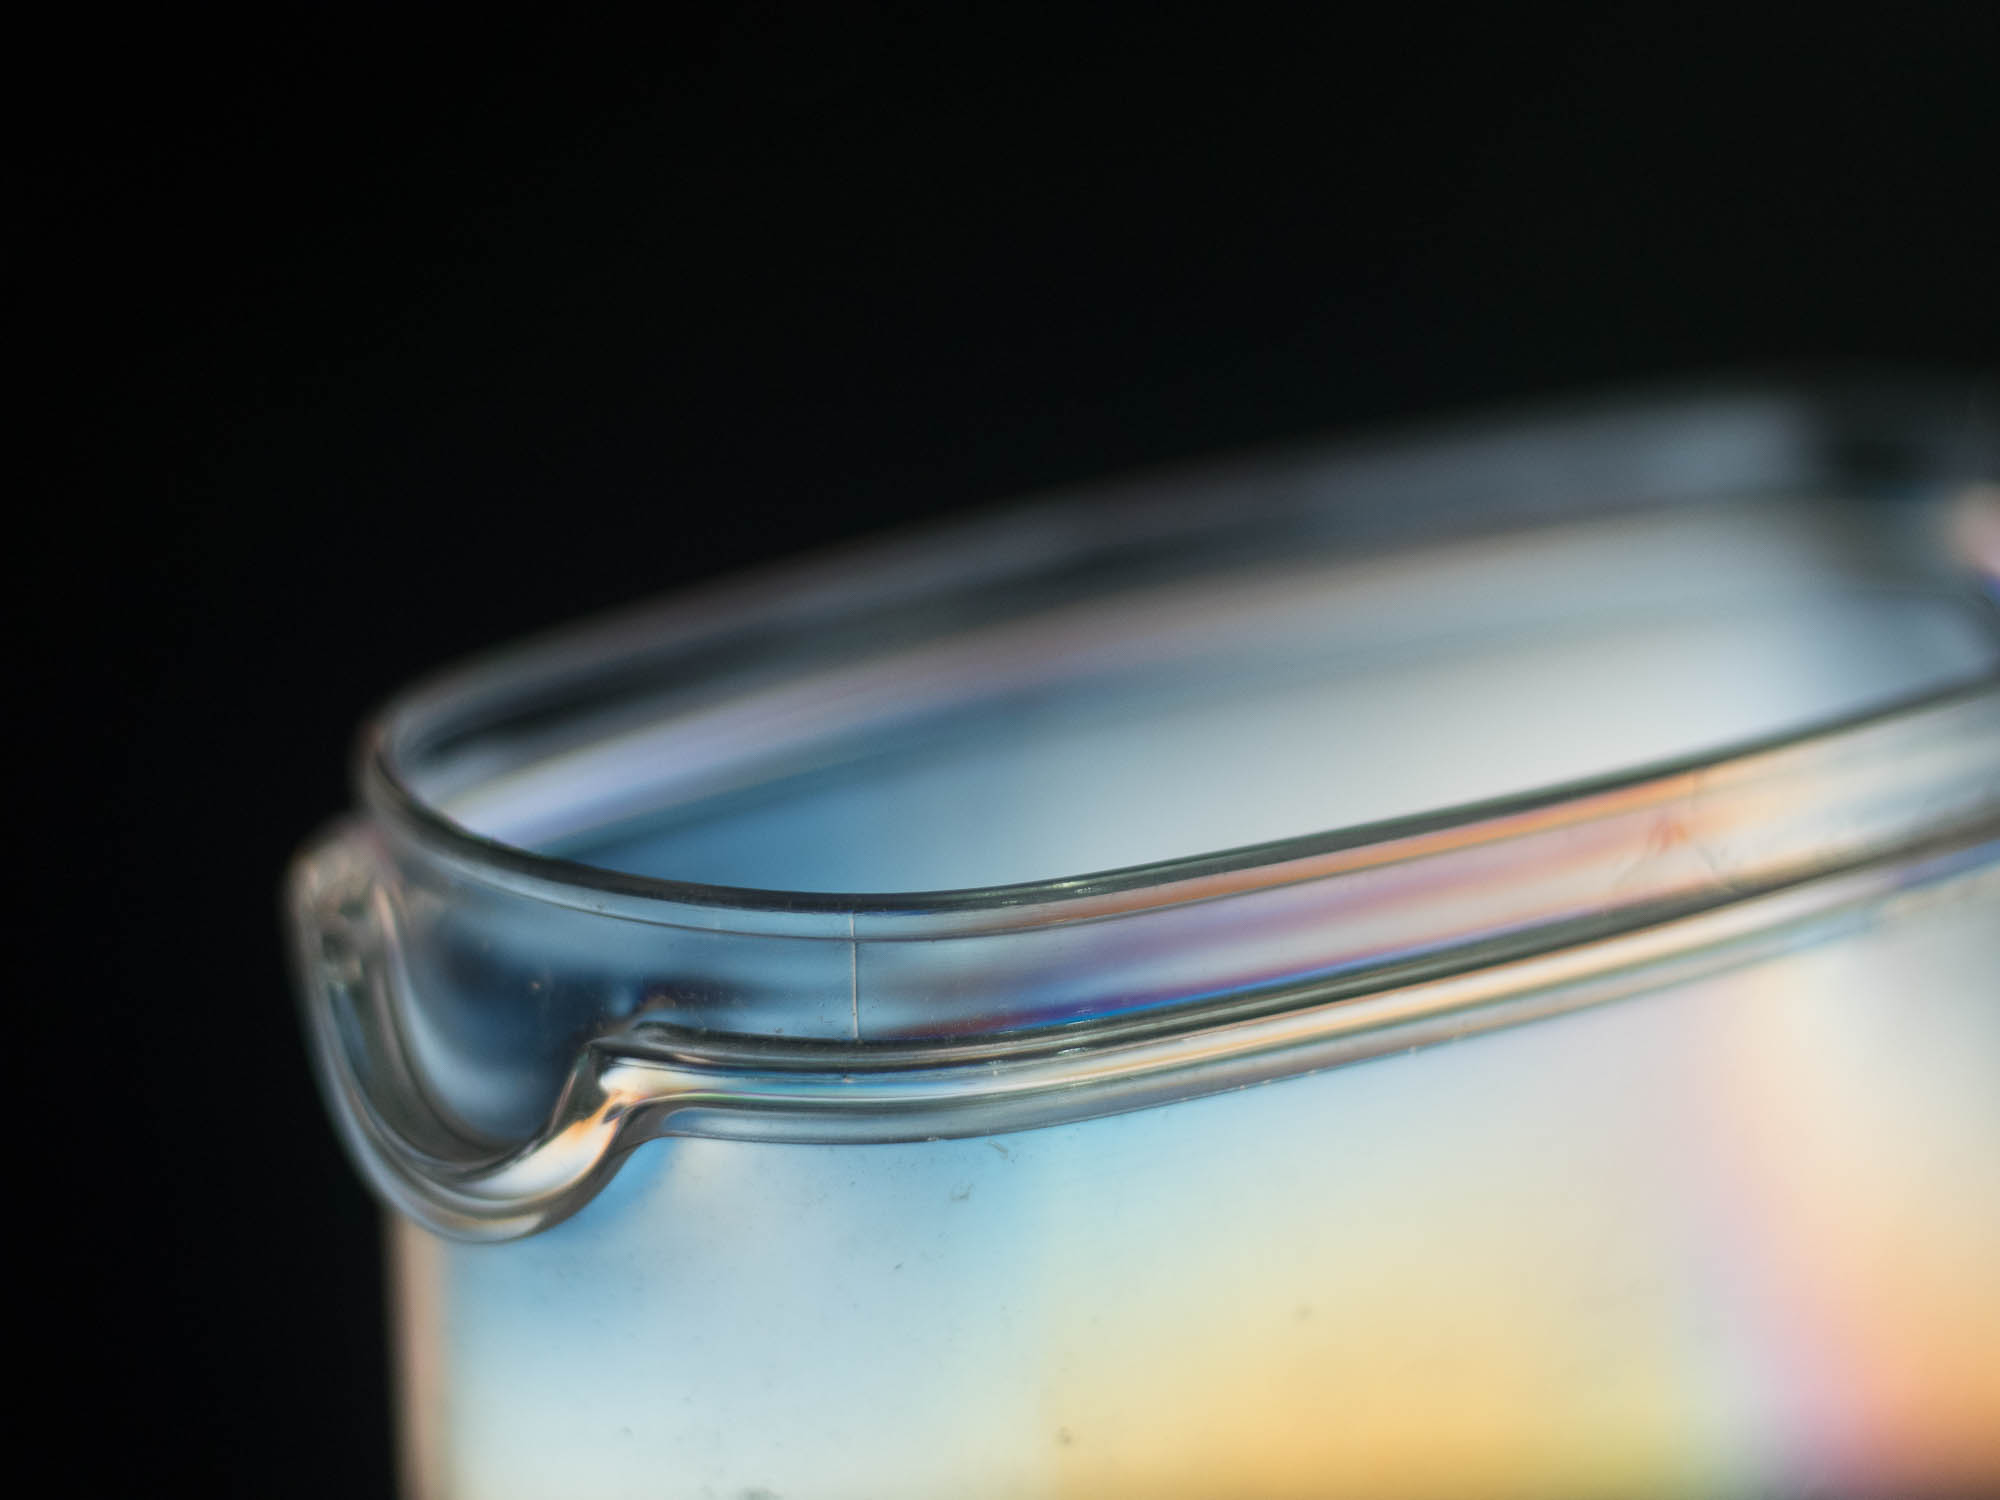
When you rotate the polariser you will see a rainbow of colour with the background colour of the monitor.
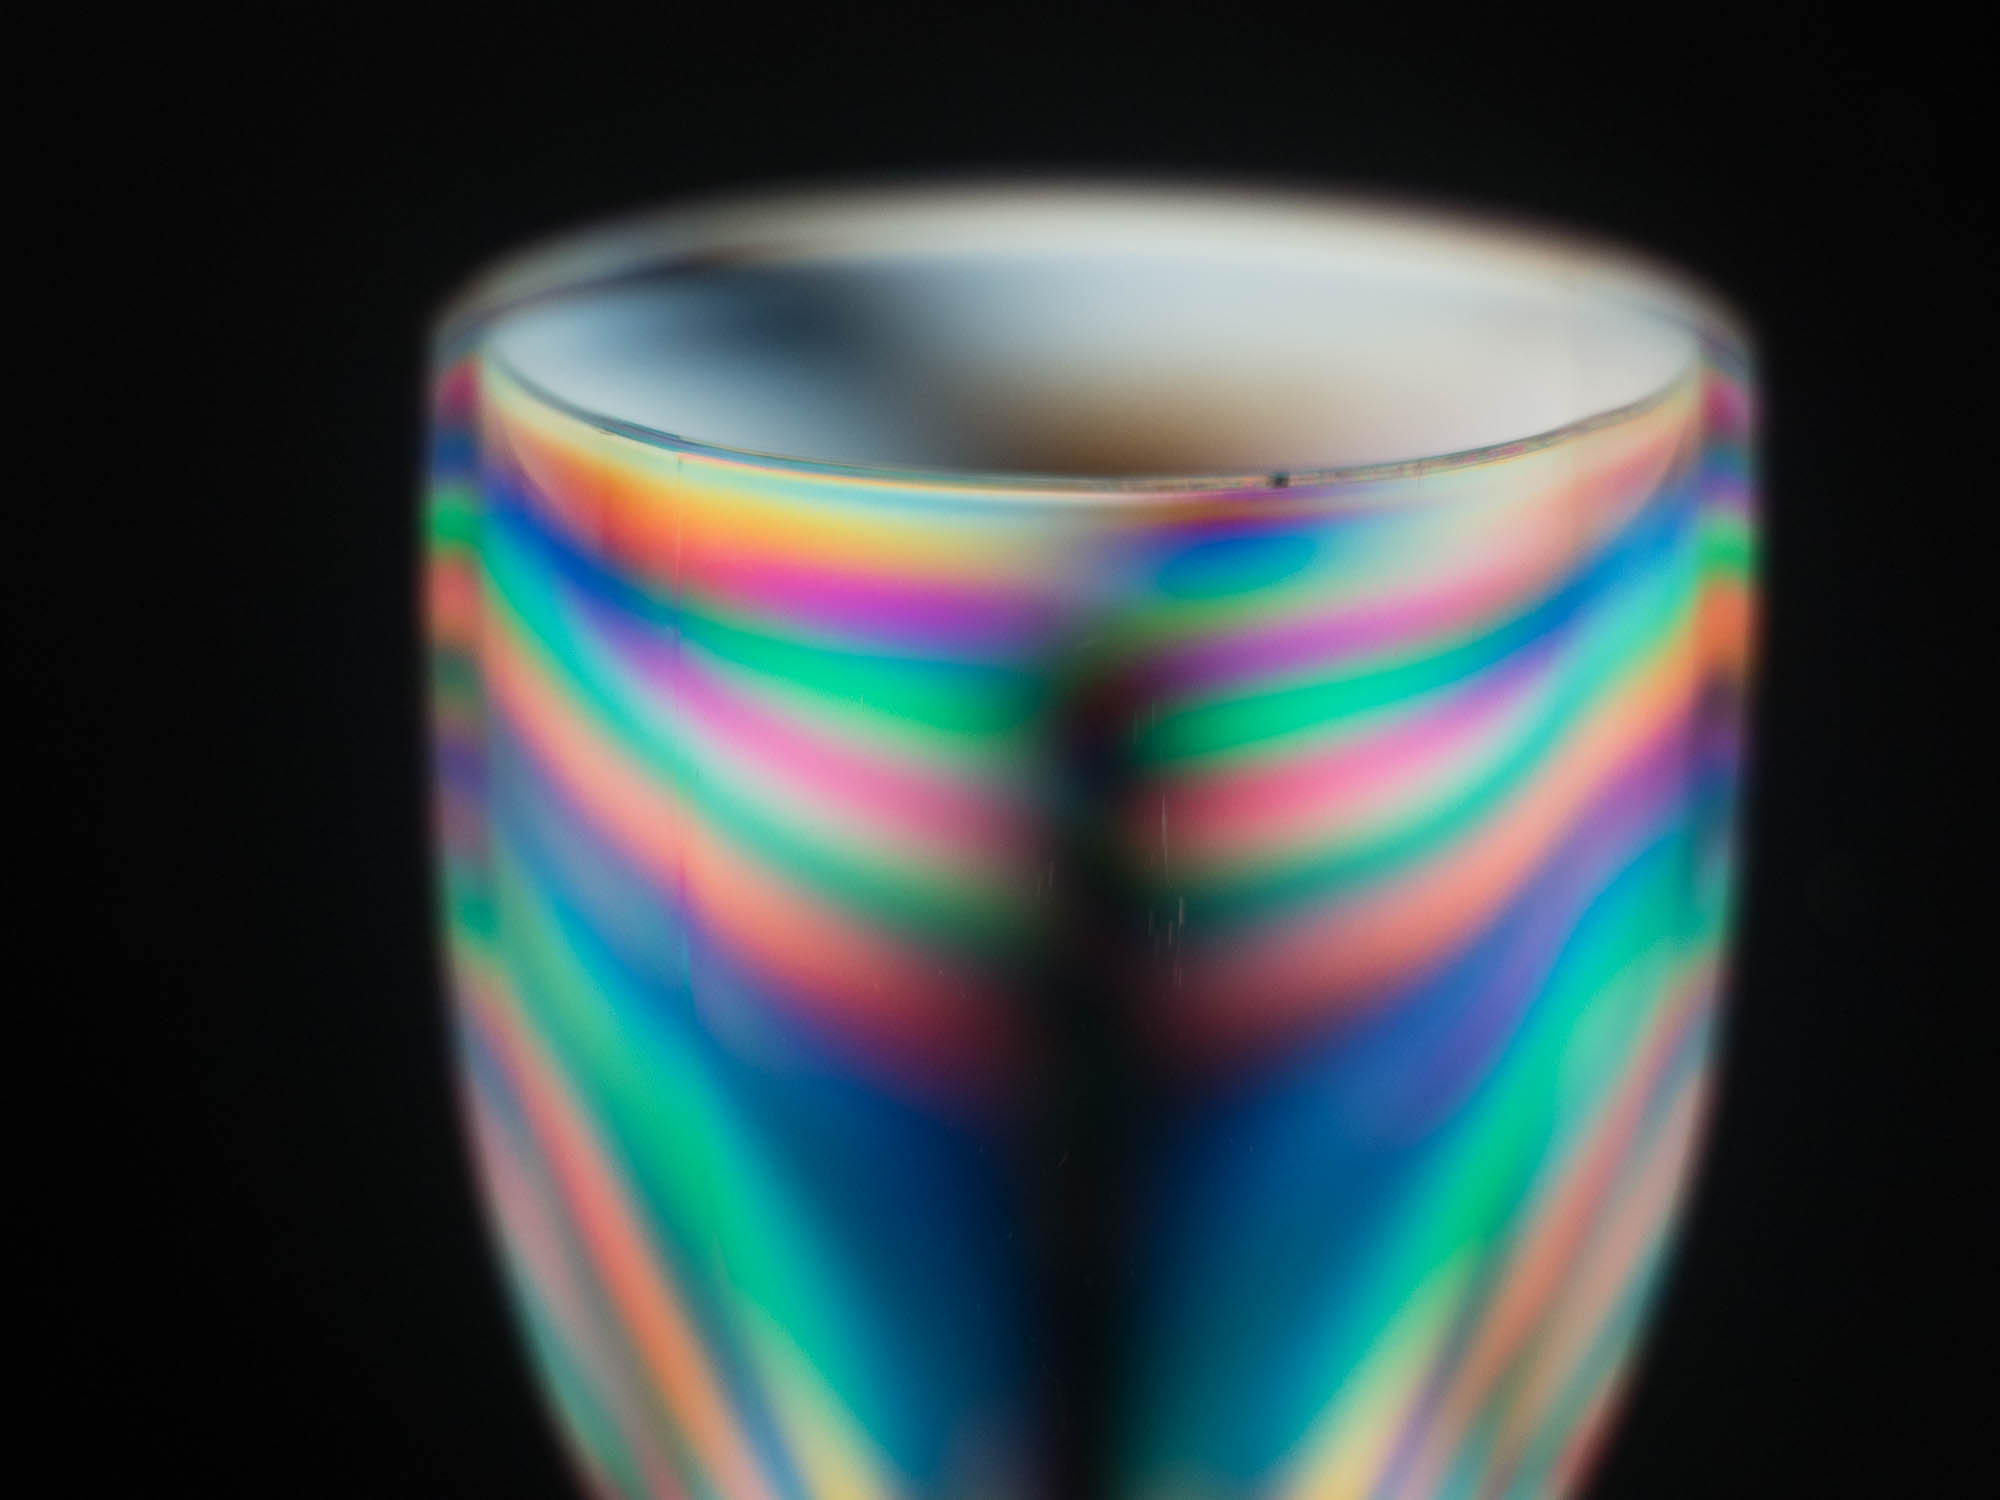
As you rotate the colours will become stronger and the background will go black.
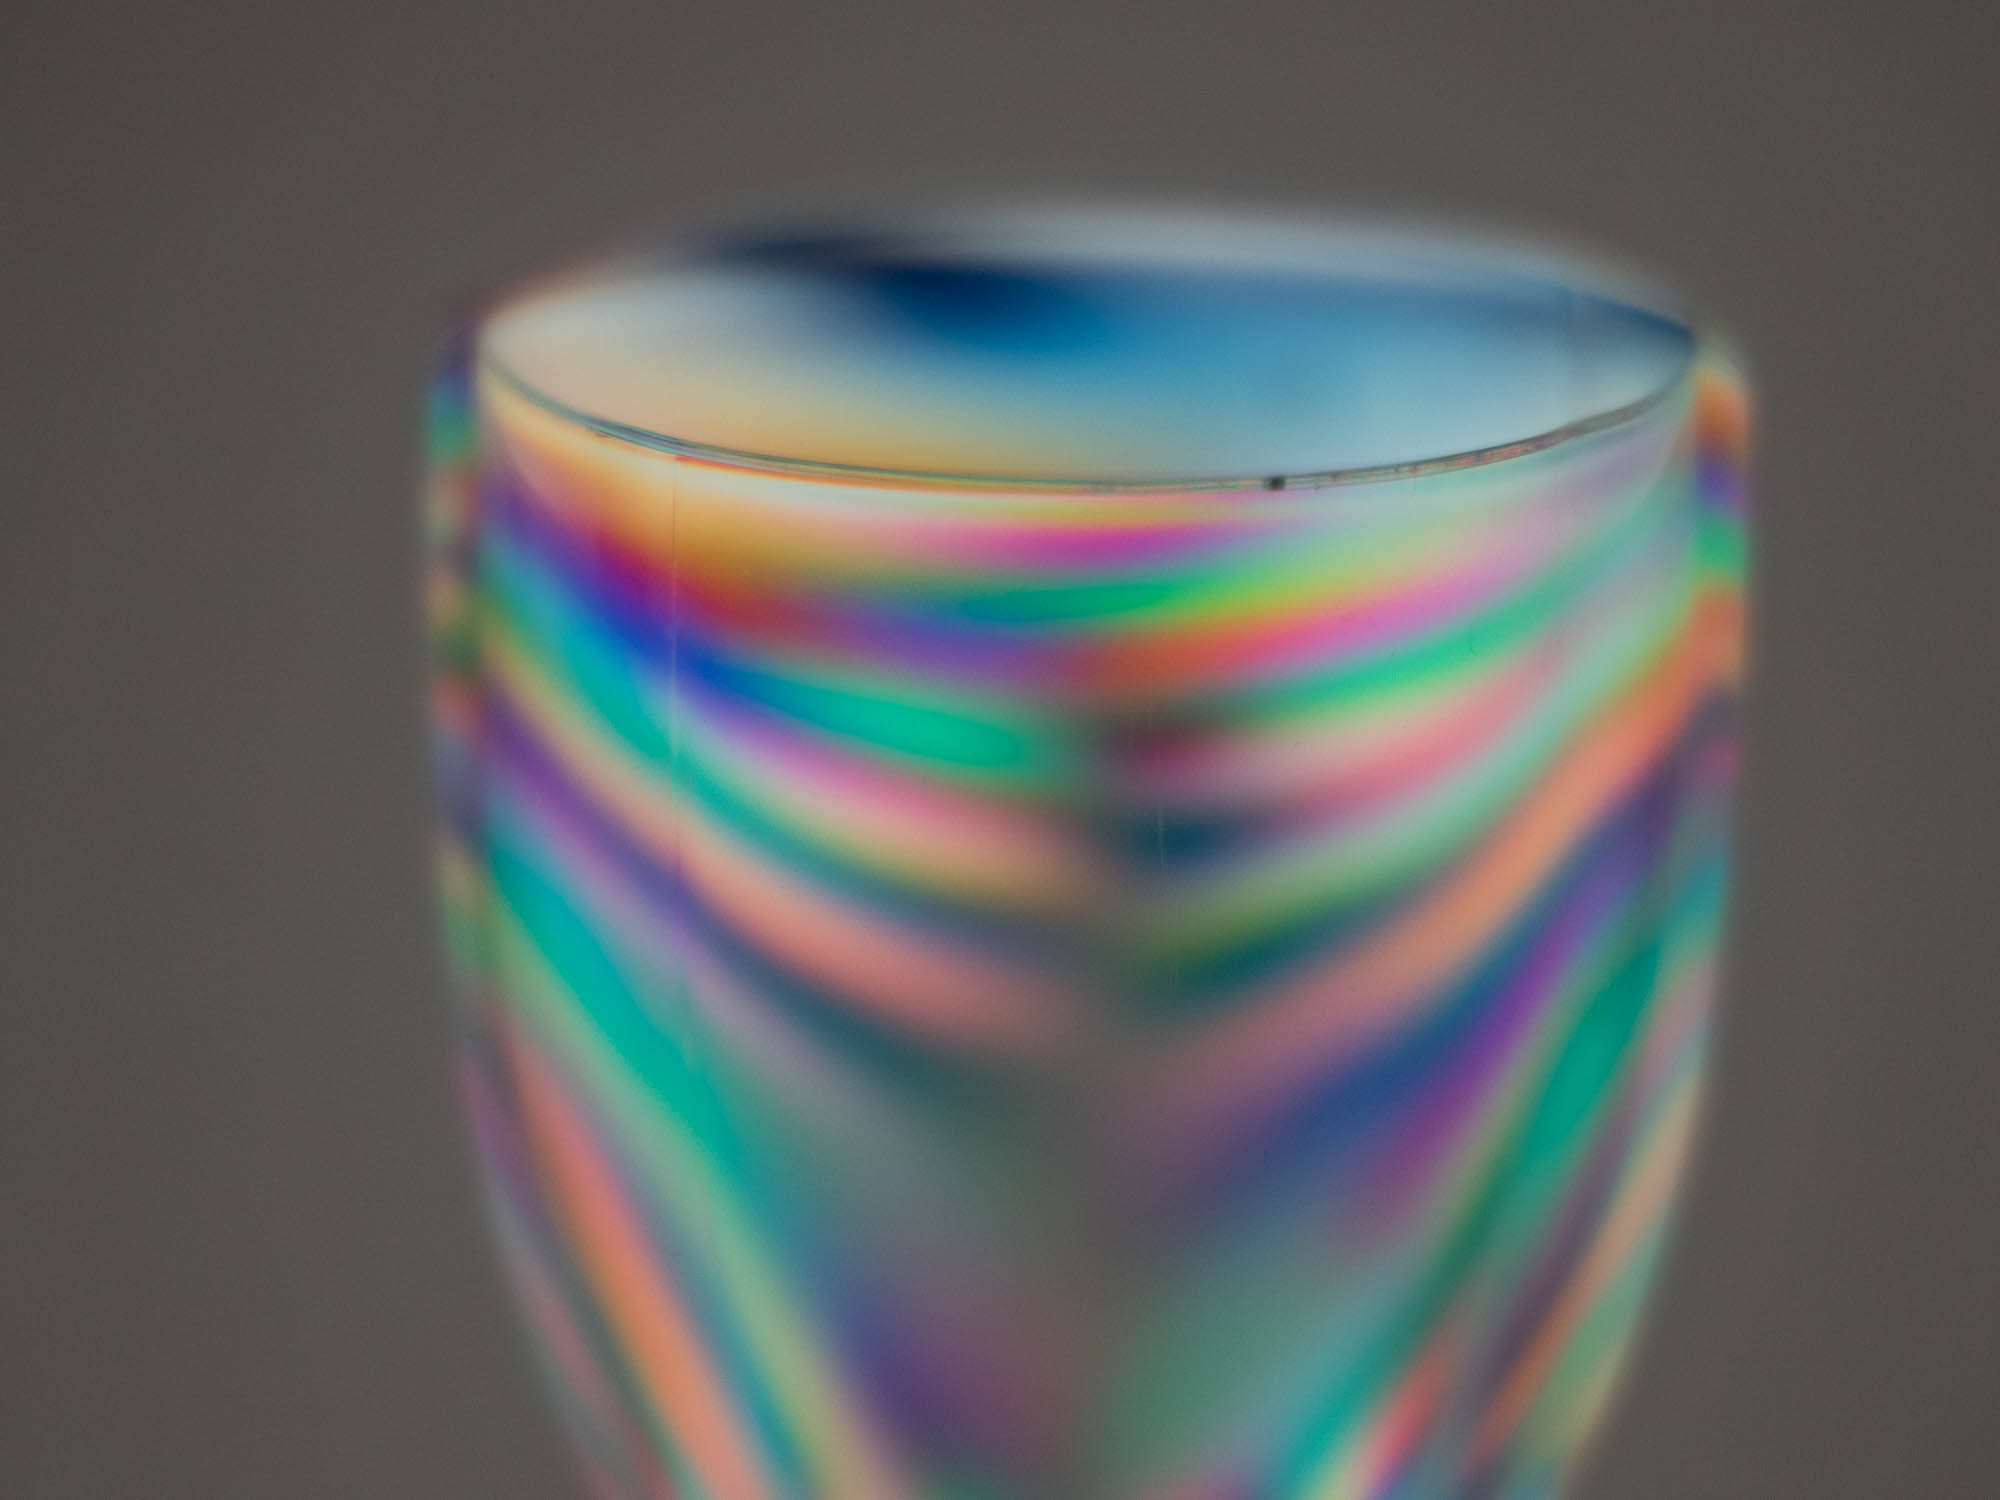
I repeated the technique using a plastic wine glass
* Any polarising filter can be used – linear or circular . We have a selection for sale here in both screw in and system filters. Polarising filters for sale. The system filters are more practical as you can use one filter with a variety of lenses with different filter threads. Just get the filter, a holder, and a range of adaptor rings for the holder to attach to different lenses.
There’s an interesting series of videos appeared that were produced by Lee Filters with conversation between the revered landscape photographers, Joe Cornish and David Noton. Epsiode 2 sees them discussing the changes digital photography has made in capturing the moment, and why they still use graduated filters. It’s not like the usual manufacturer produced media as there’s no mention of Lee filters, and well worth a view.
Here’s a list of current used graduated filters for sale on PhotographyAttic:
The Hoyarex filter system was really good: high quality filters.. Great variety of options in the range. Some glass filters. Solid holder. And a really useful rubber hood. But the Hoyarex System had a big flaw! And that has become evident over the years as more and more filters become scratched.
It’s not due to use either! These scratches occur when the filters are stored in their plastic case. The resin filter catches the edge of the case, which usually bends a bit in the middle. So after being jostled around in a camera bag the rubbing effect causes the resin to mark or scratch.
So here’s a tip to prevent further wear. Buy a packet of lens tissues and wrap one over the filter at the top end that sticks out of the case. Then the filter wont get rubbed. You can use toilet tissue, but a lens tissue is softer and has no fibres that will come off and cause dust problems.
The Hoyarex Skylight 1B filter – cat number 011 – is one of the most valuable filters in the Hoyarex range, yet is often overlooked, because its not a special effect filter.
But this underused filter will do two things to ensure your photography improves.
Firstly, and most importantly, the filter is a lens protector. The Hoyarex system is made so that when a filter is placed in the back slot it removes any possibility of dust reaching the lens. So if the holder is left on with a filter inserted the lens wont get dust falling on the surface or scratches. The skylight is the obvious choice as it has no special effect value. It’s also one of the few filters in the Hoyarex range that’s made from glass so optically very good.
But the filter has another use. A skylight filter has a very slight pink tint that has a warming effect when shooting in hazy days, so landscapes can be photographed with slightly more clarity.
An interesting and under used filters in the Cokin range is the Incolor 061. It’s part of the spot color range, and unlike many of the other colour spot filters this one is very practical and can be used in different ways for different effects. The spot filters with colour can sometime look quite poor if not used well, whereas this one can be adjusted to give a soft focus style effect or a lovely white vignette. This makes it perfect for wedding photography or portraits.
The filter is available in Cokin’s A and P series and has a small hole in the centre. When placed in front of the camera lens the hole either appears small or large, hard edged or soft edged, depending on the lens focal length and aperture used.
To get a large soft edge you should take photos using a longer focal length (around 50-80mm is fine with this filter) and use a wider aperture. If you want a more pronounced circle, use a wider lens and a smaller aperture.
The texture on the filter can be made to look white/grey or neutral depending on how parallel it is to the ccd/film…and if light is reflecting on the rear surface.
You could focus lock on the filter so the subject through the hole is blurred and the filter texture sharp. This makes interesting creative shots.
A longer lens and wider aperture was used here. Notice how soft the edge is and how neutral the filtered area is.
Here the filter was adjusted so the spot was on the face. You can do this if the filter is hand held in front of the camera. The filter was held further away and angled so light reflected on it.
Here’s the filter being used to it’s best. Good choice of aperture and focal length gives a lovely diffused vignette.
Another version with a slightly more defined effect. Using the filter like this is great for wedding photography and romantic portraits.
In the early days of the polarising filter there was just one type – the linear polarizer. The circular type arrived when the cameras with advanced metering (and later focusing) systems became popular. The Canon T90 and Olympus OM4 both had new advanced TTL metering that would be affected by the way a linear polarising filter worked. So a circular polarising filter had to be used instead.
Later, when autofocus came along, some systems got confused by the affect of the polariser. So, as a rule of thumb, use a linear on old manual and semi automatic cameras and circular on newer modern multi menu models.
If you do have a linear filter and a modern sophisticated digital SLR it will still work, but you may get inconsistent exposures. This is easily rectified by looking on the LCD preview and reshooting with necessary compensation applied.
A filter factor is highlighted on many filters as a multiple (or x). It’s simply the amount you need to increase the exposure by to compensate for light absorbed by the particular filter being used.
x2 is a one stop increase
x4 is two stops
x8 is three stops
x16 is four stops
If, for example, you have a x4 orange filter on the lens, the exposure has to be increased by four times – that is two full f/stops or shutter speed increments.
Lets say you have an exposure of f/5.6 (aperture) and 1/125sec (shutter speed) and add the x4 filter. You would either have to adjust the aperture two stops to f/2.8 or the shutter speed two stops to 1/30sec or both one stop so the exposure would be f/4 at 1/60sec.
Fortunately with modern through-the-lens (TTL) metering and automatic cameras the filter factor is taken care of, but you need to make the necessary adjustments when using manual cameras or manual exposure with flash.
To make things a little more complicated, some filters, such as the polariser, have variable exposure factors as you rotate the filter, and others have incremental factors such as 1.3x which makes it hard to adjust if you have an older camera with only full stop increments.