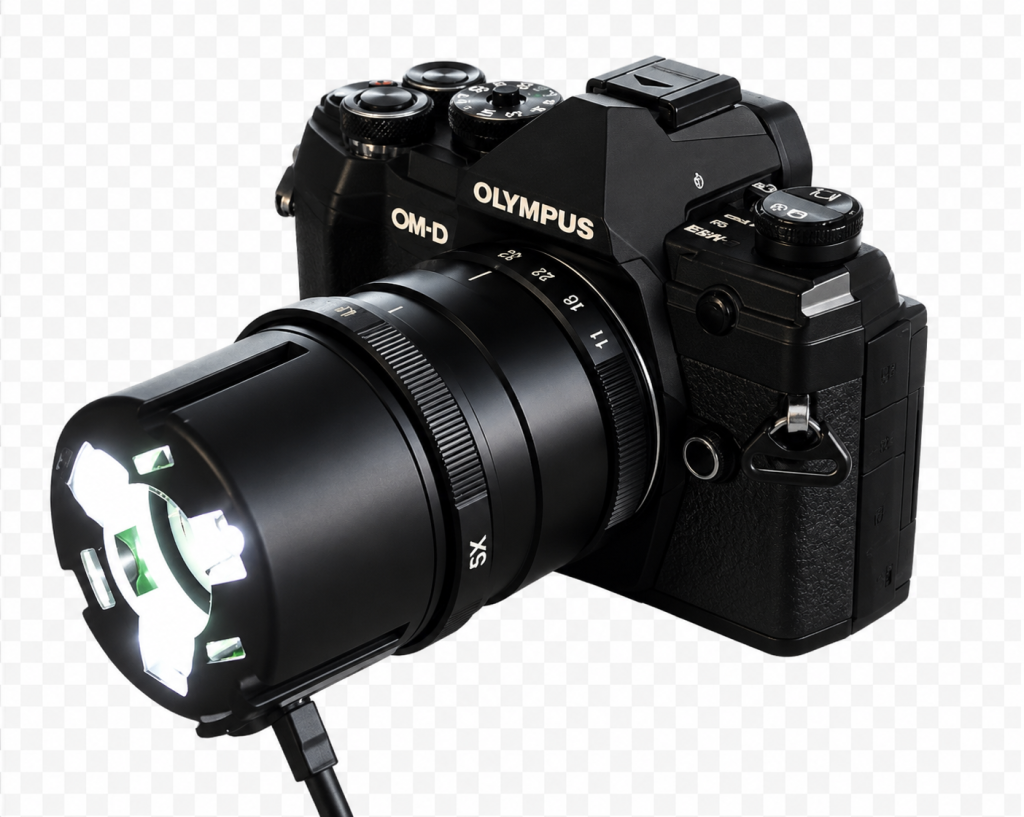
The Yasuhara Nanoha X5 is not a conventional macro lens. Most macro lenses provide a maximum reproduction ratio of 1:1 whereas the Nanoha operates at an extraordinary 4x to 5x magnification. At these levels, a subject measuring just 5mm across can completely fill the frame.
The lens allows photographers to capture intricate details in insects, flowers, minerals, electronic components, stamps, coins and countless other tiny subjects. It effectively bridges the gap between traditional macro photography and microscopy.
Key Specifications
● Magnification range: 4:1 to 5:1
● Aperture range: f/11 to f/32
● Optical construction: 10 elements in 7 groups
● Manual focus only
● Built-in LED illumination system
● Minimum working distance approximately 11–19mm
● Metal lens construction
● Weight approximately 310–360g depending on mount version
● Available for several mirrorless camera systems
Build Quality and Handling
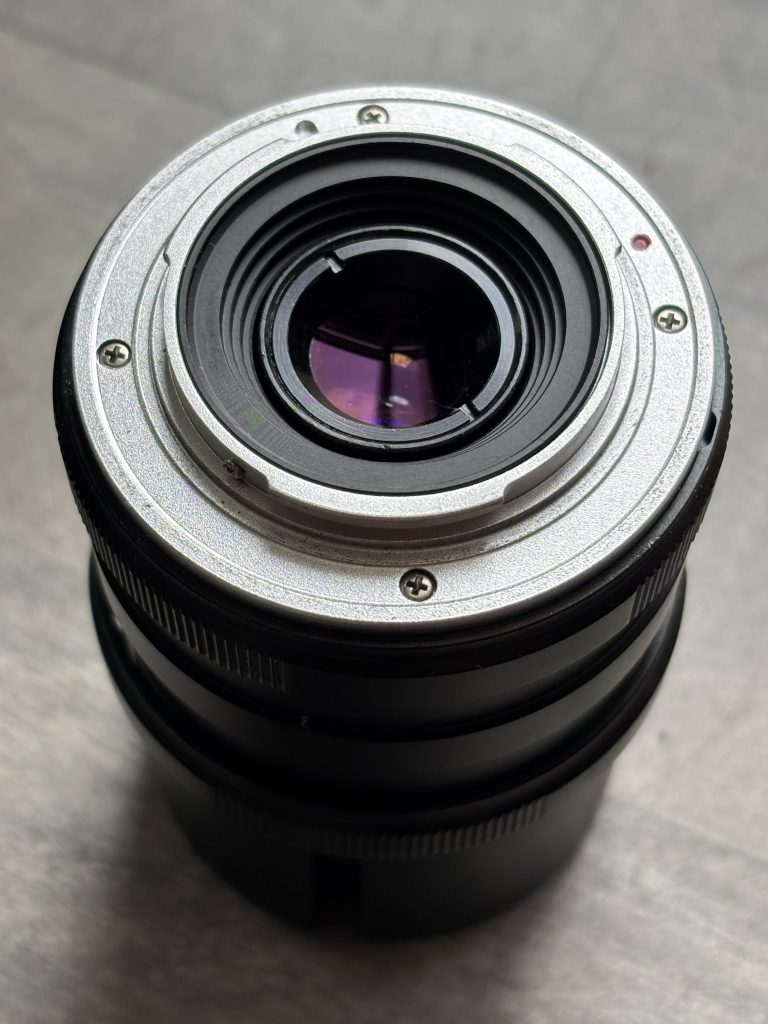
The first impression of the Nanoha X5 is its solid construction with a predominantly metal body and precise controls.
There are only two main controls:
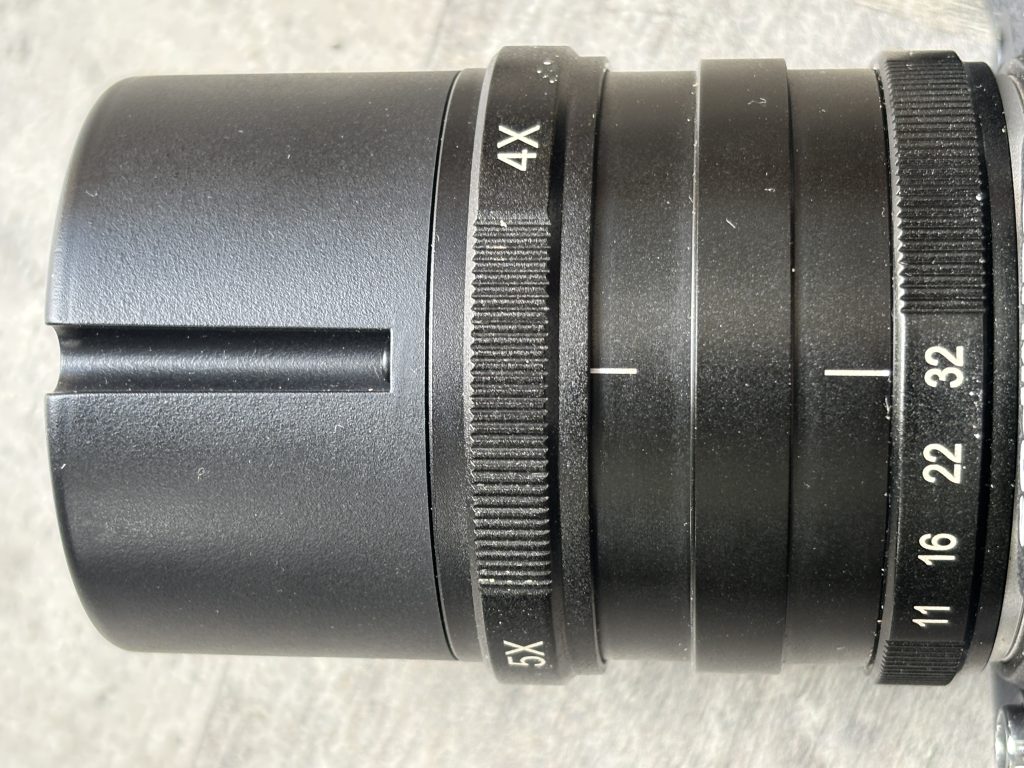
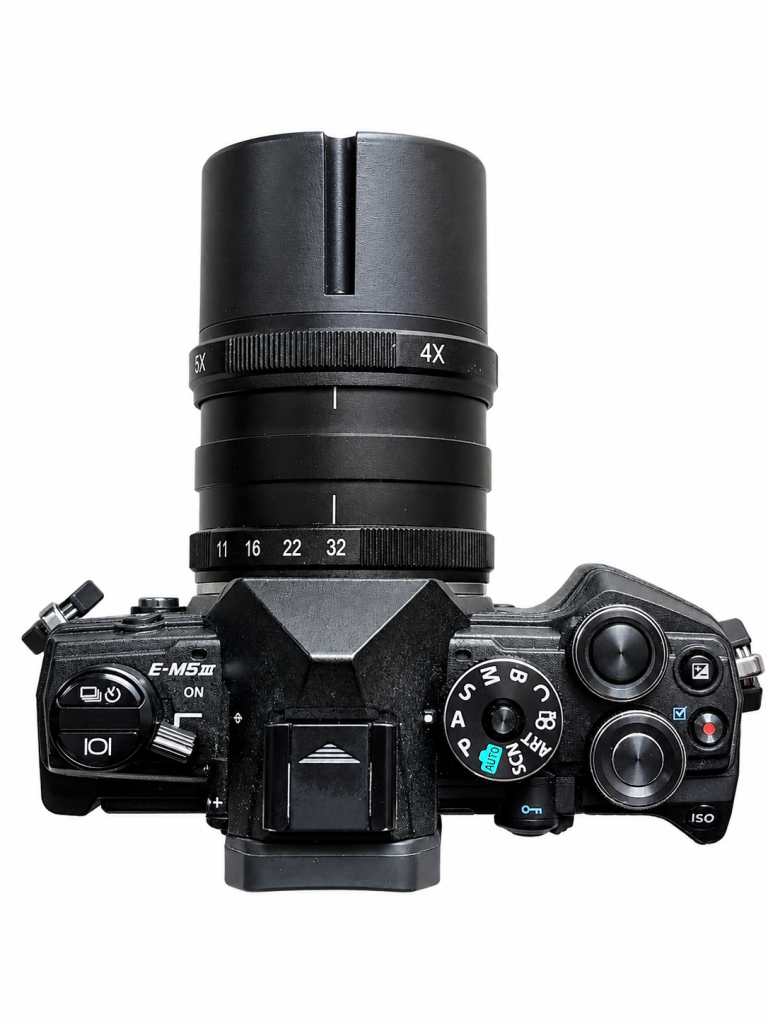
1. A magnification ring that changes reproduction ratio between 4x and 5x.
2. An aperture ring with settings from f/11 to f/32.
The lens is entirely manual. Autofocus would be virtually impossible at these magnifications, where depth of field is measured in fractions of a millimetre.
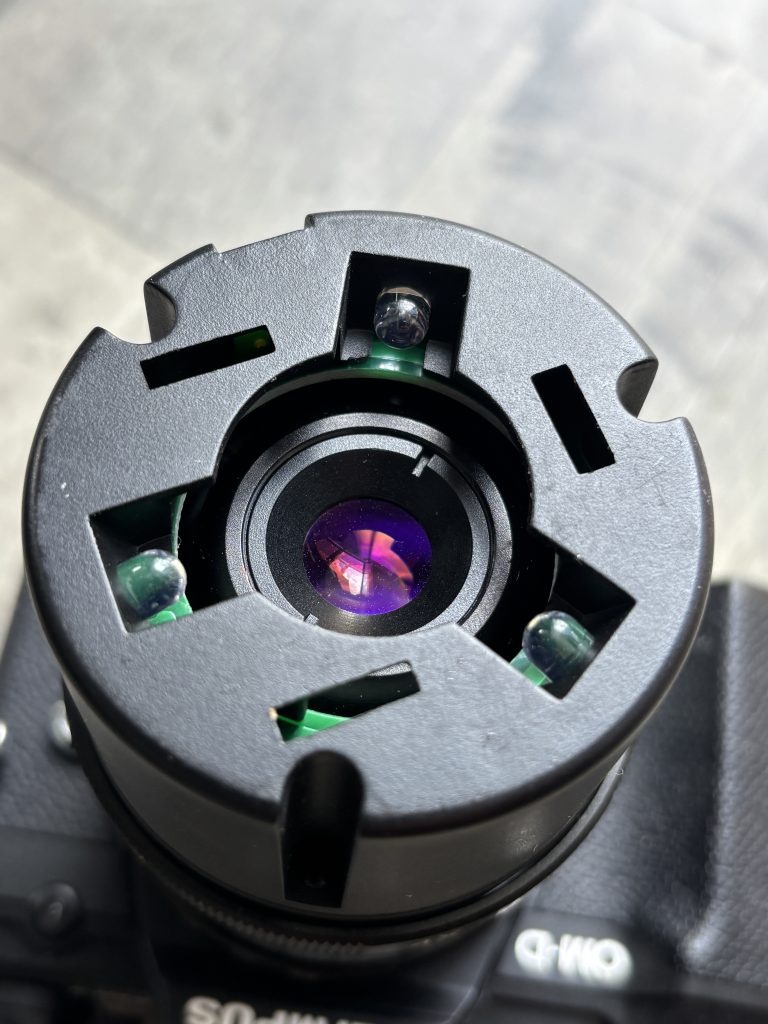
One of the lens’ most distinctive features is its LED lighting system. Three LEDs mounted around the front element provide illumination directly onto the subject powered via a USB cable. This is particularly useful because the lens must be positioned extremely close to the subject, often blocking ambient light.
Understanding 5x Magnification
To appreciate what 5x magnification means, consider a subject measuring 4mm across. At 5:1 reproduction, that tiny object is projected onto the camera sensor at approximately 20mm across.
This level of magnification reveals:
● Individual grains of pollen
● Insect eyes and mouthparts
● Fabric fibres
● Circuit board details
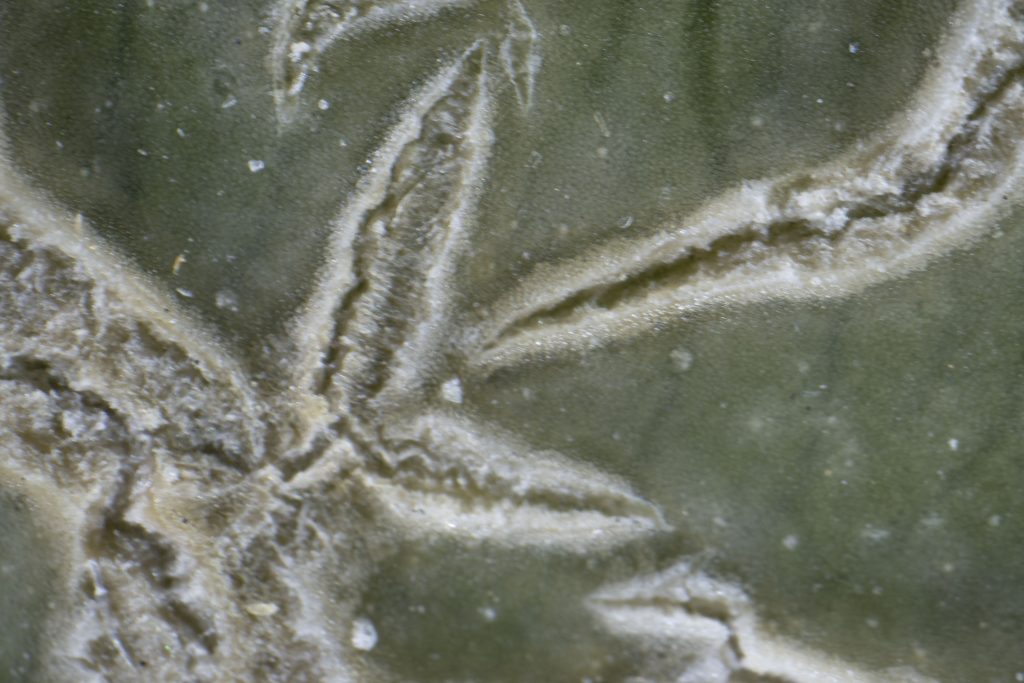
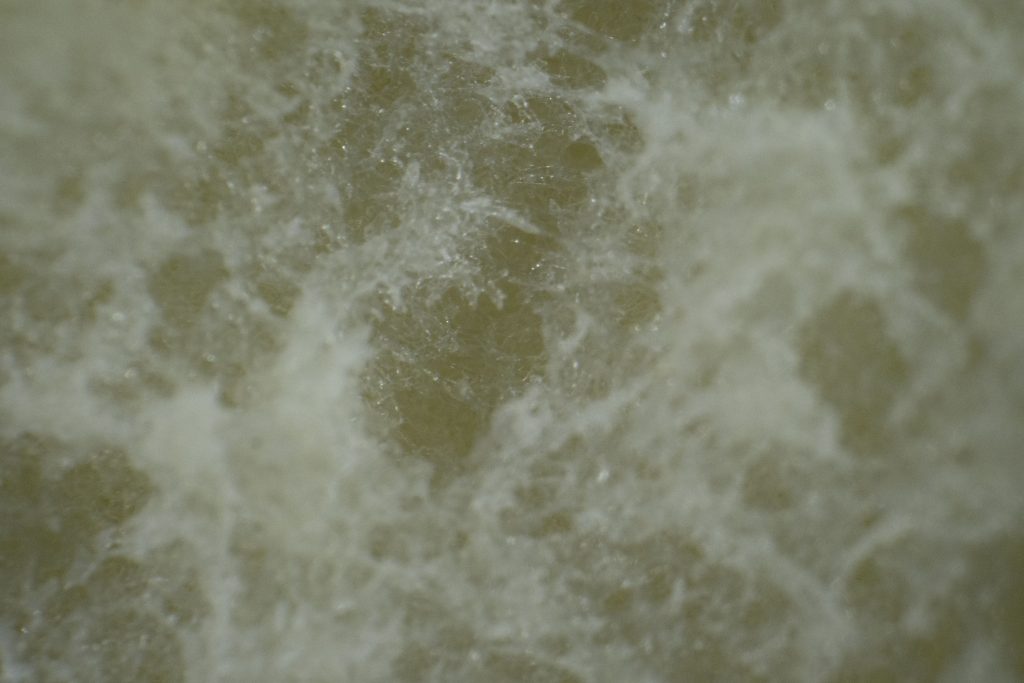
● Surface textures in minerals or, in the example below, the skin of a melon.
● Fine details in jewellery and watches
The effect is often more akin to scientific imaging than traditional photography.
Image Quality
Image quality is surprisingly good given the lens’ specialised purpose. Sharpness in the centre of the frame is excellent, and the lens is capable of resolving an impressive amount of detail to the edges of the frame.
The optics perform best when used carefully with a stable support system. Even the slightest movement can shift focus dramatically. Because the depth of field is so shallow, many photographers employ focus stacking techniques to create images with greater apparent sharpness from front to back.
At smaller apertures such as f/22 and f/32 diffraction begins to reduce overall crispness, but these settings are often necessary simply to gain enough depth of field for practical photography.
The Challenge of Working Distance
The Nanoha’s greatest strength is also its greatest limitation.
To achieve 4x–5x magnification, the front of the lens must be positioned extremely close to the subject. In practice, the working distance can be just a few millimetres from the front of the lens assembly.
This creates several challenges:
● Living insects may flee before the camera is close enough.
● Lighting can become difficult if you don’t use the built in LEDs.
● Wind movement becomes highly problematic outdoors.
● Camera vibration is greatly magnified.
For these reasons the lens is often best suited to static subjects photographed indoors using the built in LED lighting.
Best Subjects for the Nanoha X5
Coins and Stamps
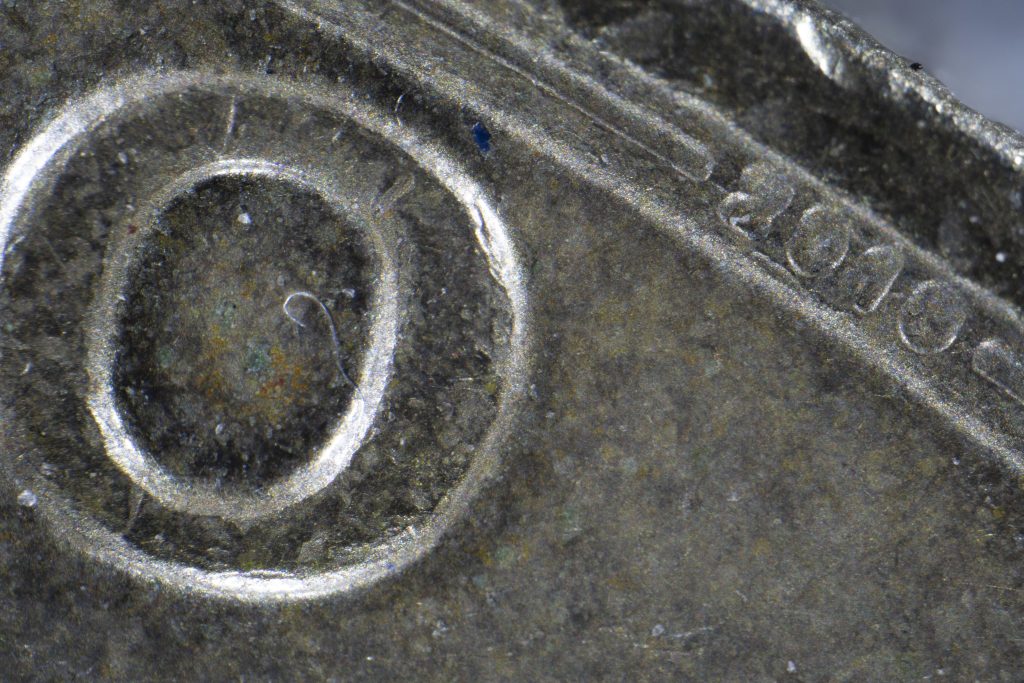
The lens reveals engraving detail, printing methods and wear patterns that are impossible to appreciate with the naked eye. The above photo is the full frame showing the O of One on a One Pound coin…notice the year of creation can be seen which is very hard to see with the naked eye.
Flowers and Plants
Pollen grains, stamens and petal textures become dramatic abstract landscapes.
Minerals and Crystals
Crystal formations and surface structures are rendered with exceptional detail. Below is the texture of the pith of an orange
Electronic Components
Ideal for documenting circuit boards, solder joints and micro-components.
Scientific and Educational Work
The Nanoha can serve as an affordable alternative to dedicated microscope camera systems for many applications.
Tips for Successful Results
Use a Tripod
Handholding is generally impractical. A sturdy tripod combined with a focusing rail greatly improves accuracy.
Use Live View Magnification
Magnified live view helps identify the precise focus point.
Shoot in Still Air
Even tiny movements can ruin an image.
Experiment with Focus Stacking
Multiple images focused at different distances can be combined to overcome the extremely shallow depth of field.
Use Additional Lighting
The built-in LEDs are useful, but external LED panels or flash systems can provide more control.
Comparison with the Canon MP-E 65mm
The Nanoha X5 is often compared with the legendary Canon MP-E 65mm f/2.8.
Advantages of the Nanoha:
● Smaller and lighter
● Built-in LED illumination
● Lower cost
● Designed for mirrorless systems
Advantages of the Canon:
● Wider magnification range (1x–5x)
● Much longer working distance
● Greater flexibility in the field
The Nanoha is the more specialised tool, while the Canon remains the more versatile option.
Verdict
The Yasuhara Nanoha X5 is one of the most unusual photographic lenses ever produced. It transforms a mirrorless camera into a powerful close-up imaging system capable of revealing a hidden microscopic world.
Its extremely short working distance and razor-thin depth of field mean it is not a lens for casual users. However, photographers with patience and an interest in extreme macro work will discover creative opportunities unavailable with ordinary macro lenses.
For collectors, natural history enthusiasts, product photographers and anyone fascinated by miniature detail, the Nanoha X5 remains a unique and highly capable specialist lens. It may not be a lens you use every day, but when nothing less than 5x magnification will do, few alternatives can match its combination of image quality, portability and affordability.
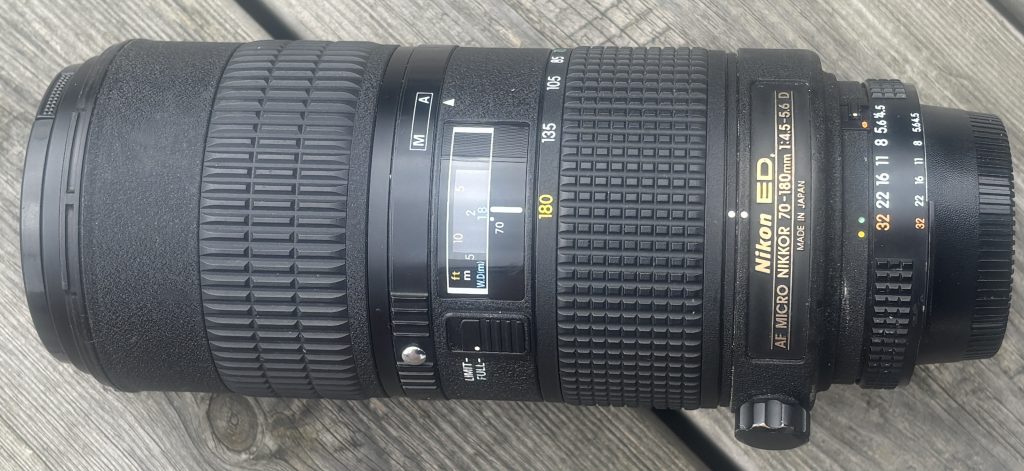
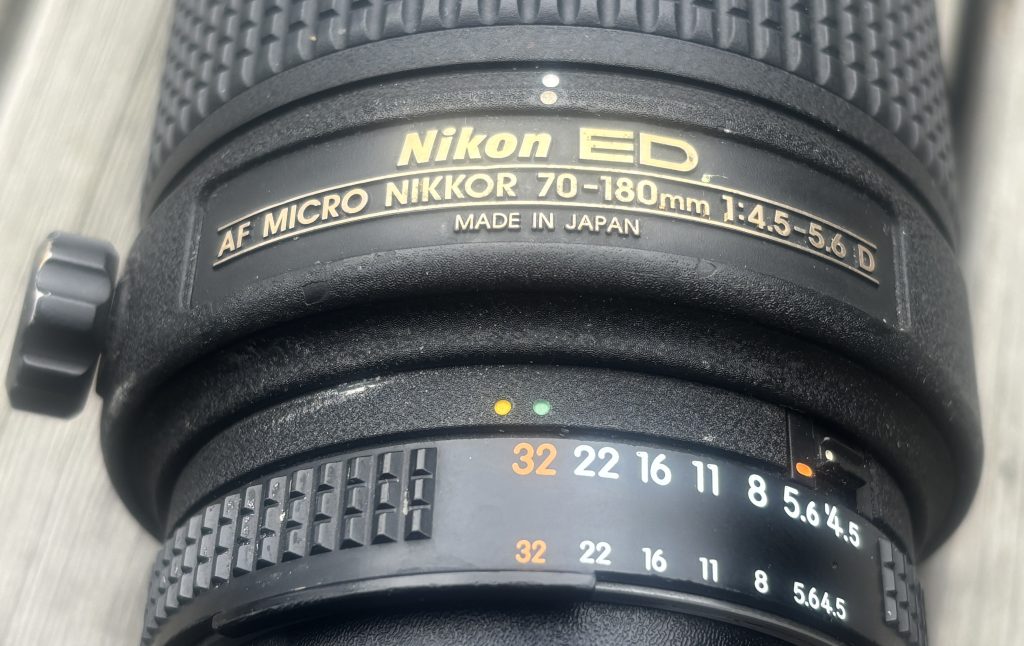
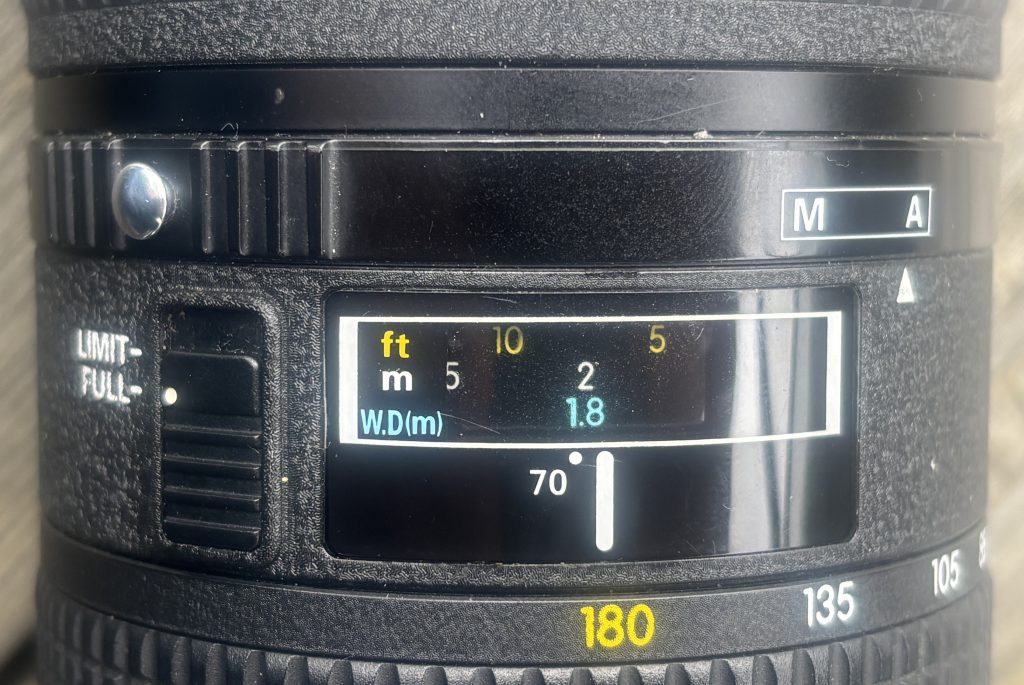
The Nikon 70–180mm Micro is one of the most unusual lenses Nikon ever produced. Released in the late 1990s, it remains the only zoom lens Nikon designed specifically for macro work. Its combination of flexible framing, close-focus capability, and classic F-mount ergonomics makes it a cult favourite among macro specialists and collectors.
Below is a practical, and technical guide to help you decide whether this lens is right for you — and what to look for when buying one today.
1. What Makes This Lens Unique
Unlike conventional telephoto zooms, the 70–180mm Micro was engineered to maintain high optical performance at close-focus distances.
The standout features are:
True macro-centric optical design
Most zooms “can focus close,” but this lens was built to deliver macro-level magnification and edge-to-edge correction. It reaches approximately 1:1.3 reproduction, which is unusually high for any zoom.
Zoom flexibility at macro distances
At close range, small adjustments in camera position drastically change your composition. Being able to zoom instead of physically moving makes macro shooting faster, steadier, and more precise.
Very stable working distance
The lens doesn’t require you to get extremely close to your subject to get strong magnification, which is useful for shy insects, controlled studio setups, or maintaining clean lighting.
2. Optical Performance
Macro / close-up behaviour
This is where the lens shines. Sharpness in the center is excellent when stopped down slightly, contrast holds well, and chromatic aberrations are well-controlled for a zoom of this age. Performance is strongest in the mid-range (around 100–150mm).
Long-distance behaviour
At normal shooting distances, sharpness is more modest. Corners soften noticeably at the 180mm end unless stopped down. If your primary use is wildlife or sports, this isn’t the ideal lens — its optical strengths are clearly tailored to close-range imaging.
Bokeh and rendering
The lens produces smooth, clean foreground/background blur due to its long focal length and relatively simple optical formula. The aperture is not especially wide, so background separation relies more on focal length and distance than on shallow depth-of-field.
3. Autofocus & Handling
Autofocus
Being an older AF-D lens, it relies on the camera’s screw-drive motor.
Expect:
Audible, mechanical AF noise
Slower autofocus compared to modern AF-S or Z lenses
Decreased AF reliability at macro distances (normal for most macro lenses)
Many users treat it as a manual-focus-first lens, especially for macro photography where precision beats speed.
Build quality & ergonomics
Sturdy construction with classic late-film-era Nikon materials
Large, well-damped zoom ring
A dedicated tripod collar for stable macro work
No weather sealing
No internal focusing — the lens grows longer as it focuses
Despite being a zoom macro, it balances well on mid-sized DSLR bodies and adapts smoothly to Z-mount via FTZ.
4. Compatibility
On Nikon DSLRs (F-mount)
Full autofocus available only if the camera has a built-in screw-drive motor.
(D7500 downwards users will not get AF.)
Metering and exposure modes work on all modern DSLRs.
On Nikon Z mirrorless
Requires FTZ or FTZ II adapter
Autofocus operates using the mechanical coupling but is noticeably slower
IBIS (in-body stabilization) helps compensate for the lack of VR in the lens
If you’re a Z-mount macro shooter comfortable with manual focus, this lens adapts surprisingly well.
5. Ideal Use Cases
This lens suits photographers who need macro versatility, including:
Botanical photography
Product & tabletop work
Jewelry, collectibles, and small objects
Controlled studio macro
Insect or reptile photography where extra working distance is helpful
Film-era collectors who appreciate rare Nikon optics
It is not ideal for:
Fast action
Portrait work requiring fast AF
Low-light handheld telephoto shooting
Travel situations where weather sealing is needed
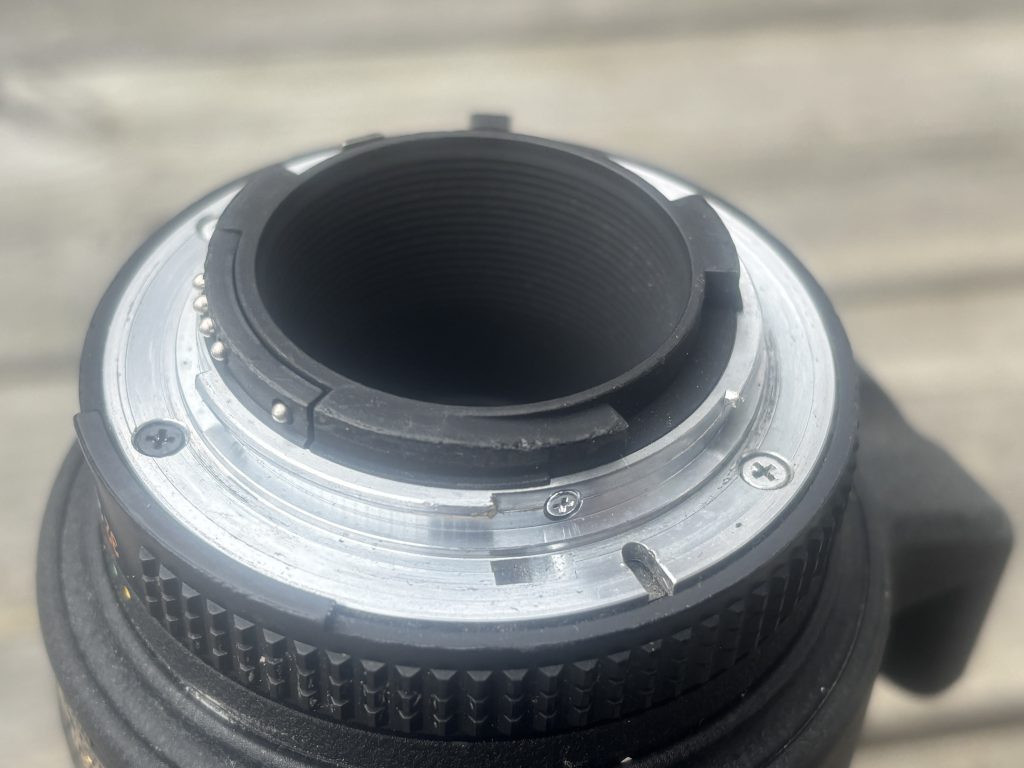
6. What to check on a used /second-hand version
Because all examples are now decades old, condition matters more than usual.
Check these critically:
1. Optical condition
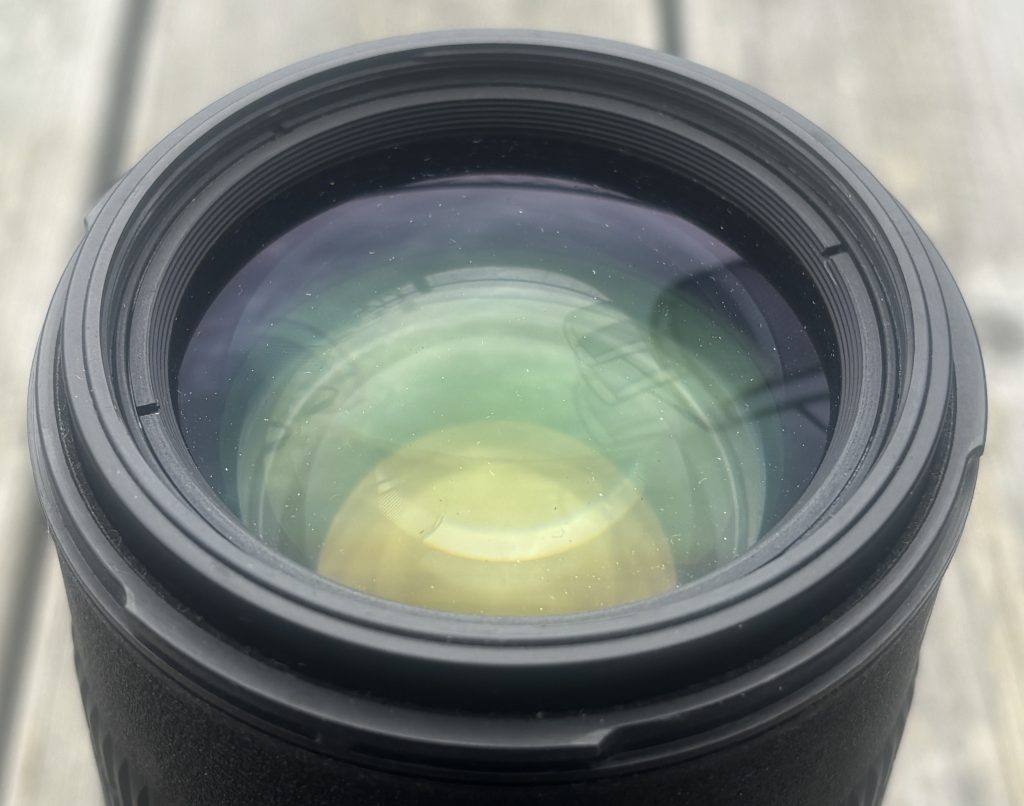
Look for internal haze, fungus, or separation
Inspect for dust clusters (small dust is normal; large clumps affect contrast)
Shine a light through the lens to check for fogging or residue
2. Aperture mechanism
Aperture blades should be dry, snappy, and evenly responsive
Any visible oil is a red flag
3. Focus & zoom rings
Both should turn smoothly with no grinding
Excess stiffness or looseness indicates mechanical wear
Check for zoom creep when pointing downwards
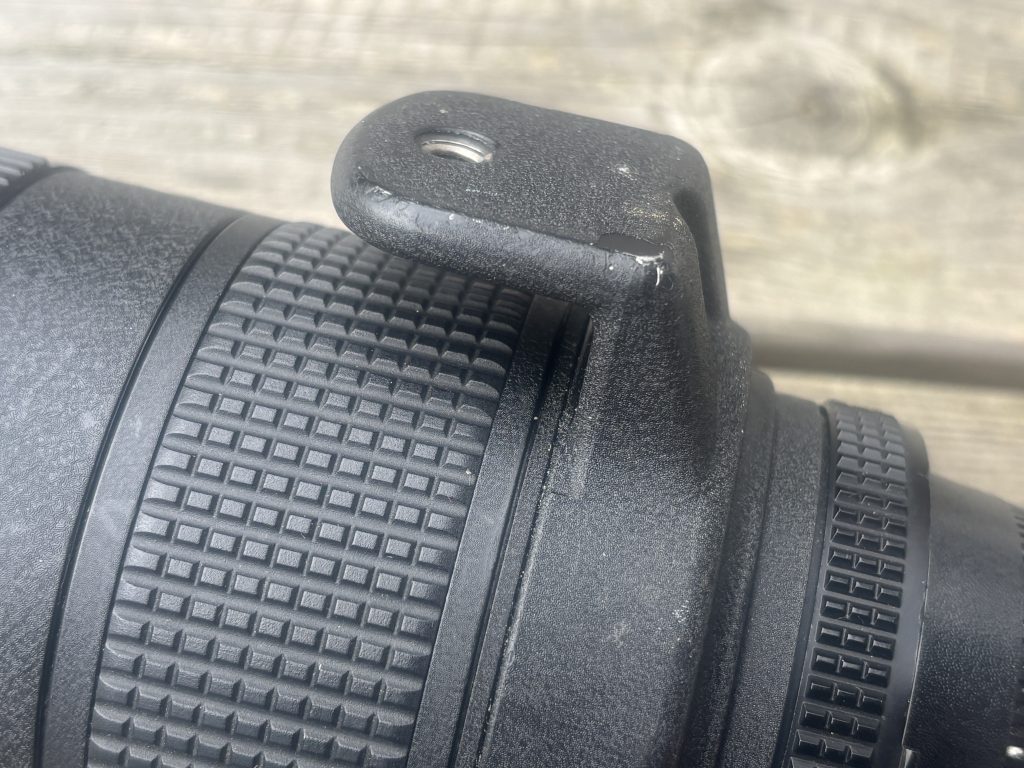
4. Tripod collar
Should rotate smoothly and lock firmly
Missing collars reduce the lens’ usability and resale value
5. Autofocus coupling
Test AF on a camera body with screw-drive capability
Listen for grinding or misalignment
6. Exterior condition
Look for dents near the filter thread or evidence of drops
Confirm the front and rear caps are included
Check if the lens hood fits securely
7. Price Expectations (Typical Used Market)
(General ranges—not pulled from any specific listing)
Excellent condition: high end of used pricing
Good condition: mid-range pricing
Collector-grade: sometimes significantly above normal market value
Poor / fungus / stiff rings: strongly discounted and generally not worth buying unless you plan to repair
This is a sought-after lens, so prices vary more widely than typical 20-year-old zooms.
8. Should You Buy It?
If you want a macro lens that gives you the flexibility of a zoom, this is essentially the only Nikon-made option — and still an extremely capable one. Its image quality at close distances rivals many primes, and the ability to fine-tune framing without moving the camera is a powerful advantage.
If you need fast AF, VR, modern coatings, or uncompromising telephoto sharpness, you should look elsewhere. But for macro shooters, product photographers, or Nikon collectors, the 70–180mm Micro remains a uniquely valuable tool.
A reversing ring reverses an interchangeable lens on the camera body. One side has a camera body mount, the other side has a diameter the same size as the lens’ filter thread you intend to reverse. A “Nikon AI to 55mm reversing ring” for example would allow a Nikon lens with a 55mm thread to be reversed on a Nikon body with an AI mount.
Reversing a lens makes it perform like a macro lens at a fraction of the cost.
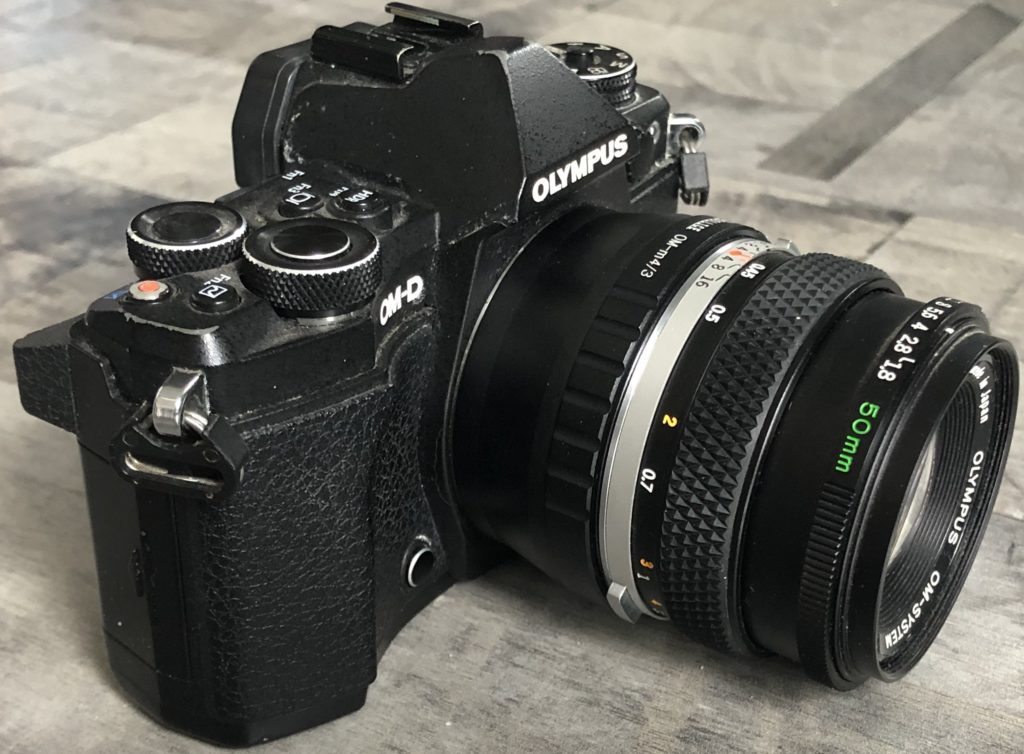
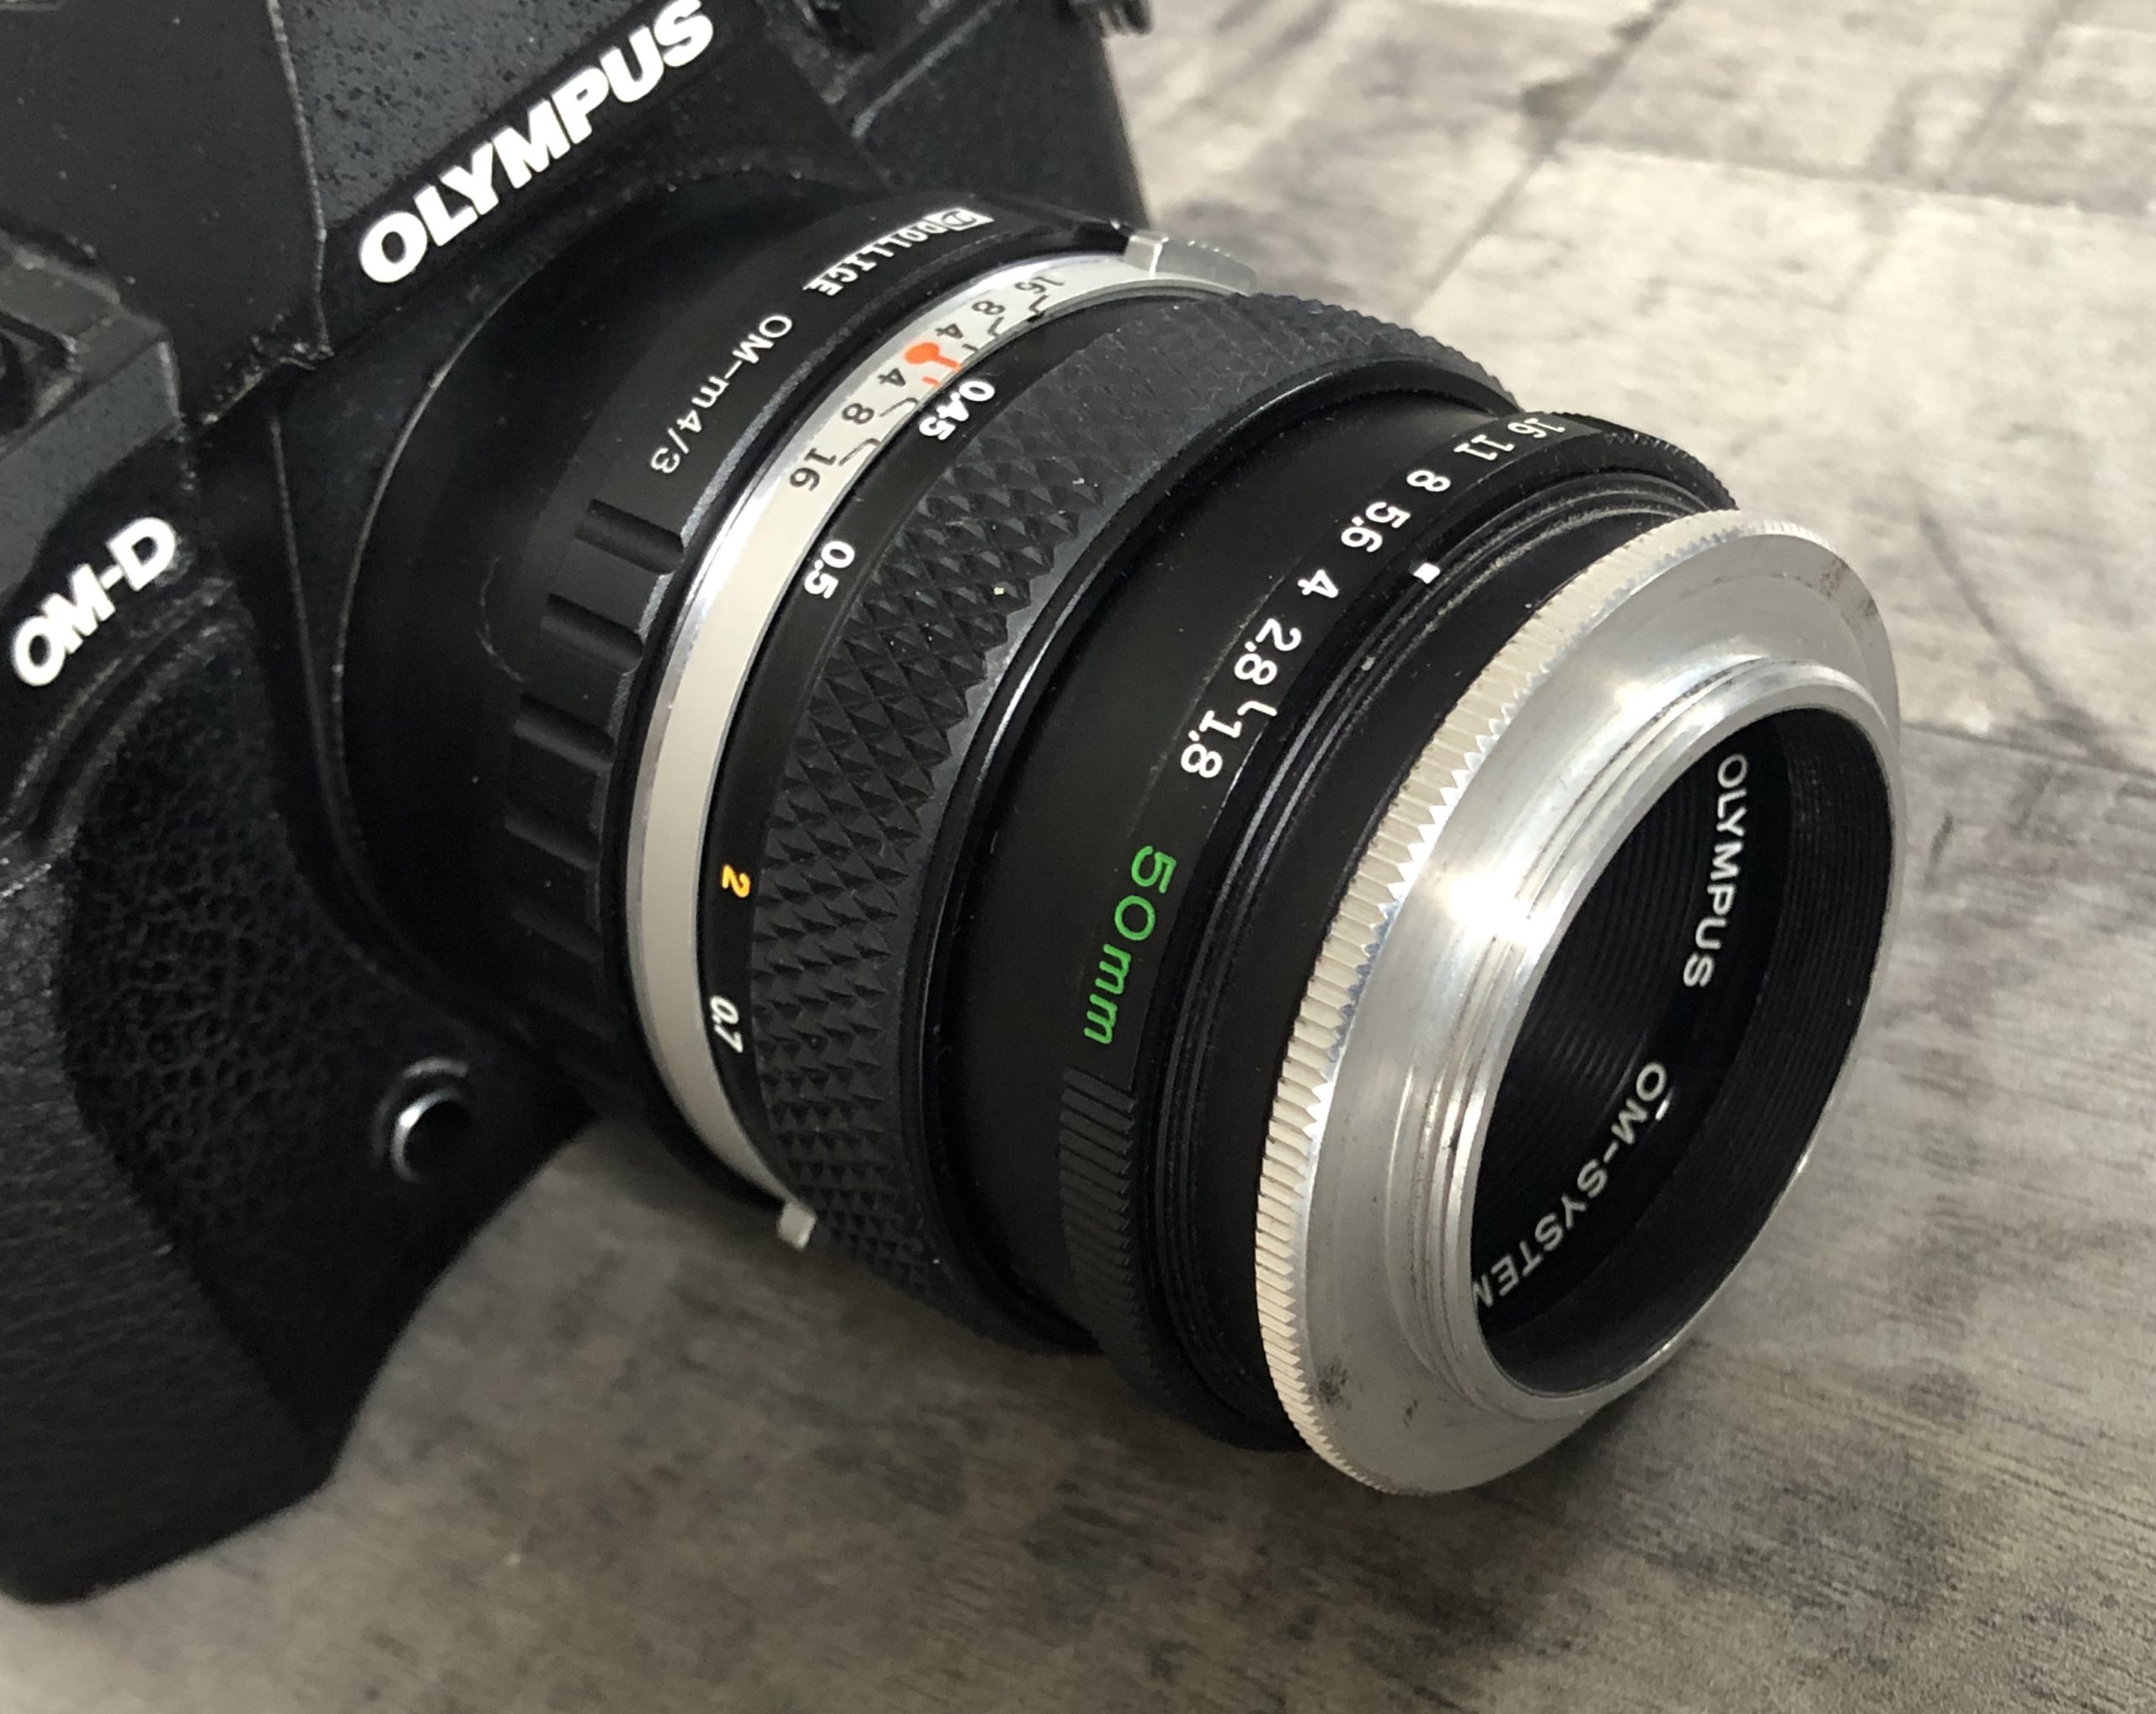
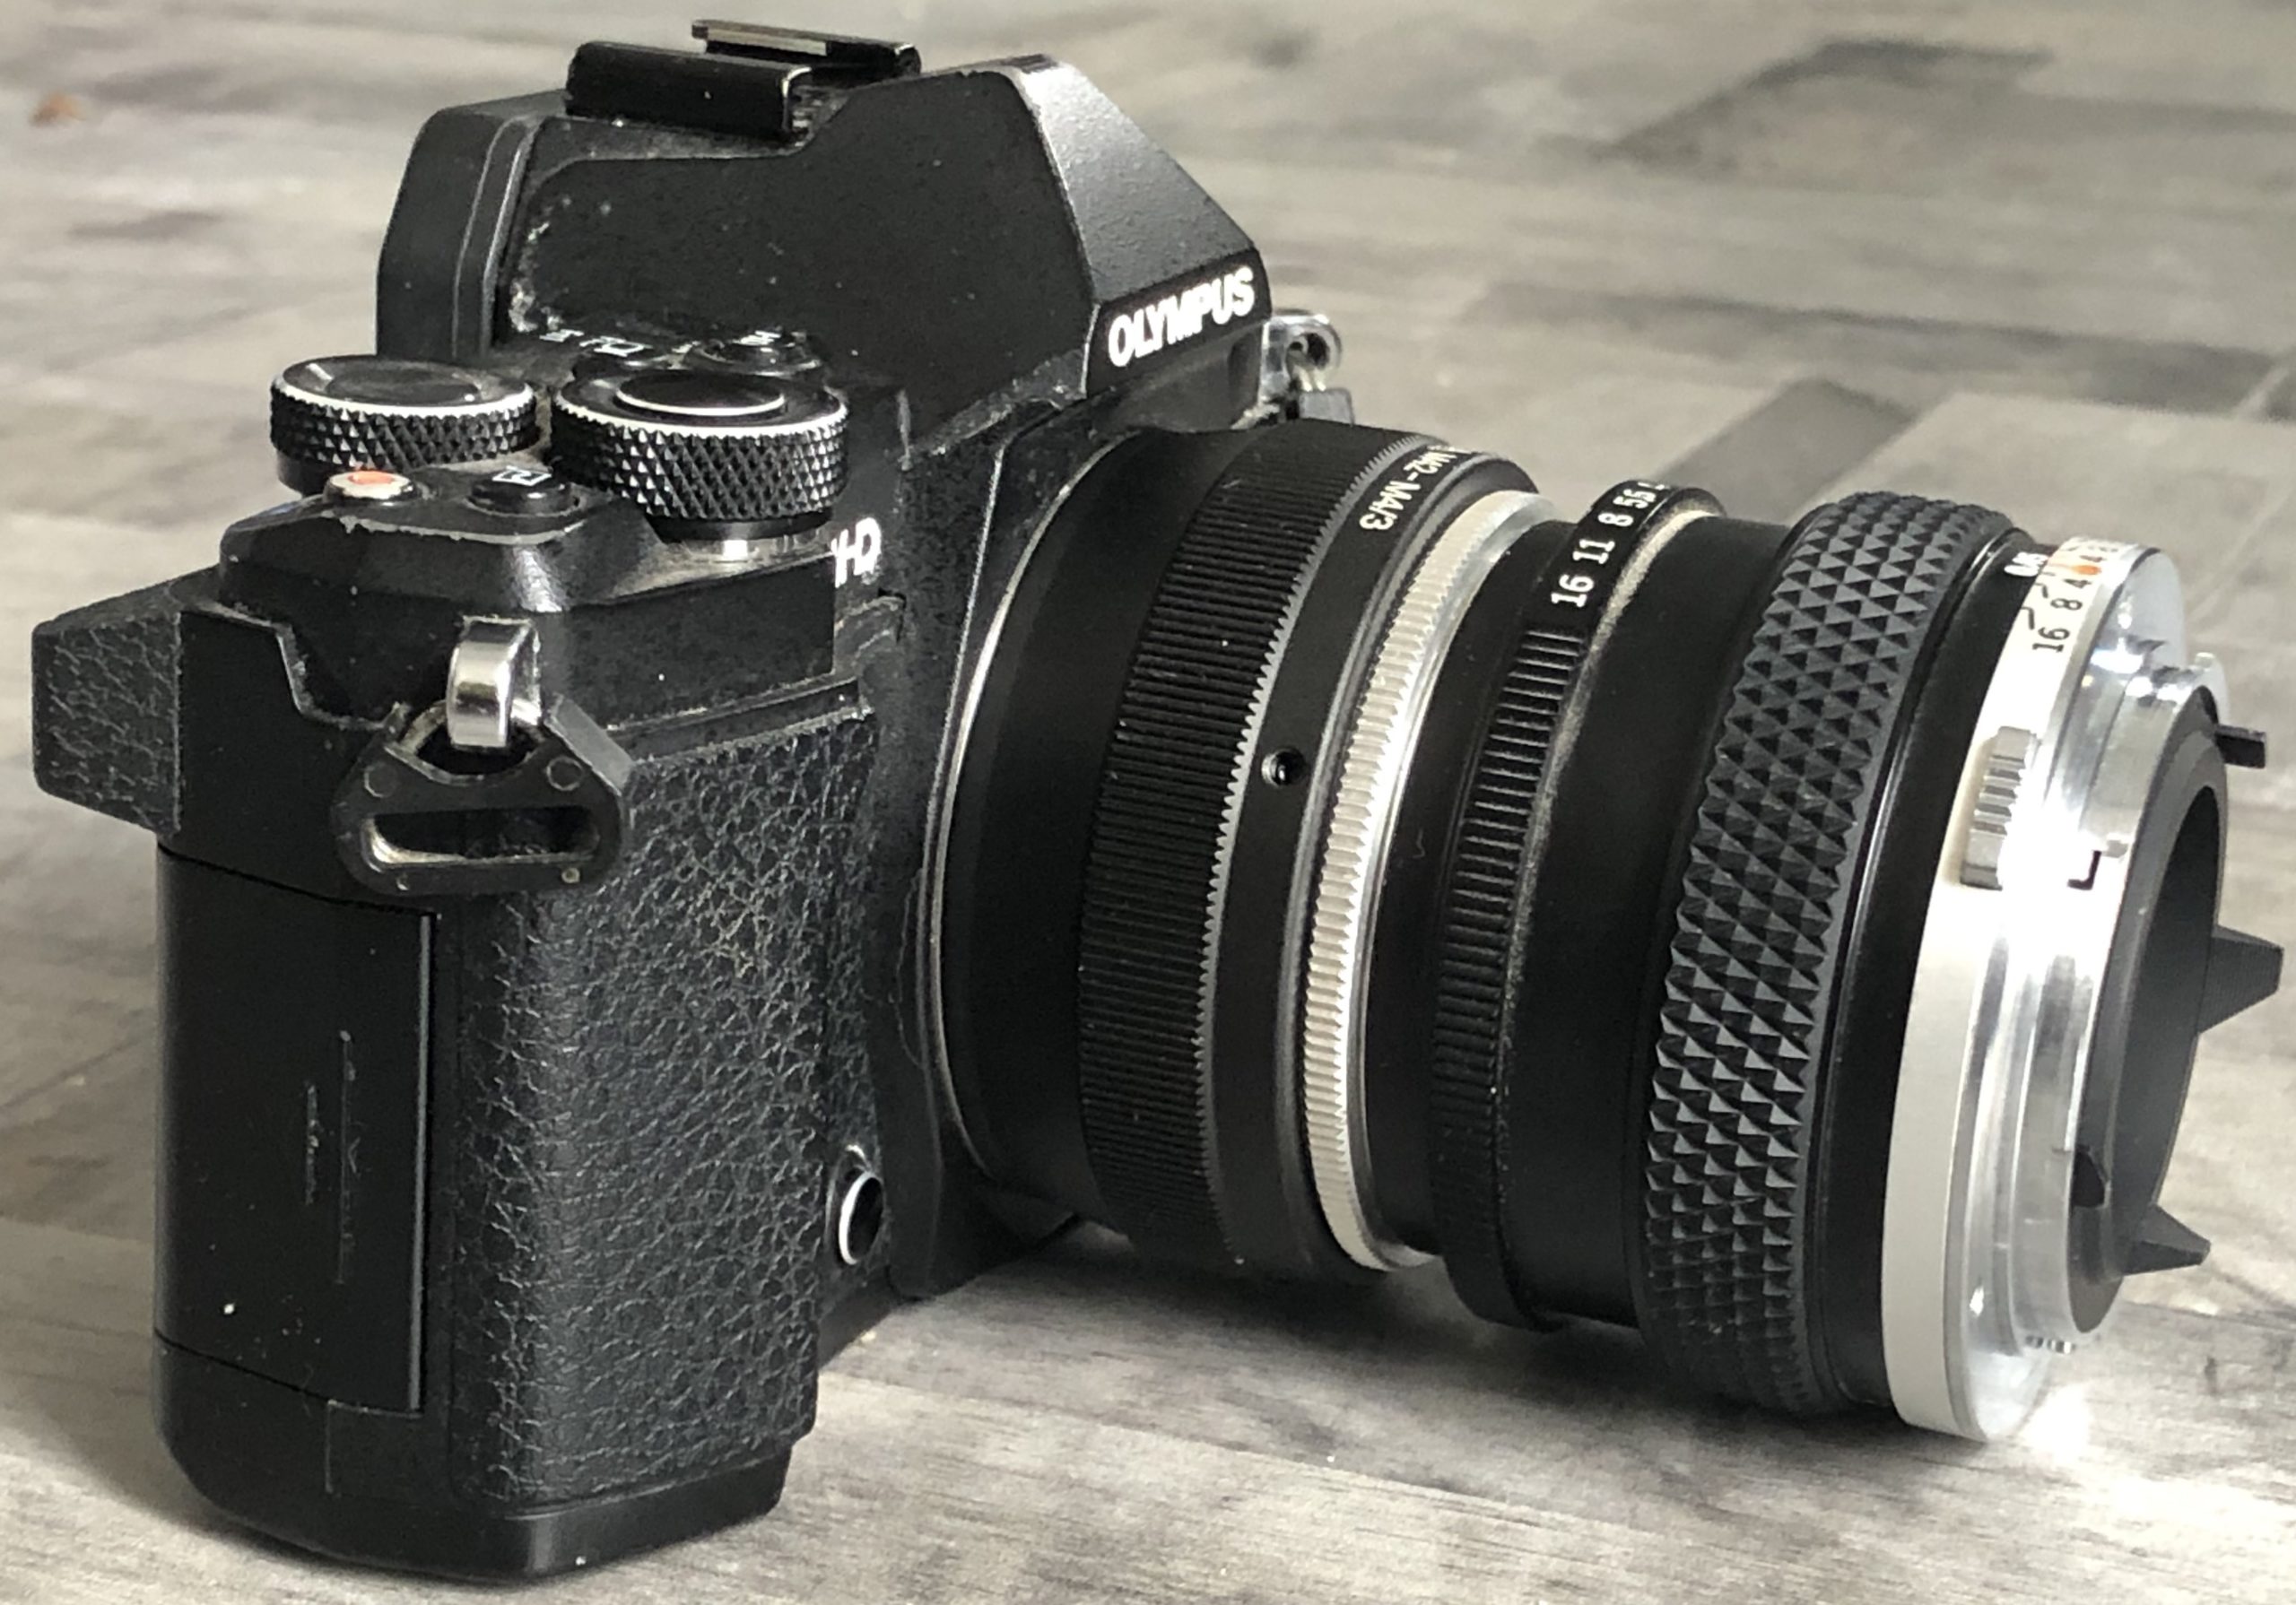
To show the difference I mounted an Olympus 50mm Zuiko on an Olympus Micro 4/3 camera.
I then attached a reverse ring to the front of the lens
and turned it around to fit to the camera backwards.
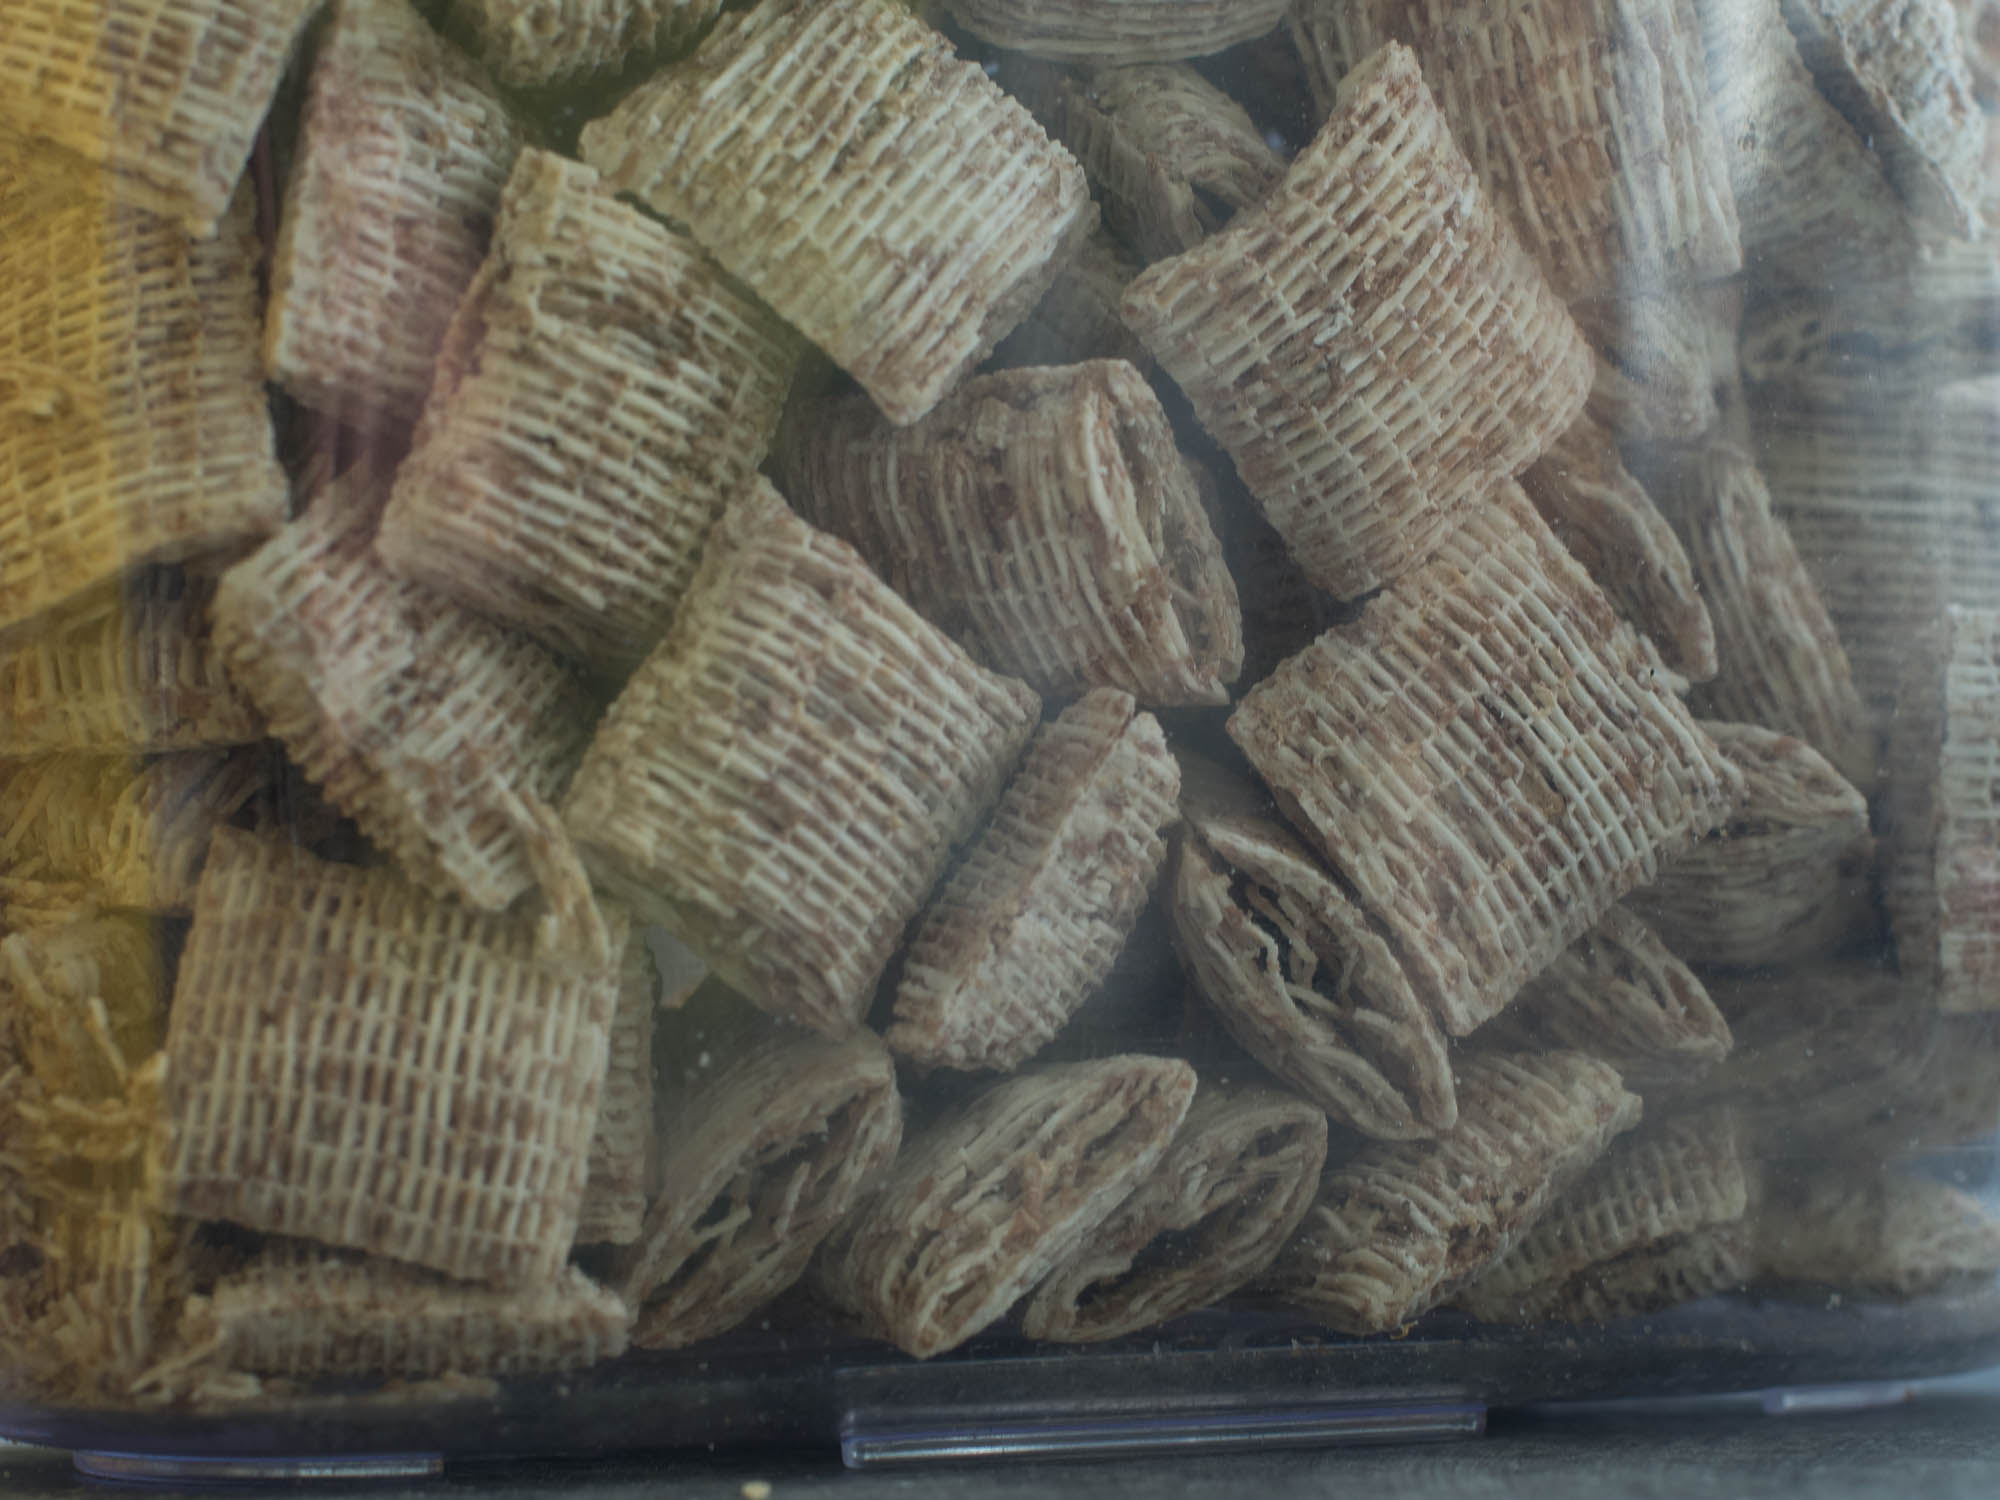
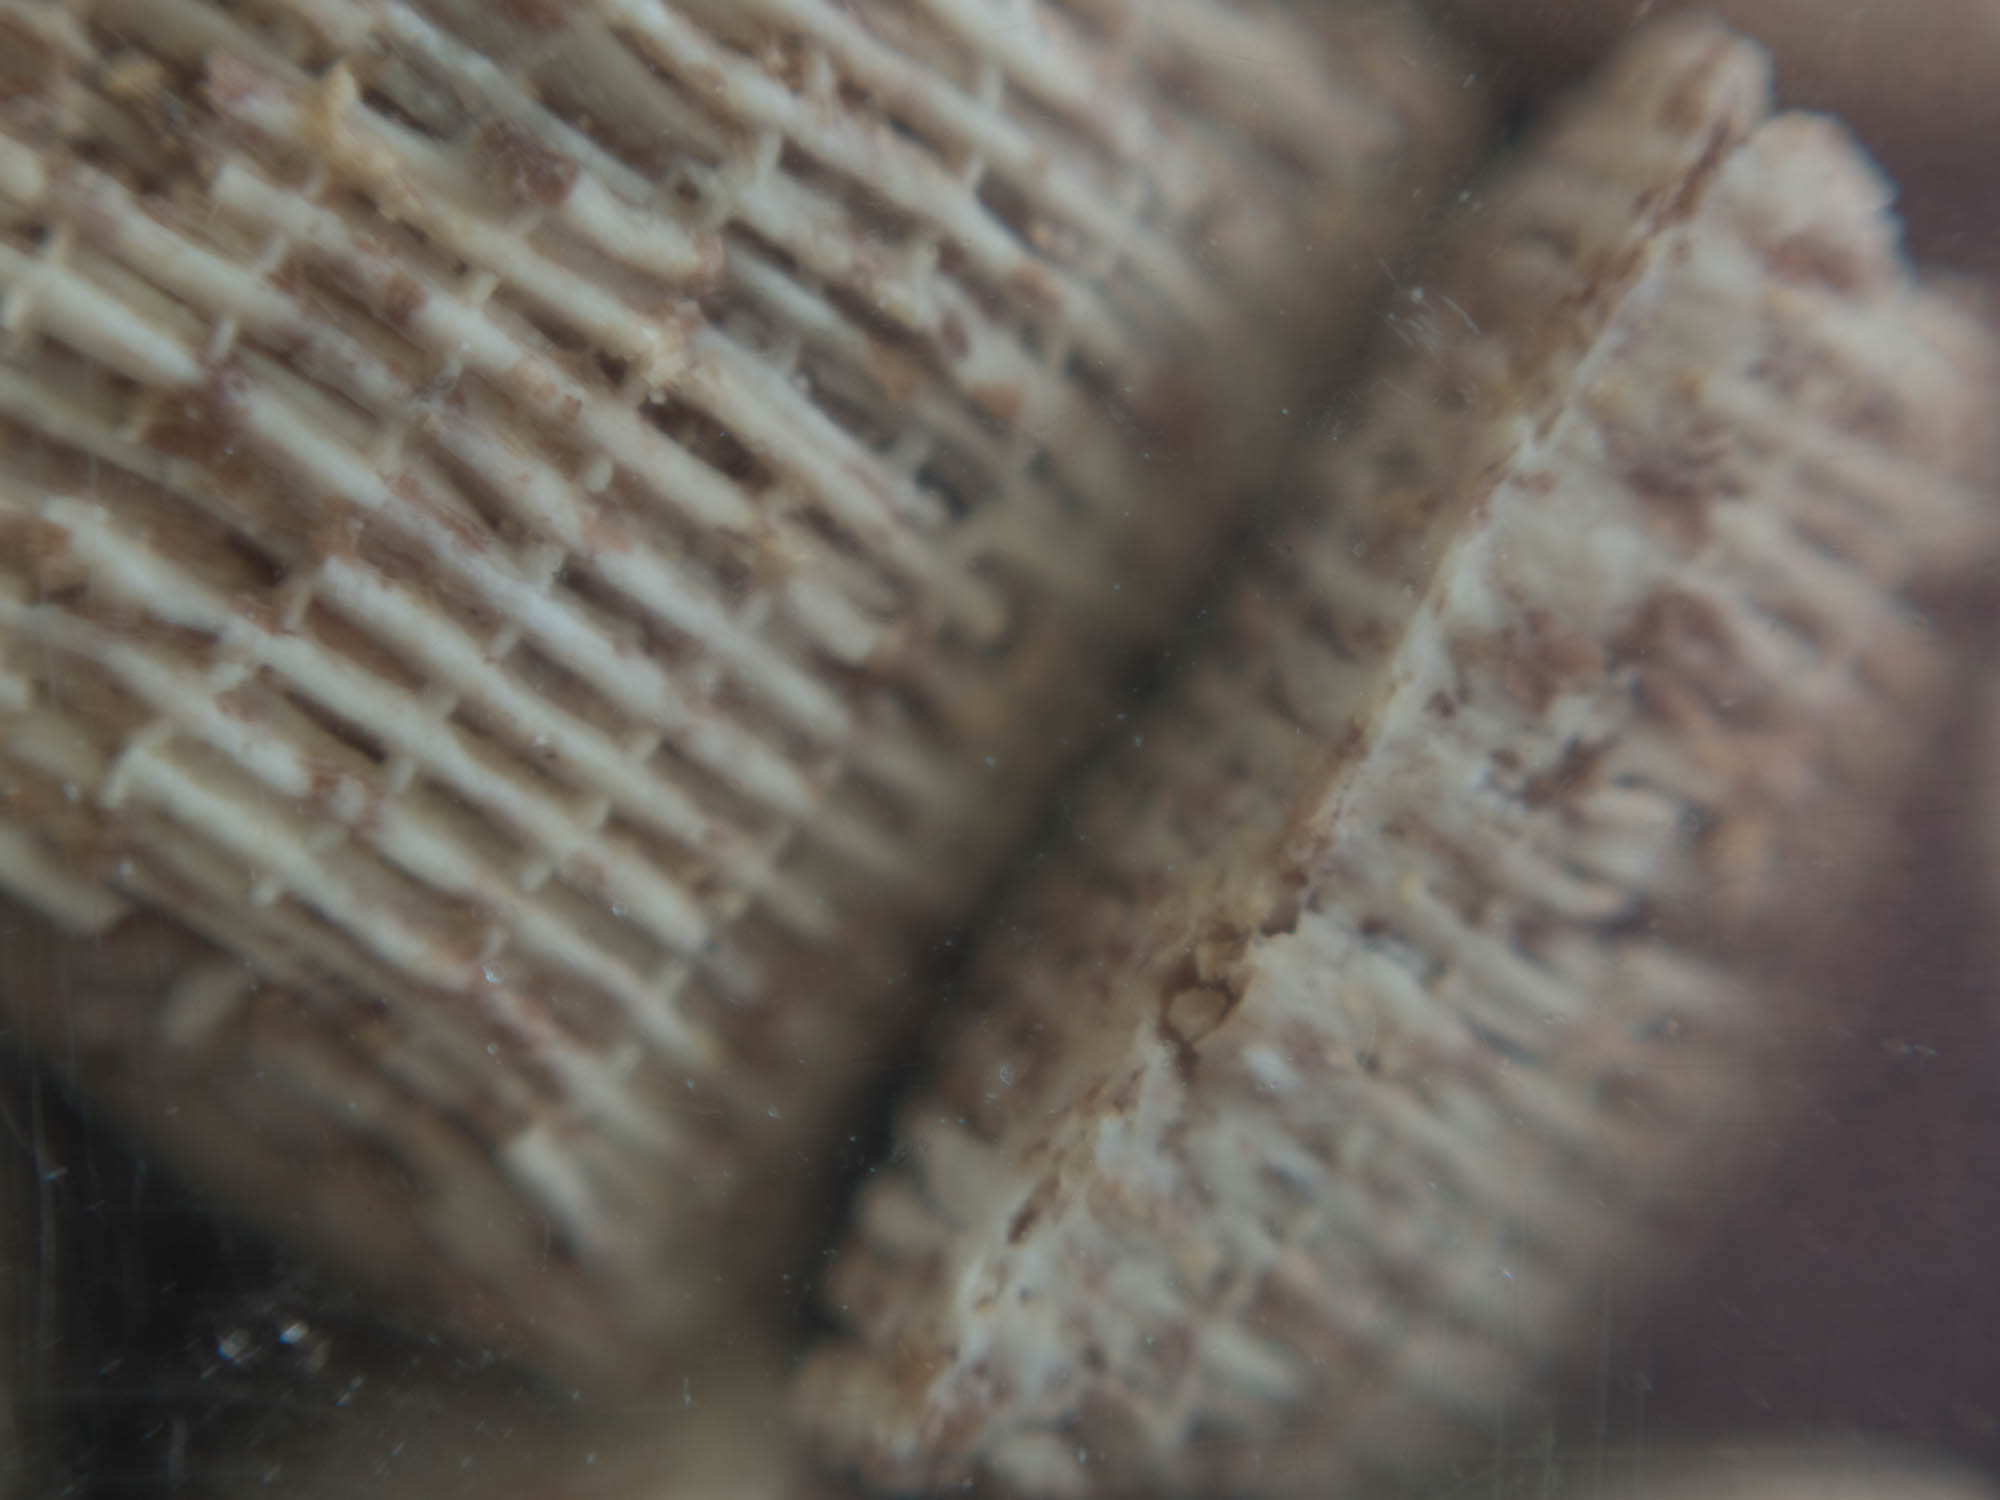
I took a photo of breakfast cereal inside a plastic container with the lens in both the forward position
and the reversed position.
The lens was set to its closest setting of 0.45m for both photos. As you can see reversing the lens with a lens reverse ring allows much closer photographs to be taken.
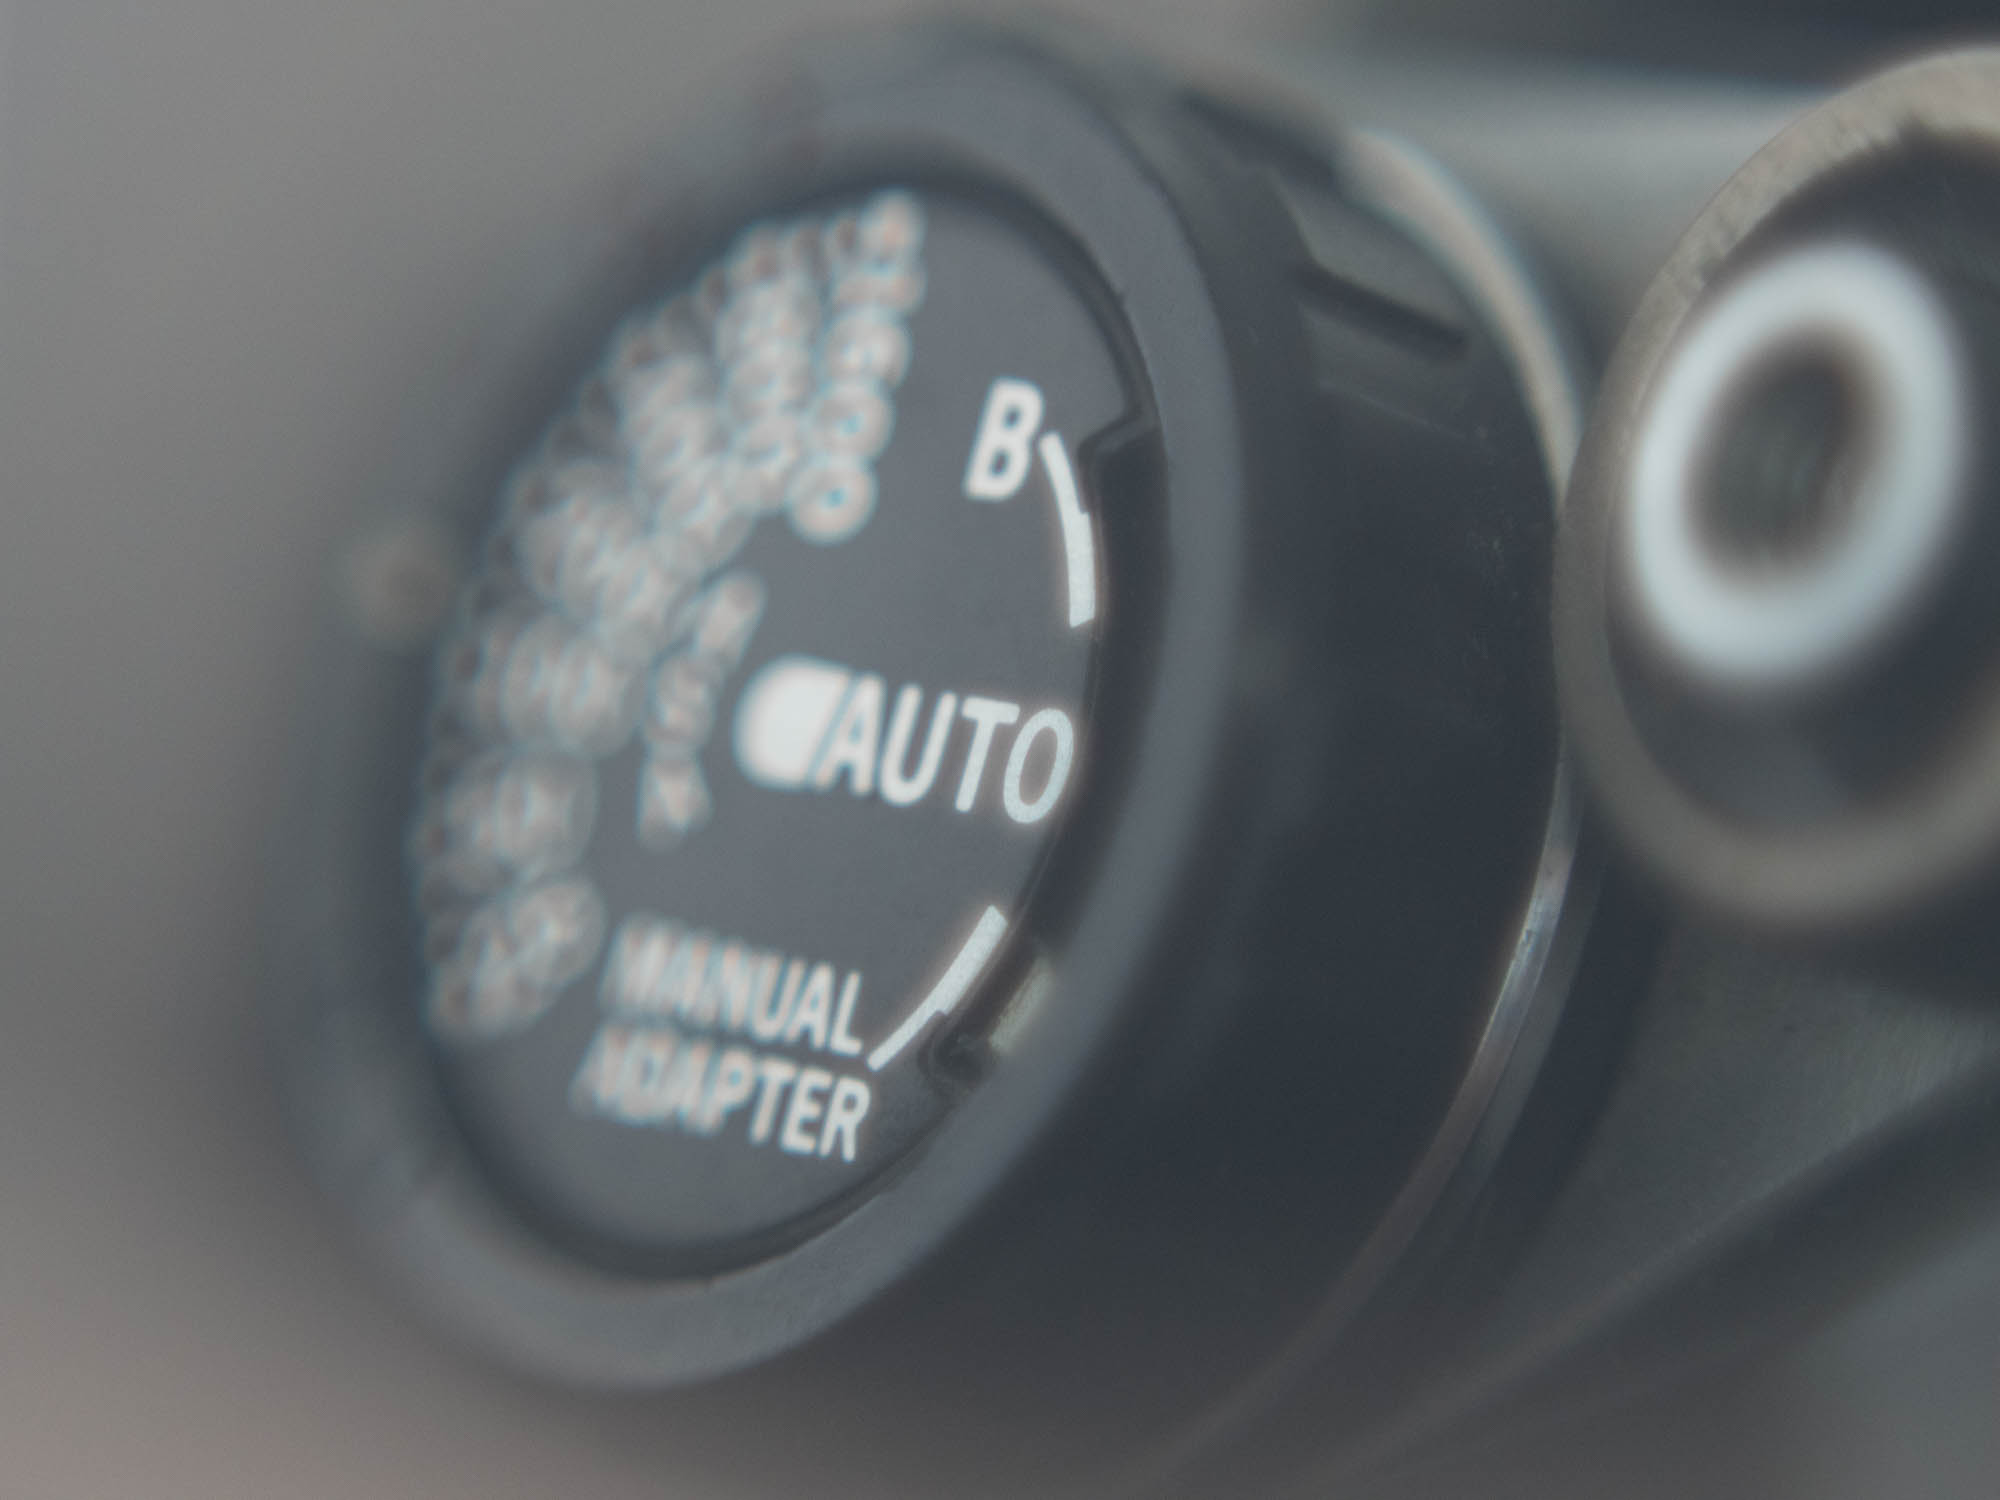
I then took a series of photos with the lens reversed to show the type of photos you can take. Most of these are with the lens at maximum aperture so it gives a more creative effect with minimal sharp zone and lots of nice blurry backgrounds, like what you would achieve using a Lens baby .
Close up of OM-10 exposure dial with shallow depth of field.
Backlit photo of pens caps taken into the light to give the dreamy low contrast result.
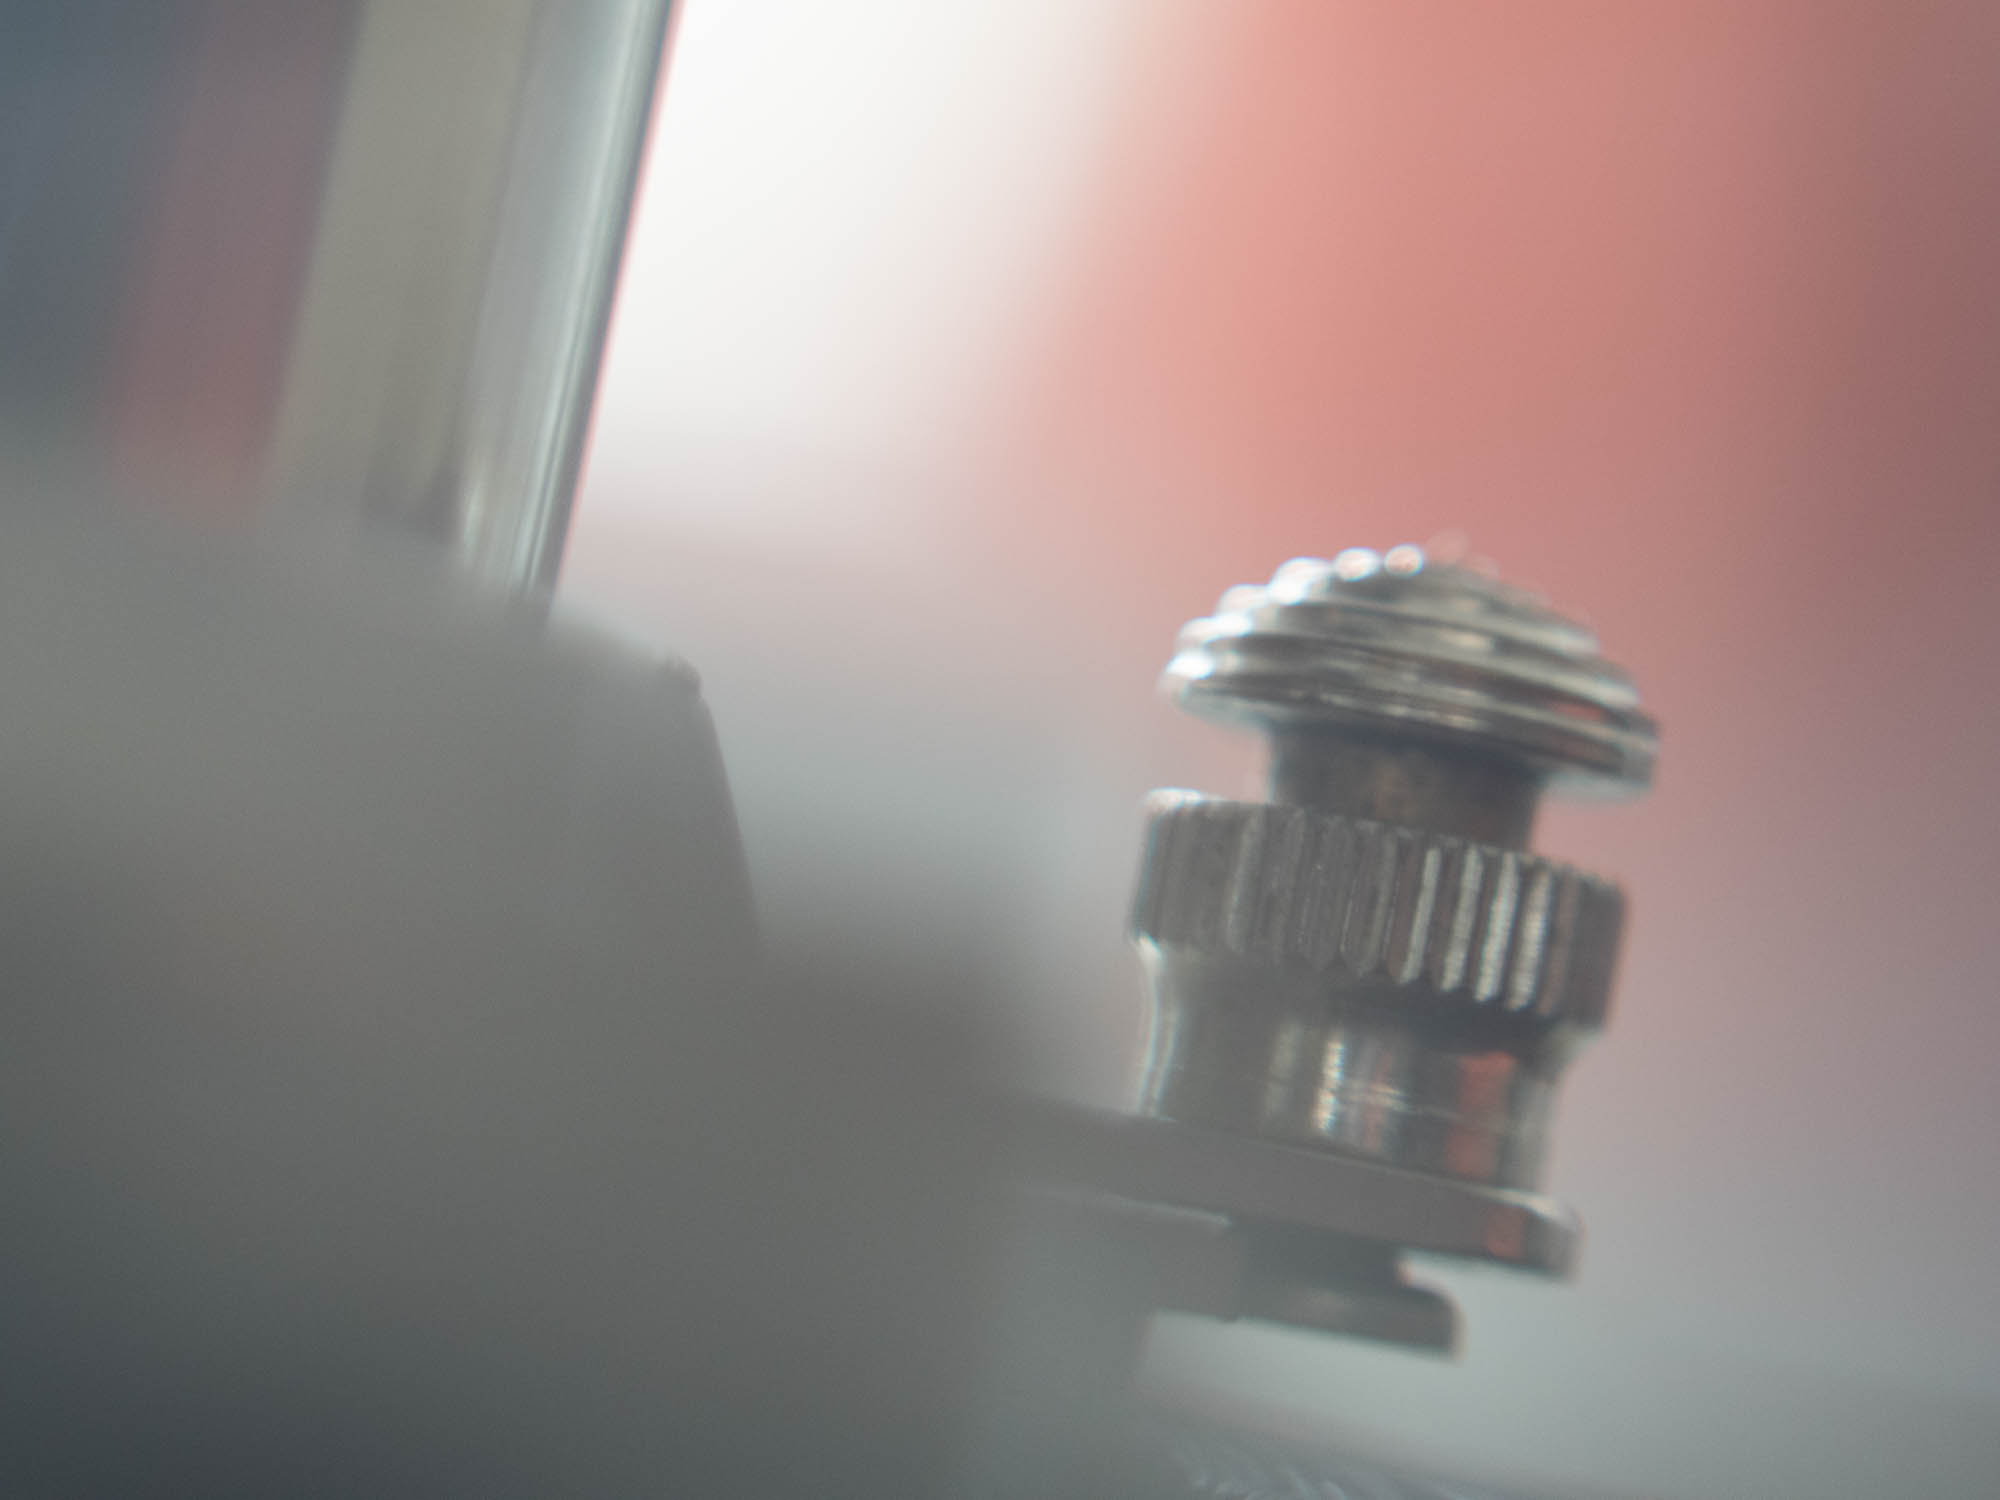
Leica camera control taken at f1.8 to ensure shallow focus.
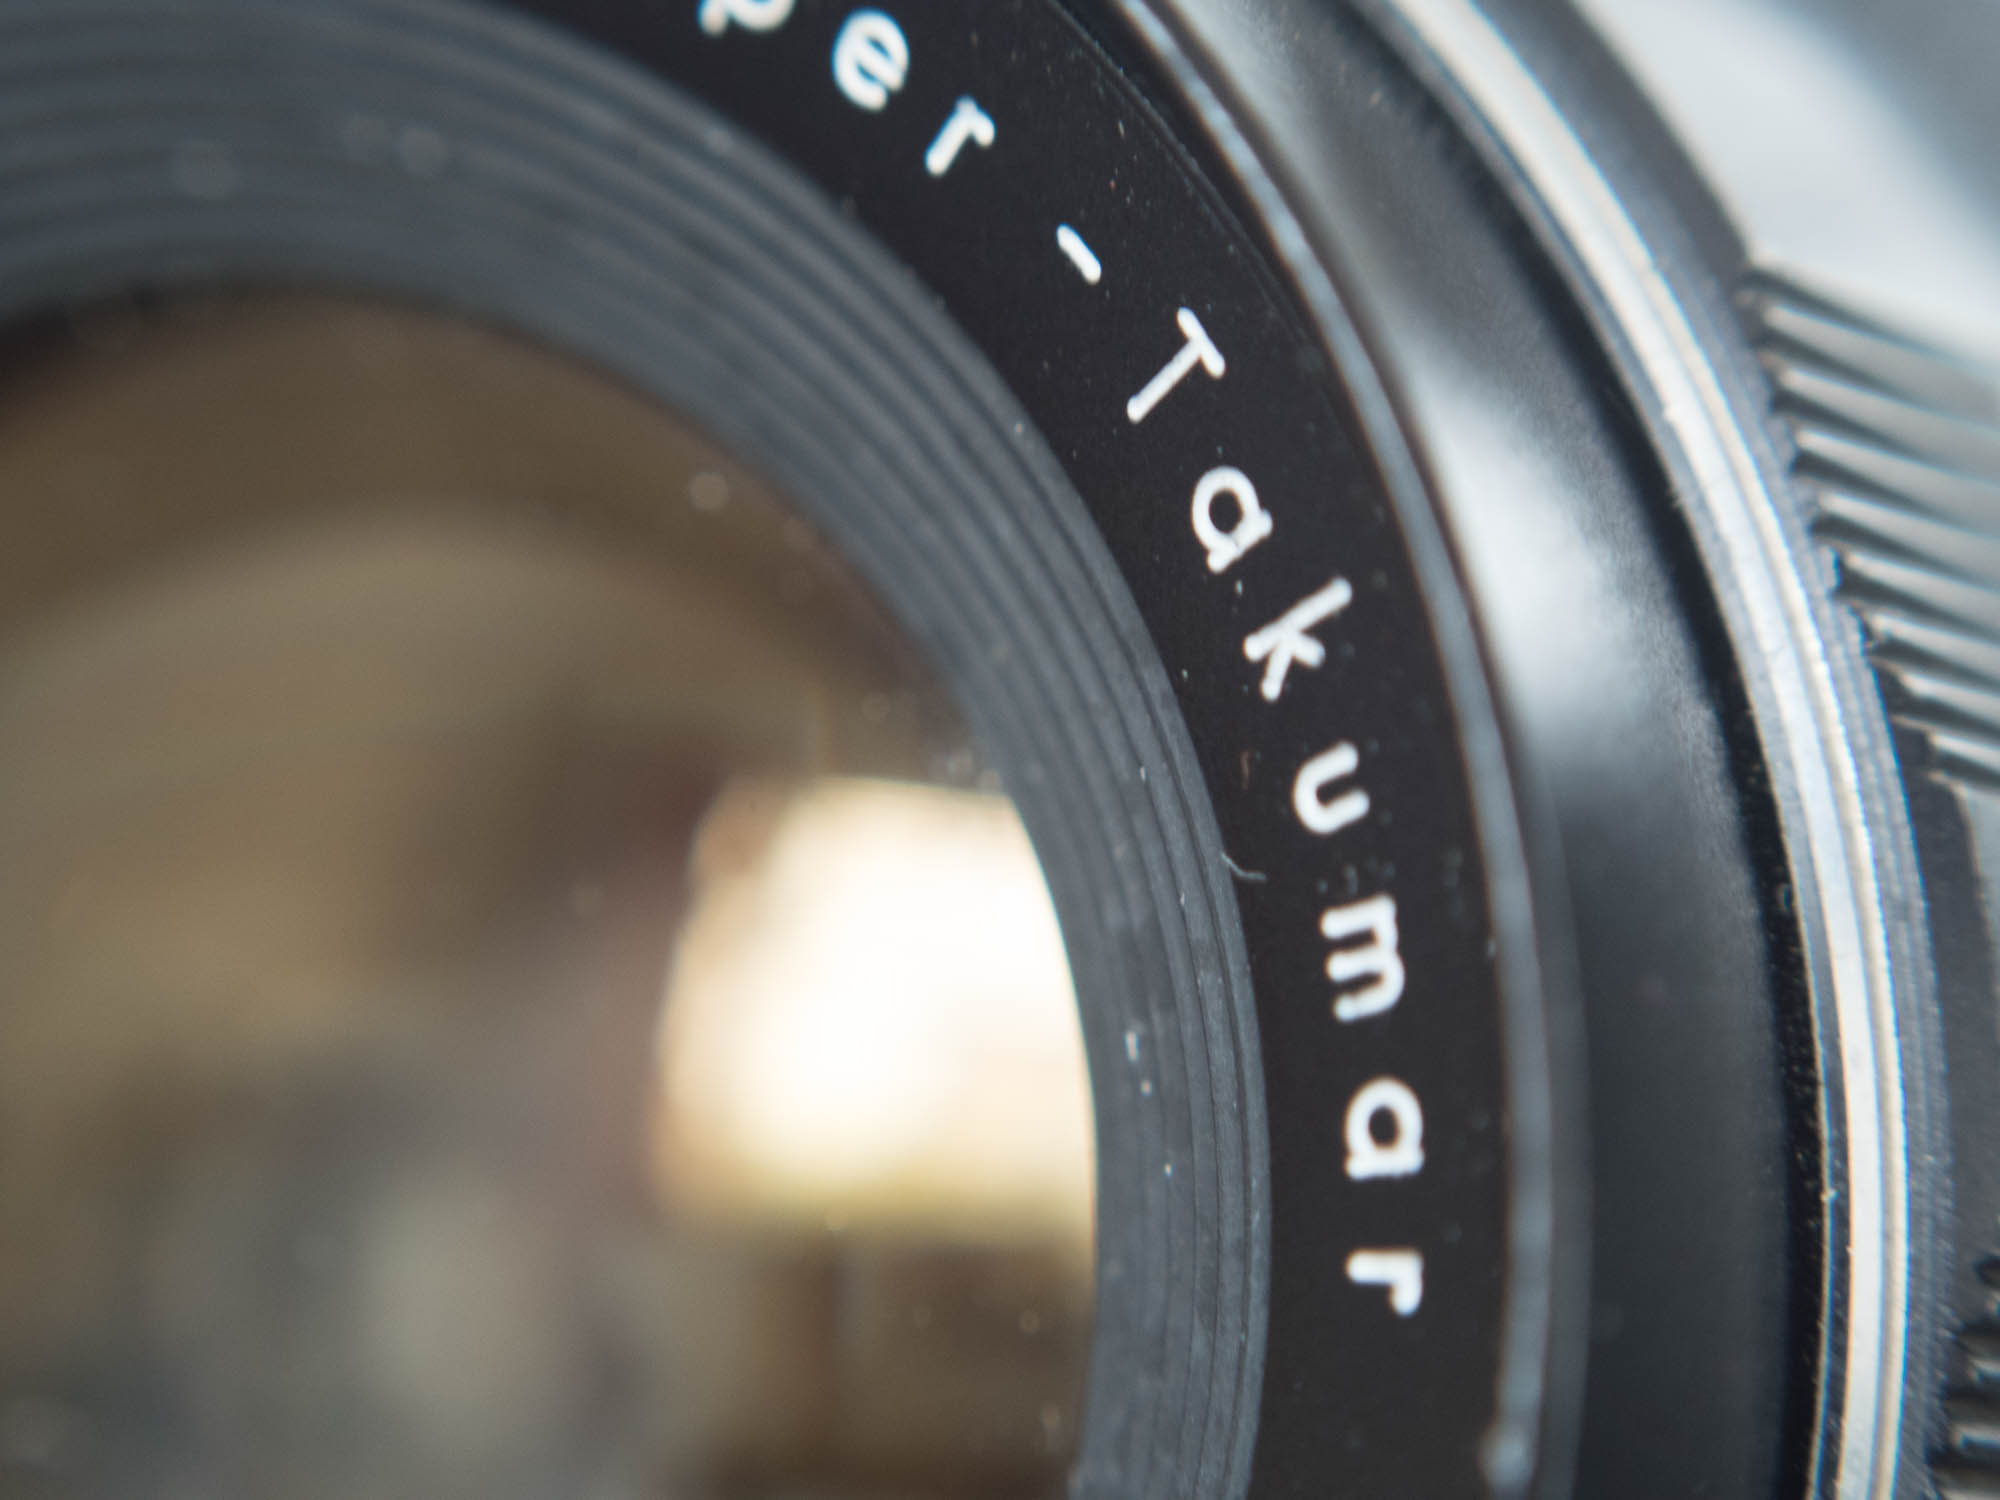
Takumar lens front taken with lens stopped down to f/5.6 to ensure a decent level of sharpness.
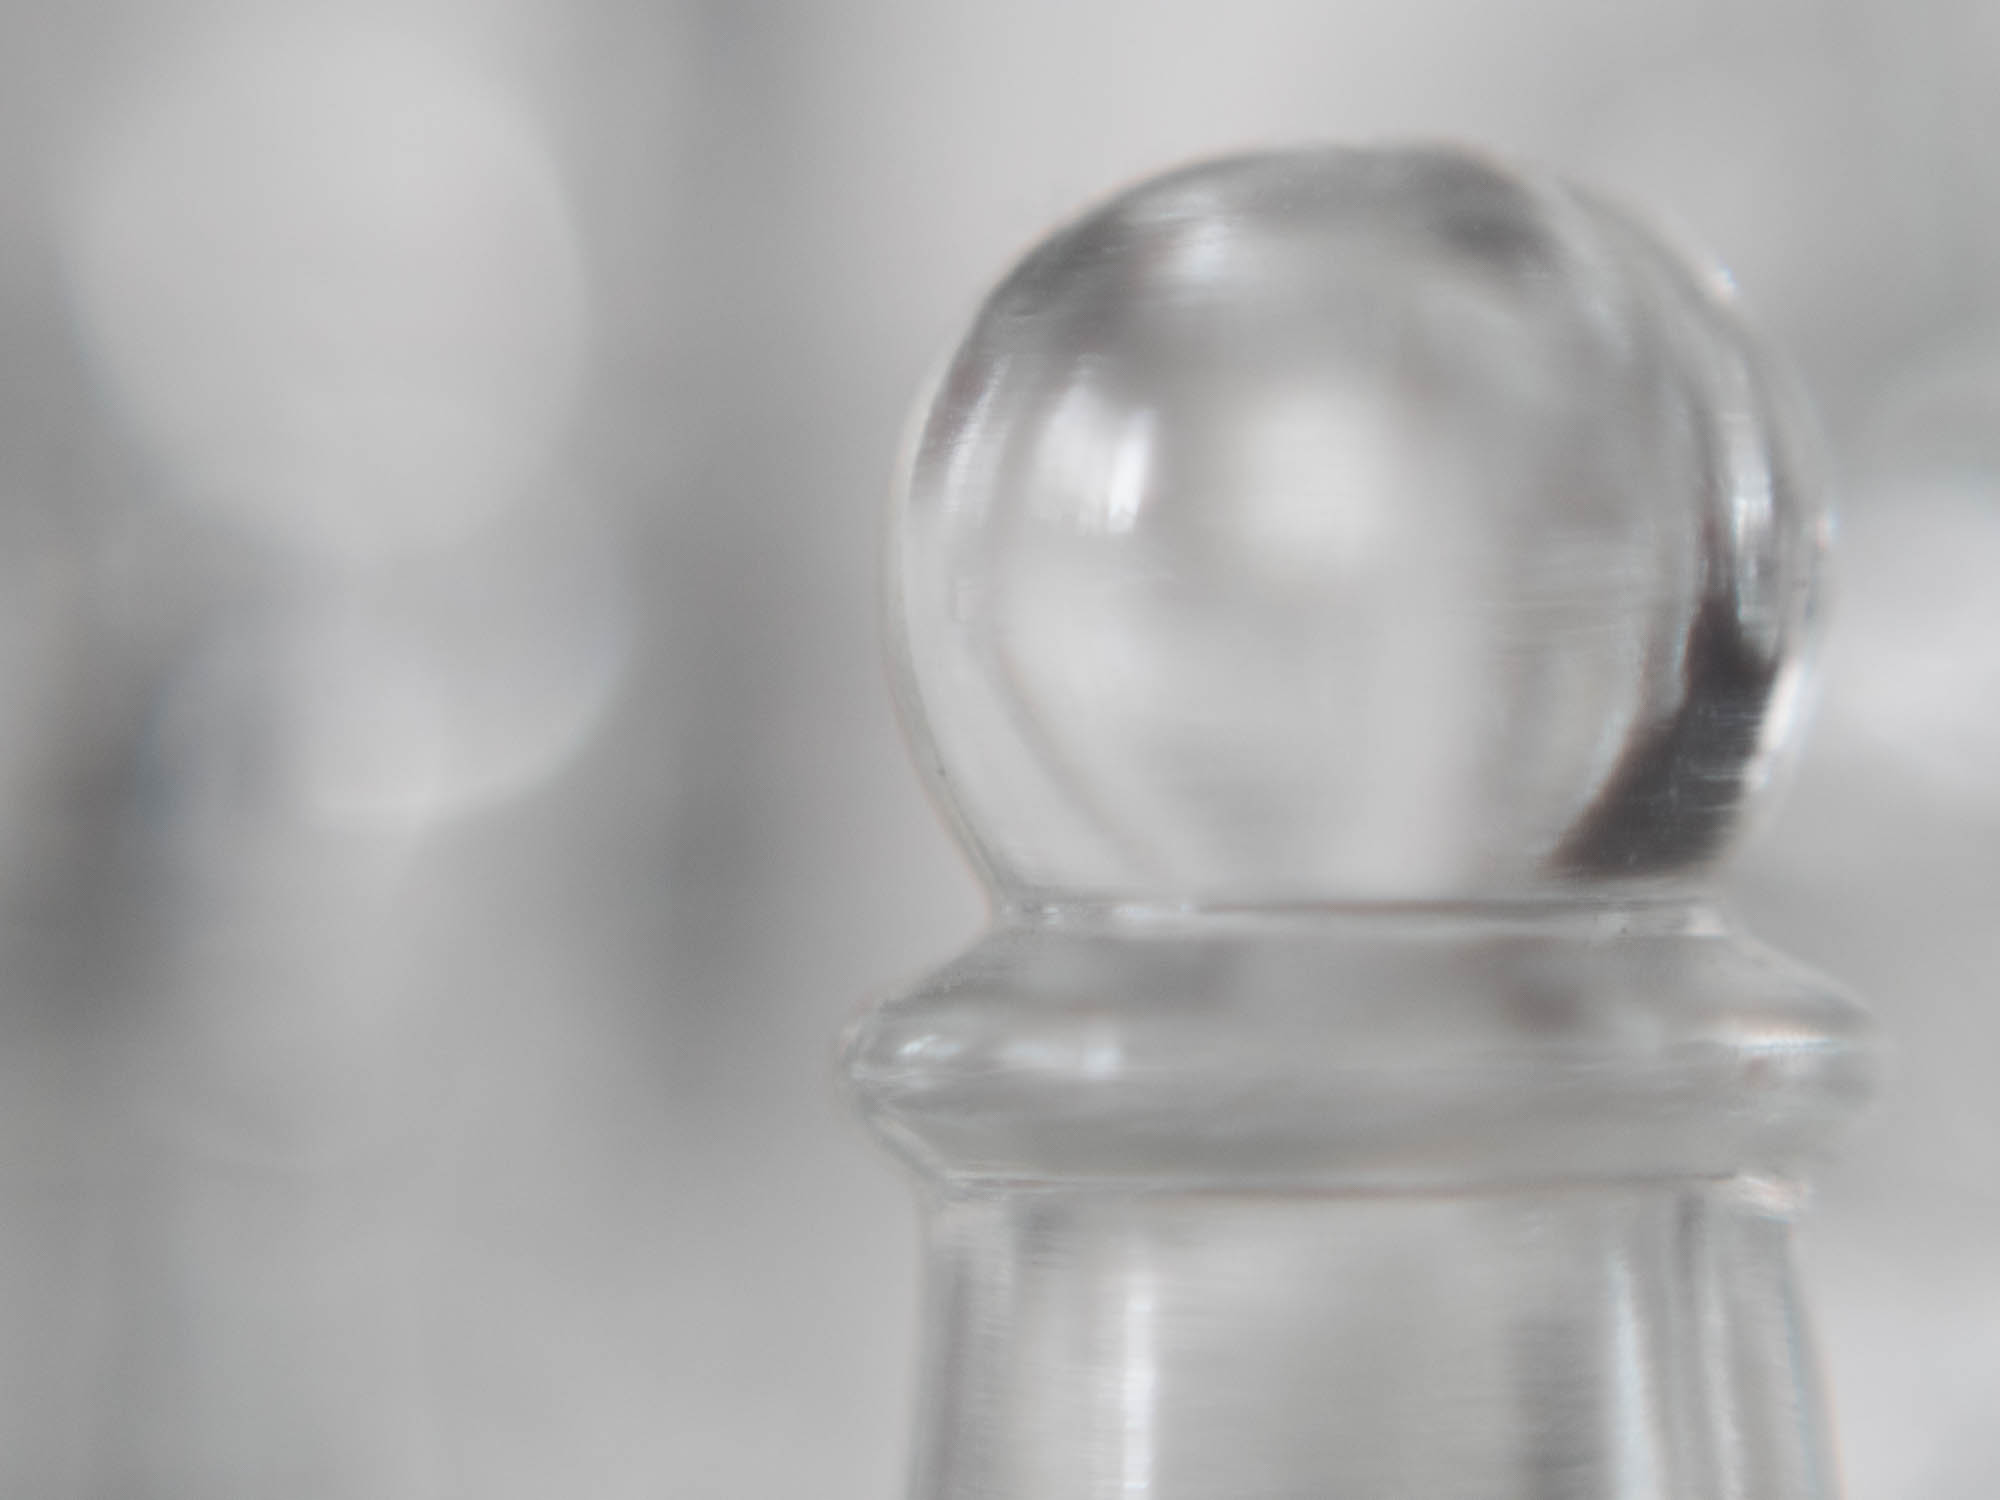
A glass chess piece with others in the background to give nice bokeh.
As you can see reversing a lens is a creative way to add options to your camera kit for low cost.
We have a number of reversing rings for sale at photographyattic.com check out this tag page. Lens reversing ring
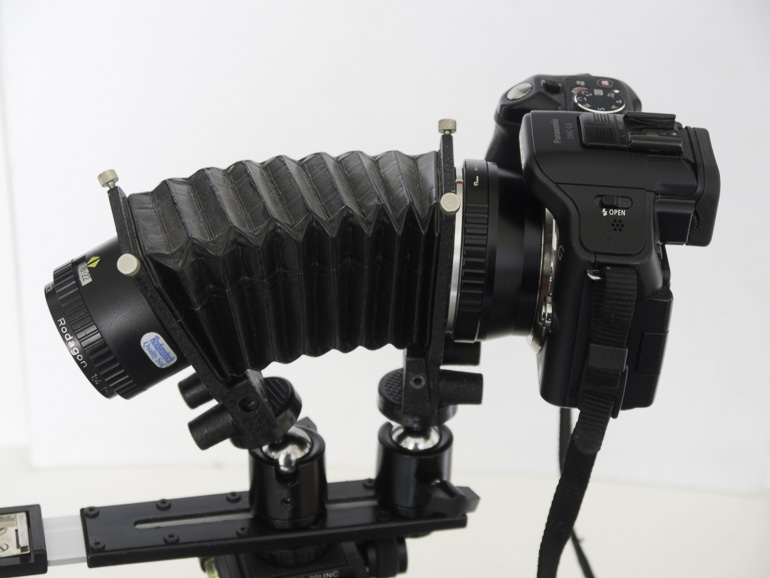
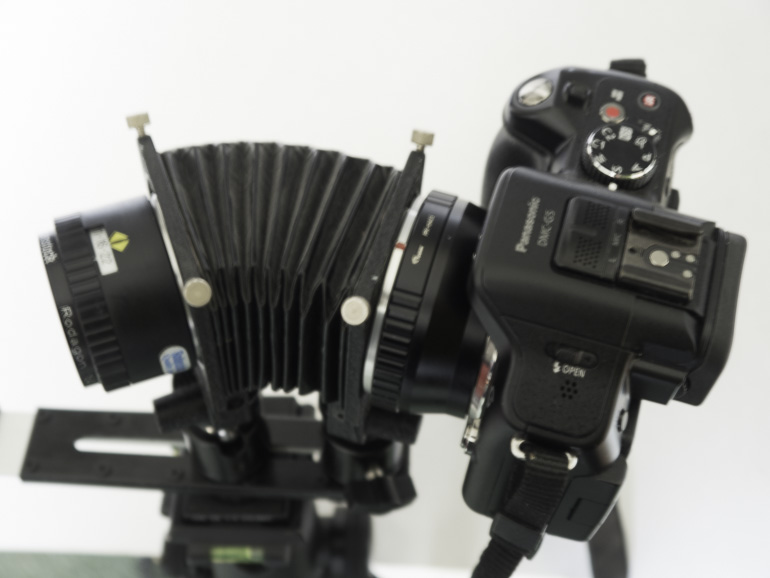
Large format photographers using cameras with bellows have always had the luxury of being able to adjust the lens and/or sensor plane so they are not parallel. This technique is performed to alter the plane of focus. While a conventionally parallel set-up provides front to back sharpness from a focus point parallel to the sensor, the adjusted lens, swung or tilted, places the focus plane at a different angle. This is a very useful technique for landscape photography, allowing sharp focus from close range to infinity, even at wide open apertures. But it’s also incredibly useful for macro photography. With this in mind Photography Attic has taken a set of BPM camera bellows and modified them to create a versatile set of custom bellows with tilt, swing and also shift options.
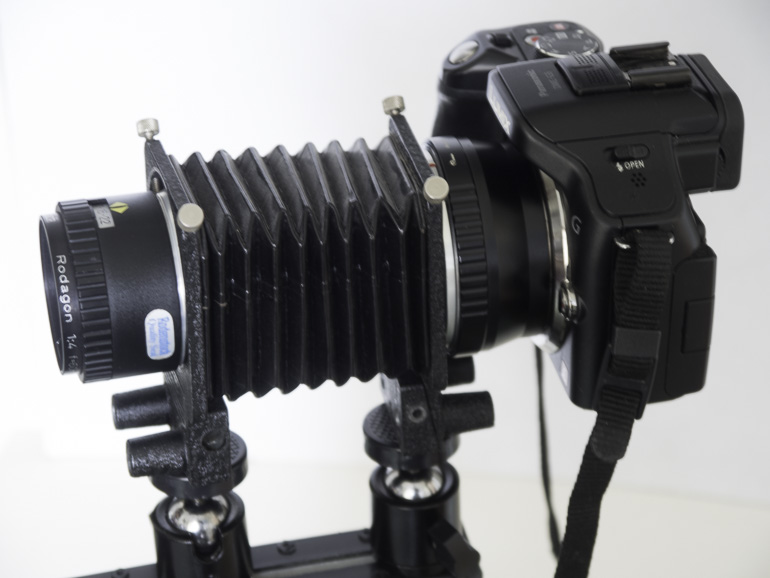
The bellows lens and camera platforms are individually mounted on a pair of small ball & socket heads which can be attached to a straight bracket like the one you would use with a flash gun. You can then slide the ball and socket along the flash bracket to extend the bellows increase magnification. And then tilt the front or rear panel to create the new plane of focus.
Here’s an example of the tilted bellows in action. A small 25mm pocket watch has been photographed at an angle. Rather than head on and parallel to the camera lens. The lens was then tilted on the camera bellows set up and as a result the widest aperture of f/2.8 can be used with full front to back sharpness. As a comparison a second shot was taken with the lens set conventionally parallel to the film plane. Notice how the sharpness falls off to the rear.
Another option is to use the swing feature. Here the lens is angled in a clockwise or anti clockwise direction to provide sharer front to back focus on an upright subject.
You can also adjust to provide a combination of both tilt and swing when the subject is not horizontal or vertical.
This process is technically known as the Scheimpflug Principle. If you would like to lean more check out the wikipedia page here: Scheimpflug Principle
You can buy a set of modified bellows with tilt shift here:Custom Tilt Shift Bellows You will also need to buy a bracket to mount them on.
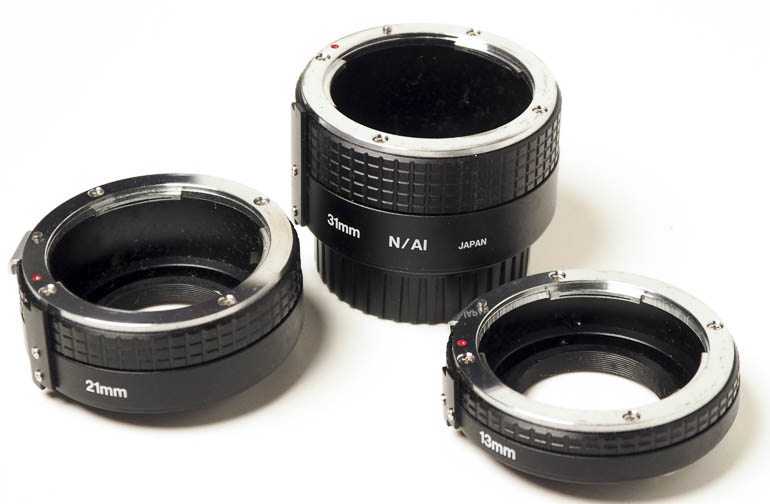
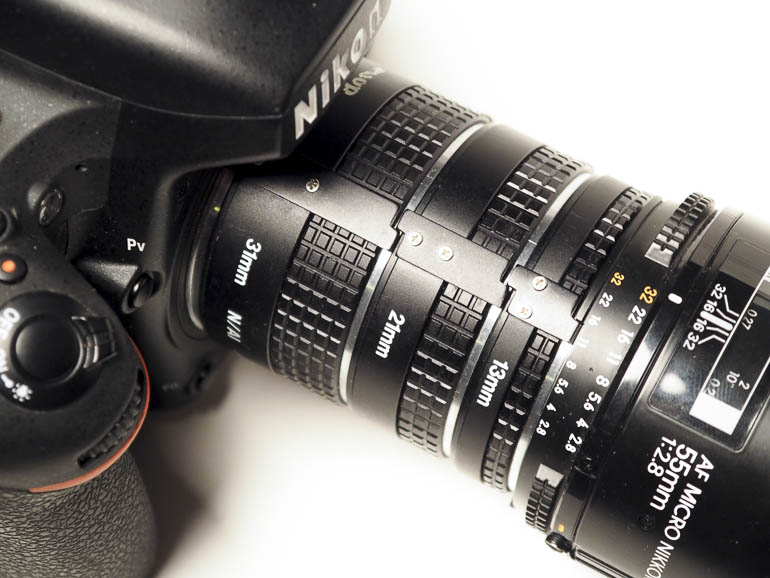
Extension tubes are tubes without any optical elements that you place between the camera and lens of an interchangeable lens camera. They extend the lens so it can focus closer, giving the lens macro capabilities. Some have full automatic couplings so the camera can continue to be used in all its auto and program exposure and focus modes. Some lower priced ones have no couplings, so the camera needs to be used in manual.
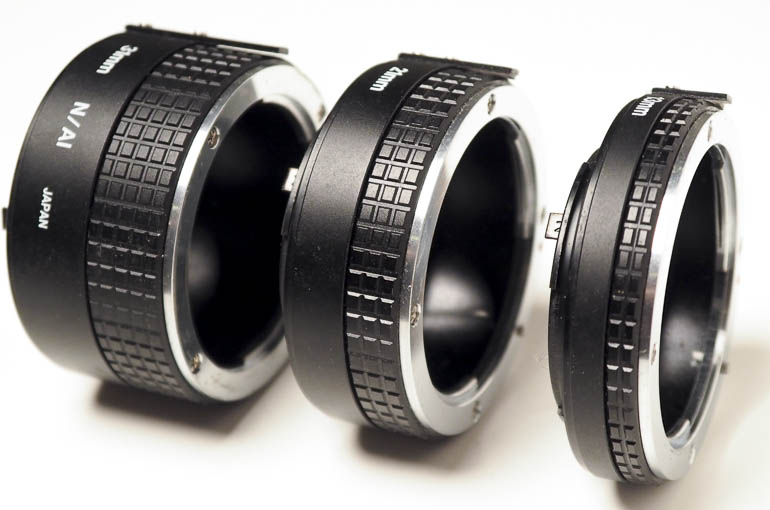
Tubes are often sold in sets of three. The set illustrated above has 13mm, 21mm and 31mm extensions, and these can be attached in any combination giving a total of seven different extensions:
13mm
21mm
31mm
34mm (13mm+21mm)
44mm (13mm+31mm)
52mm (21mm+31mm)
65mm (13mm+21mm+31mm)
Here a set of three tubes can be seen attached to a Nikon digital SLR camera.
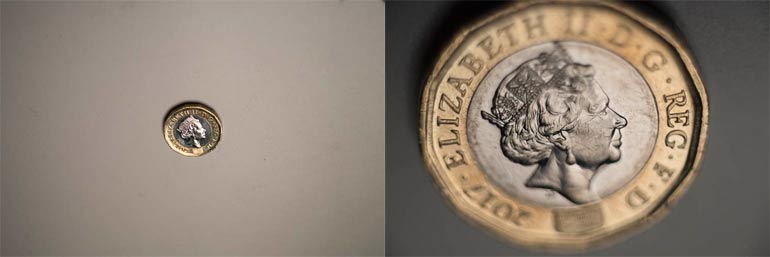
This photograph of a British one pound coin was taken using a nikon camera with a 55mm lens set to infinity and an extension tube added. The smaller coin on the left is with the 13mm and the coin on the right is with the three tubes attached giving 65mm extension. The lens was at f/2.8 to show how shallow depth of field is. When using tubes you either need to use a very small aperture or shoot the subject parallel to the CCD or film plane. Here the coin was at an angle so only a shallow strip across the centre is sharp.
Advantages of using Extension Tubes
Low cost macro
No optical degradation
Compact
Disadvantages of using Extension Tubes
Limited magnification variations
Fiddly changing between magnifications
Taking lens off increases risk of dust intrusion
An amazing selection of snowflake macro photos and a article showing how to photograph snowflakes can be found on Alexey Kljatov’s ChaoticMind blog
If you have an SLR you can reverse your lens on the body using a reverse adaptor, or reverse a lens on a lens using a coupling ring (which has filter threads on both sides), or use extension tubes, close up lenses, macro lens or bellows. We have all these available on PhotographyAttic. If you cant find what you want contact us with specific requests
I’m currently reading about Mindfulness. In a nutshell mindfulness is referred to as the heart of Buddhist meditation. There’s a good introduction here Mindfulness and one paragraph stood out this morning as I prepared to wash the breakfast pots:
When I wash the dishes each evening, I tend to be “in my head” as I’m doing it, thinking about what I have to do, what I’ve done earlier in the day, worrying about future events, or regretful thoughts about the past. Again, my young daughter comes along. “Listen to those bubbles Mummy. They’re fun!” She reminds me often to be more mindful. Washing up is becoming a routine (practice of) mindful activity for me. I notice the temperature of the water and how it feels on my skin, the texture of the bubbles on my skin, and yes, I can hear the bubbles as they softly pop continually. The sounds of the water as I take out and put dishes into the water. The smoothness of the plates, and the texture of the sponge. Just noticing what I might not normally notice.
As enthusiast photographers we tend to notice more than most. We’re always looking out for photographic opportunities so we see things in the landscape, architecture, people, objects, that others miss. It’s a bit like mindfulness from a visual perspective. Today I noticed the bubbles in the freshly filled bowl and grabbed the camera (an Olympus OM-D fitted with 60mm macro lens) It wasn’t long before I’d taken a series of close up abstract shots of the bubbles…and interestingly they reflect the world in a chaotic way.
and now the scene is recorded I can observe the details and enjoy the shapes. Can you spot what looks like a suited figure?











 This photograph of a British one pound coin was taken using a nikon camera with a 55mm lens set to infinity and an extension tube added. The smaller coin on the left is with the 13mm and the coin on the right is with the three tubes attached giving 65mm extension. The lens was at f/2.8 to show how shallow depth of field is. When using tubes you either need to use a very small aperture or shoot the subject parallel to the CCD or film plane. Here the coin was at an angle so only a shallow strip across the centre is sharp.